
Please wait, I'm coming over...


Last Changed 12/31/2010 |
||
|
We have used a HughesNet satellite for Internet for the four years we have
been on the road. The advantage of satellite Internet is that
is really is everywhere as long as you can get a shot at the
satellite from the trees. We use a lot of data bandwidth
maintaining our websites. A lot more upload activity than the
average user which was not a problem with HughesNet as they did not
limit upload traffic. This would have been a problem with air-card Internet and the
typical 5 GB/month limit for all data traffic, download and upload. In 2010 we kept a record of how often we used Park Wi-Fi and how often we used the HughesNet. We average 71% use of Park Wi-Fi. However we had two month of strictly satellite Internet and one of those months we used 14.5 GB, way too much for air-card usage. Then Millenicom came out with a 10 GB/month plan which we felt we could live with if we watched our usage when we didn't have Park Wi-Fi to offset some of the month's data traffic. So we decided to convert to using an air-card for Internet when we are not using Park Wi-Fi. Since we started our subscription with Millenicom, they raised the data limit to 20 GB/month. We feel very comfortable now. We started our designed for our air-card system by first reading Jack Mayer's article on Communications on the Road. These are the steps e went through to reconfigure for using an air-card. |
||
 |
Originally all our networking equipment was installed in the Entertainment Center.
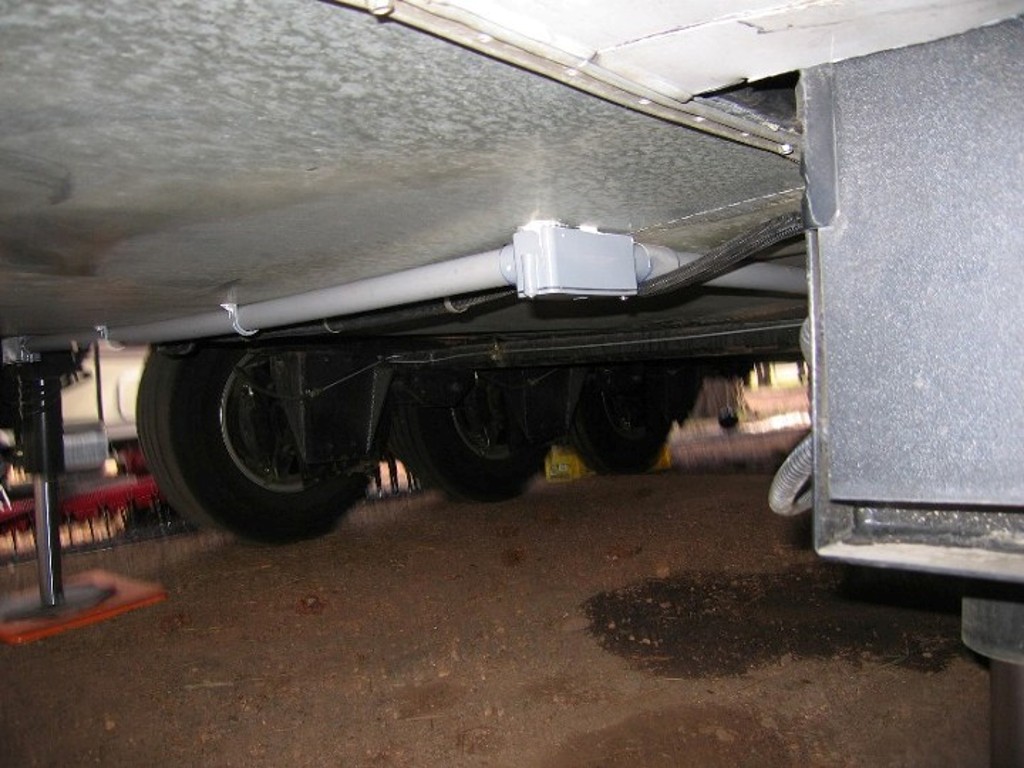
This made sense because the HughesNet satellite Internet cables were located there. To accommodate the WISP setup we ran a piece of Cat-5 exterior grade cable from the Deliberant radio through a Carlon conduit under the trailer belly and into the Entertainment Center. |
 |
 |
One of the first steps was to change the trailer LAN network wiring. The WISP Cat-5 cable was dropped from the Entertainment Center cabinet and terminated in a Cat-5 jack in the kneehole space of the desk. This is were the network equipment in the living room will be located. |
|
click on images to enlarge |
||
 |
We pulled the other end of the WISP Cat-5 cable into
the bedroom TV cabinet, the new location of most of network
equipment. We terminated the old WISP cable in a Cat-5 jack. This cable will not be the main trunk feed from the bedroom to the living room. We also added an outlet in the outside electrical compartment. The other two jacks will be to the Deliberant radios. |
|
click on images to enlarge |
||
We needed a new access hole through the trailer roof. We had to have a hole large enough to pass the TNF end of the antenna we are going to install. There was not enough space in the existing hole we used for the solar installation. The next step could be one of the most worrisome, making a hole in the roof, if we had not already done this when we installed the solar system. But now we are a little smarter. The biggest problem we had making the hole in the roof for the solar system wasn't the hole in the roof, it was making a hole in the 2x4 wall cap about 8" down from the roof. We didn't have the correct type of drill when we did the solar install. We made do with a long 1/4" drill making several holes in a circle and then trying to break the pieces out. |
||
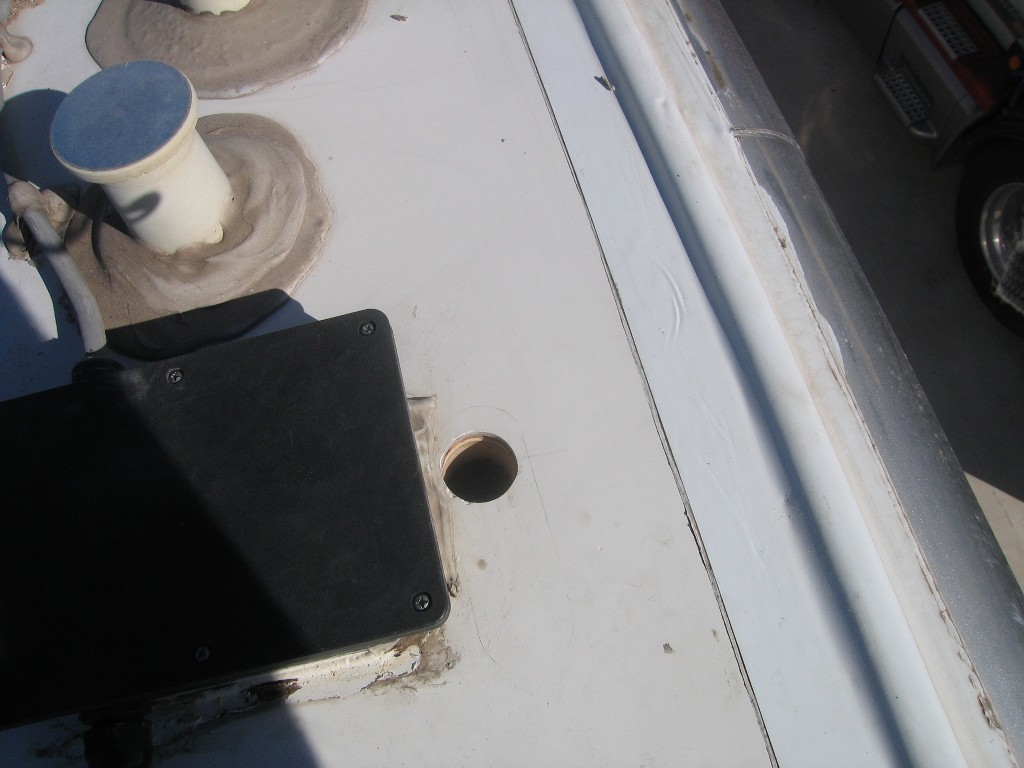 |
Equipped with a large enough long drill, we made the hole in the roof and then the hole in the 2x4" header. | |
 |
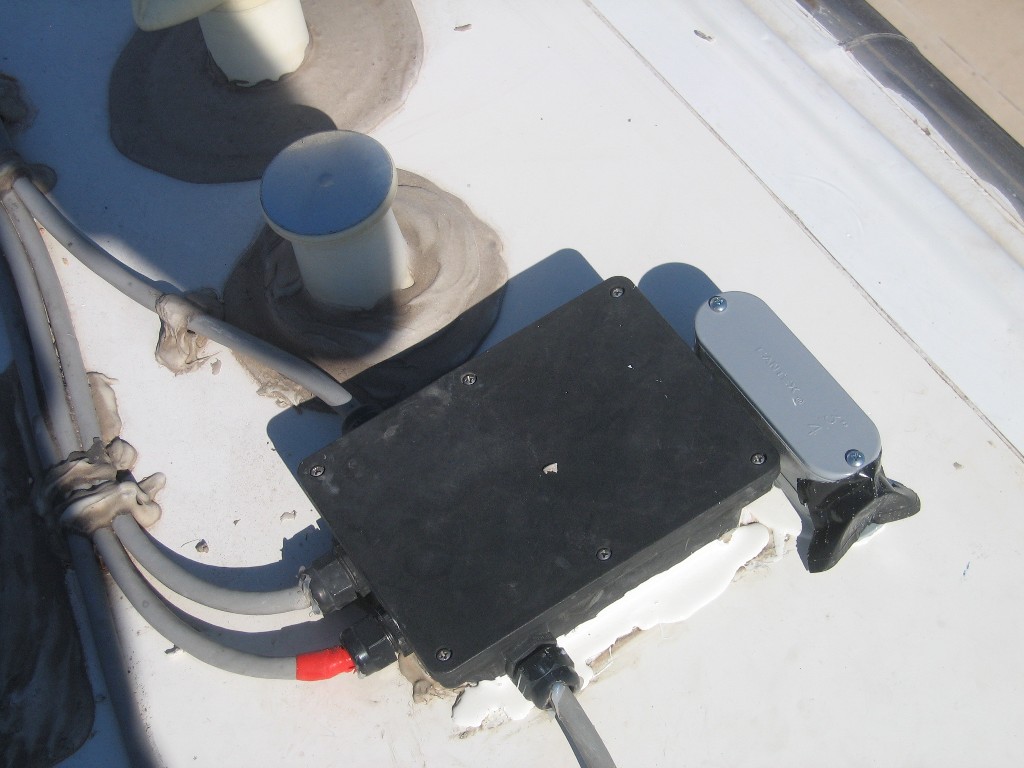
We used a
Carlon conduit body. We used the model with the back
fitting going into the roof and the fitting out the long end aimed
to the rear of the trailer. We bedded the conduit body with 3M 5200 adhesive caulk. We learned about 3M 5200 in our boating days. The bond of 3M 65200 is extremely strong and waterproof. We covered the whole body of the conduit fitting where it touches the roof. |
|
click on images to enlarge |
click on images to enlarge |
|
 |
For a clean caulk fillet, we used masking tape to create an area of
the roof that the fillet will bond to. We applied the caulk and then scraped off the excess. We then pulled the masking tape leaving a clean fillet line. |
 |
 |
We ran two exterior grade Cat-5 cables from the Deliberant radios
into the bedroom TV compartment terminating them in Cat-5 jacks. When we originally ran the Cat-5 cable to the Deliberant Radio, we just pushed the cable into dabs of caulk. We were not pleased with that as the cable caused a water dam and trapped dirt. We tried using wire-tie plates to raise the cable but that did not accomplish what we wanted.[ |
|
click on images to enlarge |
||
 |
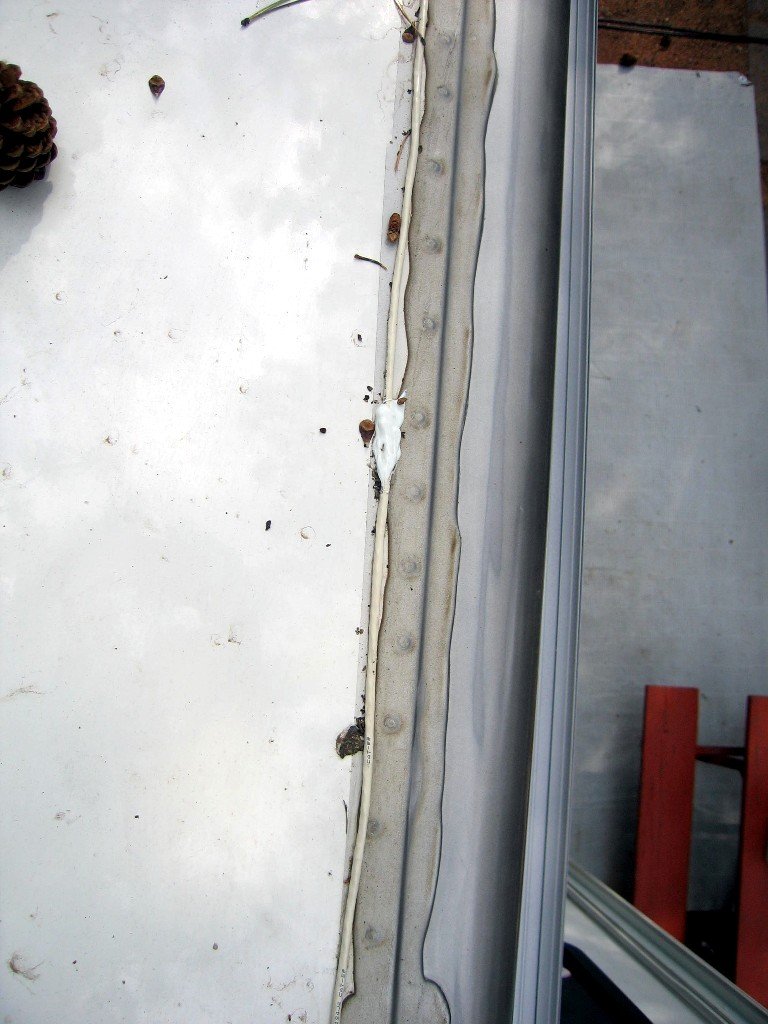
This time we used some 1/2": Carlon conduit and conduit bodies.
We used 3M 5200 Adhesive Caulk to attach the conduit bodies to the
roof. The conduit pieces ran on top of the existing wire-tie plates and
was attached to them with wire-ties. When we use wire-tie plates on the roof, we remove the double-sided tape that comes with the plate. We then use 3M Red double sided tape (the kind used for auto trim) to attach the plated to the roof. The 3M tape is weatherproof, unlike the tape that comes on the wire-tie plates. |
|
 |
How rain water can run under the conduits carrying the Cat-5 cables. | |
click on images to enlarge |
||
 |
We had added a second Deliberant radio when we had to send our original radio in for repair from a TIF (Technician Induced Foul-up, a mistake on Mark's part). We bought a new CPE-2 radio and installed it to the original DLB2310 case. When the DLB2310 was returned, we installed it back into it's case and left the CPE-2 installed on top. We can't use both radios at the same time because we only have one antenna but it will simplify the changeover if we ever have to do it again. | |
 |
We got our air-card, a
Novatel USB760 modem from
Millenicom who offered a 10GB/month (now 20GB) data plan for the same rate as the Verizon
5GB/month data plan. The Millenicom plan is a Verizon plan and Verizon has the most land coverage in the United States. For RVers, land coverage is more important than other marketing buzzwords used by wireless providers. For instance, AT&Ts coverage to 97% of the people means they specialize in the high density population centers like the East Coast and does not translate to coverage in places like Utah and Montana where RVer like to go. |
|
 |
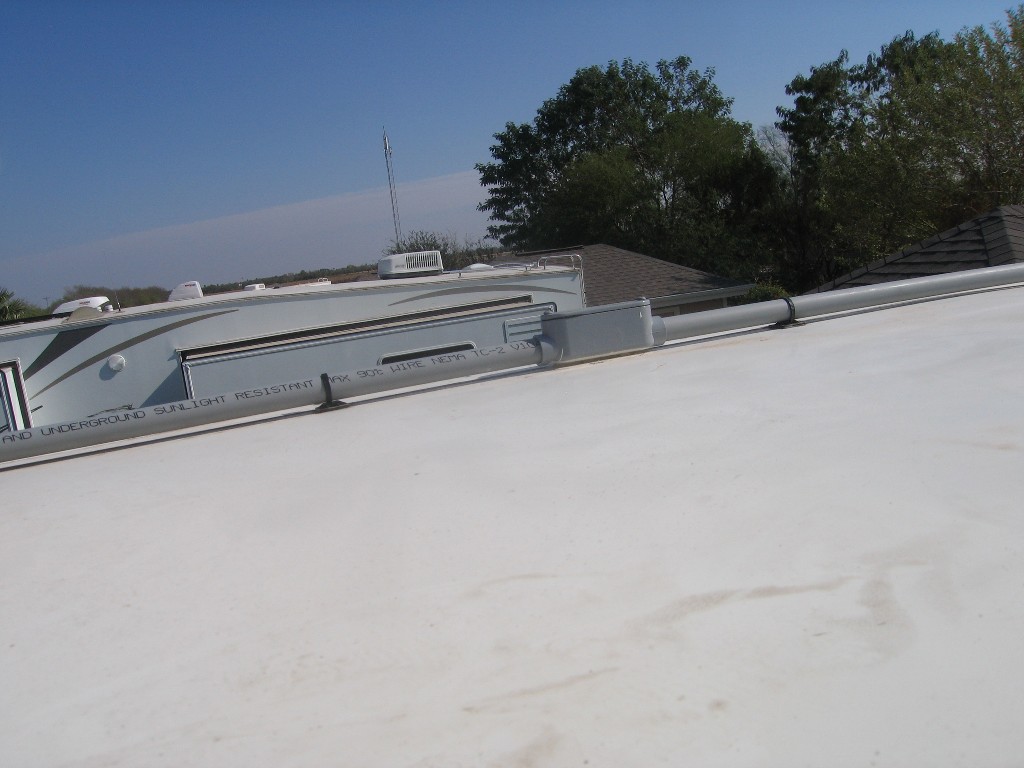
To maximize the range of our air-card, we mounted an external antenna on the roof.
We choose the
9DB 30" Super Truck antenna from Maximum Signal. We mounted the trucker antenna to the support arms of our Winegard Sensar TV antenna. These are typically called batwing antennas. |
|
 |
We used 1/8" aluminum spacers to keep the truck antenna bracket from interfering with
the elevation and storing of the batwing antenna and to reinforce the batwing antenna
support arm. We ran the antenna cable from the trucker antenna through the conduit body hole in the roof and into the bedroom TV compartment. |
 |
click on images to enlarge |
click on images to enlarge |
|
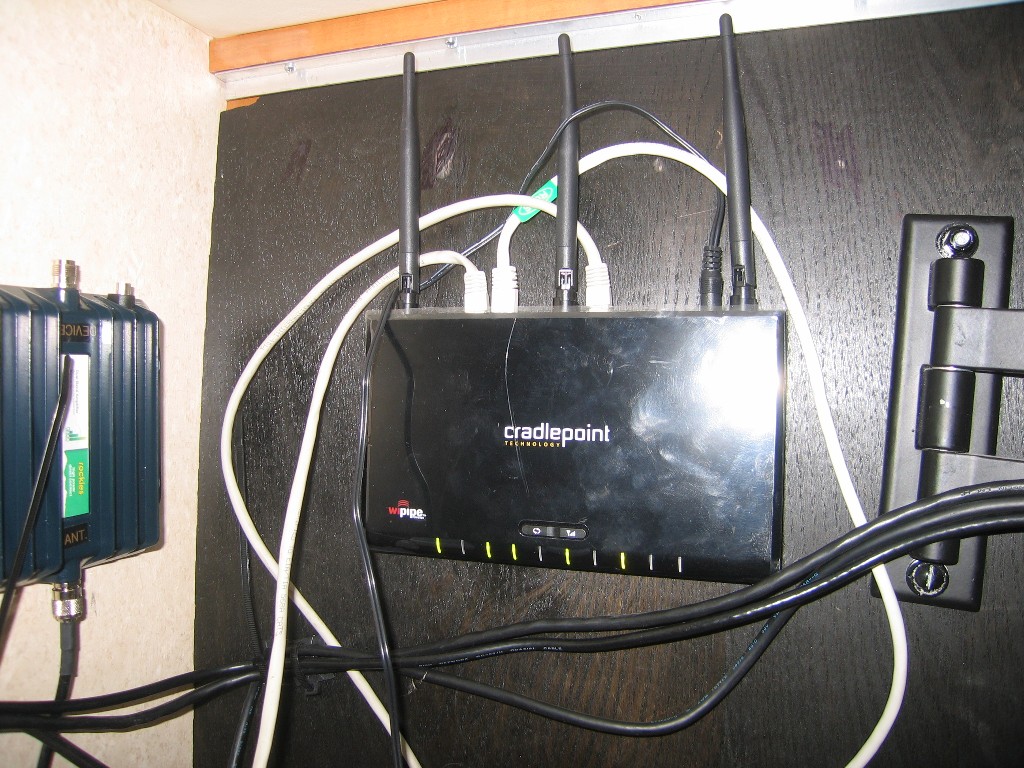 |
To use the air-card with our trailer LAN, we bought a CradlePoint MBR-1000 router from the 3GStore.com which has the capabilities to use an air-card as well as a WAN input from our Deliberant radio or a cable modem. The MBR-1000 has a full 802.11N implementation and has eliminated the connection issues we have had with the D-Link DIR-625 router which was an 802.11N draft implement. "Draft" means it was implemented before the official "N" standard was finalized. Windows wireless TCP implementation for Vista was designed around the "N" final implementation. This is sometimes referred to as 802.11N 2.0 | |
click on images to enlarge |
||
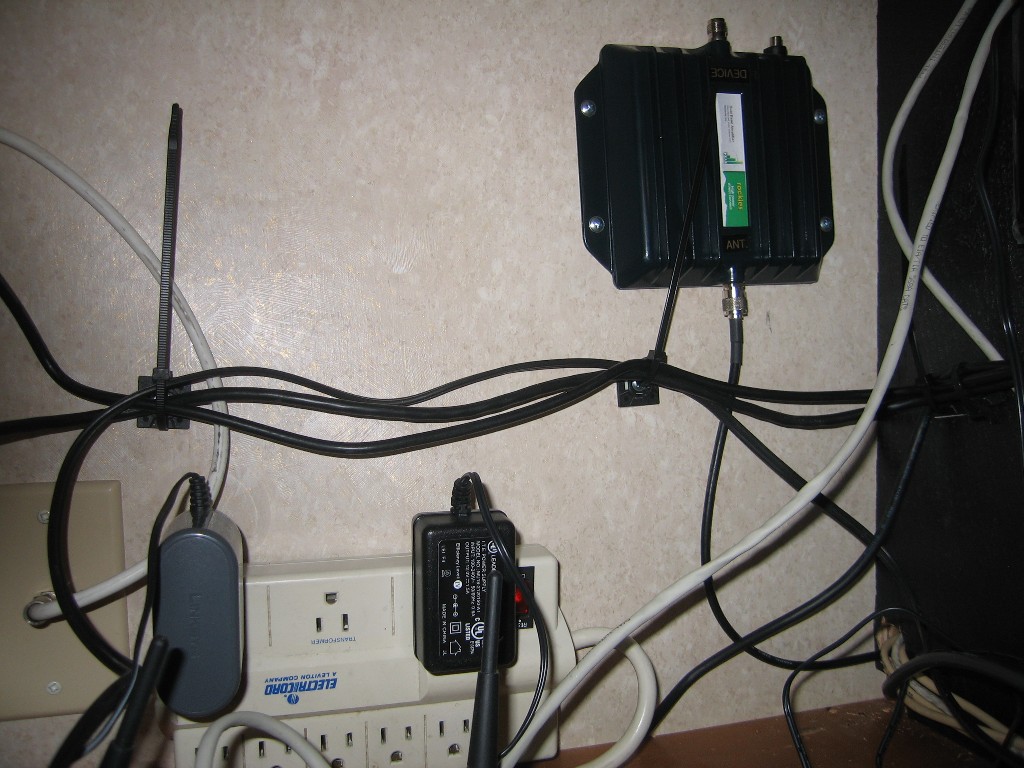 |
To insure we can get air-card connections as much as we can, we
bought a
Peak Reception "Rockies" Extreme wired wireless amplifier
from Maximum Signal. "Wired" means the air-card modem is cable connected
to the amplifier. We mounted the amplifier in bedroom TV compartment. We used Velcro to attach a surge protection powerstrip to the wall for the power brick LAN devices. |
|
 |
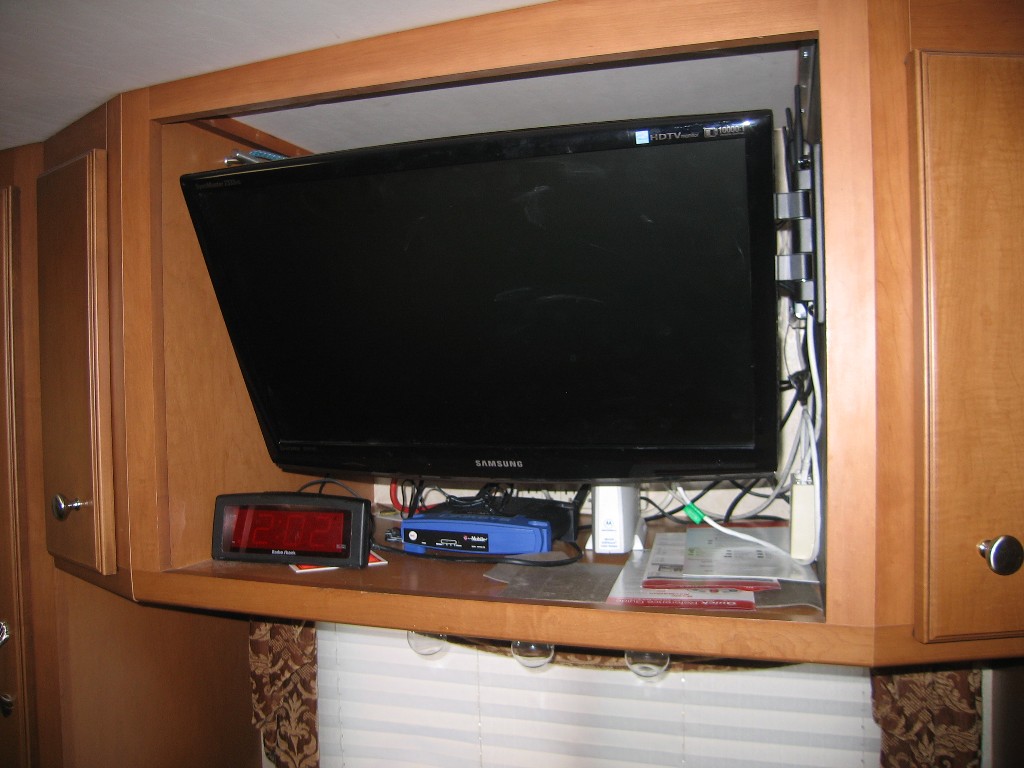
We wall mounted the Linksys router we use as a hotspot device
but the lights are on the front of the case. We don't need the
lights very often. We currently are using Park cable modem, the white case device. All the network equipment is more or less hidden behind the bedroom TV. |
 |
click on images to enlarge |
click on images to enlarge |
|
 |
It is not easy to run cable inside RV walls. Whatever insulation is used (foam or
fiberglass) is dense and makes cable access difficult. Also, the framing in an RV
wall tends to be more roadblocks than in a typical house. So we ran the cables across the backs of the shirt closet and bin next to the TV compartment and used Wiremold plastic wire runs to cover the cables. |
 |
We had more cables than the available Wiremold raceway could hold, so we used two. Since the holes we drilled through the sidewalls of the closet are larger than the height of the Wiremold raceway, we will used a couple of Wiremold transition pieces to cover the cable transition. |
||
 |
This is a schematic of out air-card and Wi-Fi LAN. | |
Disclaimer: The information in this site is a collection of data we derived from the vendors and from our personal experiences. This information is meant as a learning guide for you to make your own decisions Best practices and code should always be followed. The recommendations we make are from our personal experiences and we do not receive any compensation for those recommendations. |