
Please wait, I'm coming over...


Last Changed 4/9/2016 |
||
|
On Tige we mounted a WiFi antenna on a
fold down marine
antenna mount One of the goals with the new motorhome was to reduce the
amount of times climbing on the roof. We wanted a fixed mount
for our WiFi antenna. We originally had a full length 15 dB WiFi antenna and mount it on a 4' fiberglass marine antenna extension for a lot of height for the antenna on Tige. In the almost 10 years of use, there have only been a couple of times where that height was necessary. In fact, most of the time when we used the WiFi connection, we left the antenna folded down. On the Bounder, we are going to use a much shorter 4 dB WiFi antenna. |
||
 |
We already use a Ubiquiti Bullet HP WiFi radio. We saw
this WiFiRanger unit that uses a WiFi radio similar to a Bullet. We decided to make a similar mount but use magnets to attach the mount to a steel plate glued to the roof. |
|
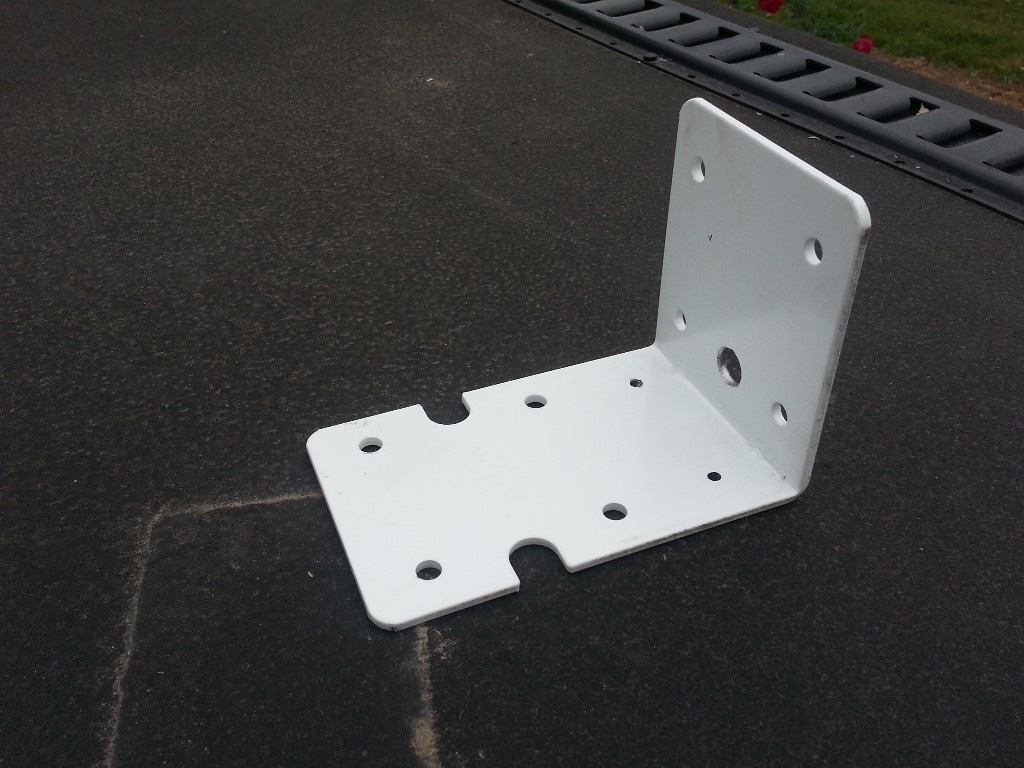 |
We wanted a healthy large size bracket as the mount. We
purchased a jumbo canister water filter bracket from the
RV
Water Filter Store. So far we have drilled the hole for the N-type Bulkhead adapter. We also drilled two holes for the magnets near the bracket bend. The other two magnets will use holes that came in the bracket. |
|
click on images to enlarge |
||
 |
We cut down the vertical height of the bracket. We drilled some holes for a wire tie to help hold the antenna position. We used a Velcro strap held by the magnet mount screws to hold the Bullet in position. |
|
 |
Our bullet mount is ready to go. Now we need the motorhome. | |
click on images to enlarge |
||
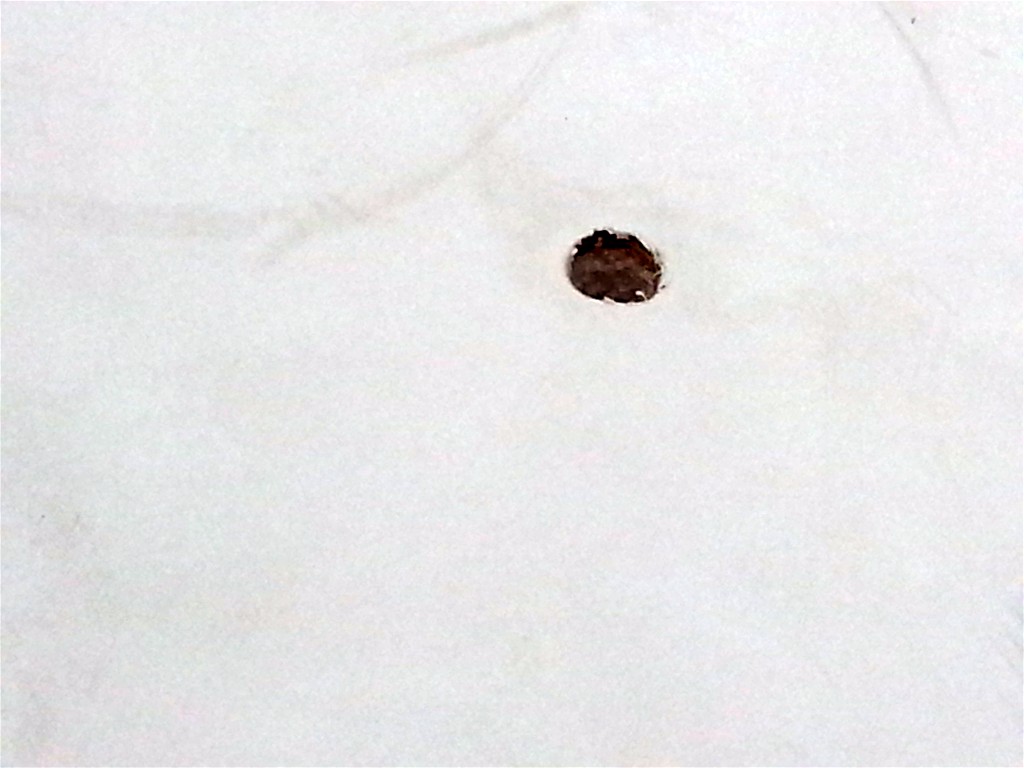 |
We drilled from inside with a long 1/4" drill bit so we
knew where the
entry point would be. We then used a 3/4" hole say to cut through the roof. We had to also cut from the inside to complete the hole. |
|
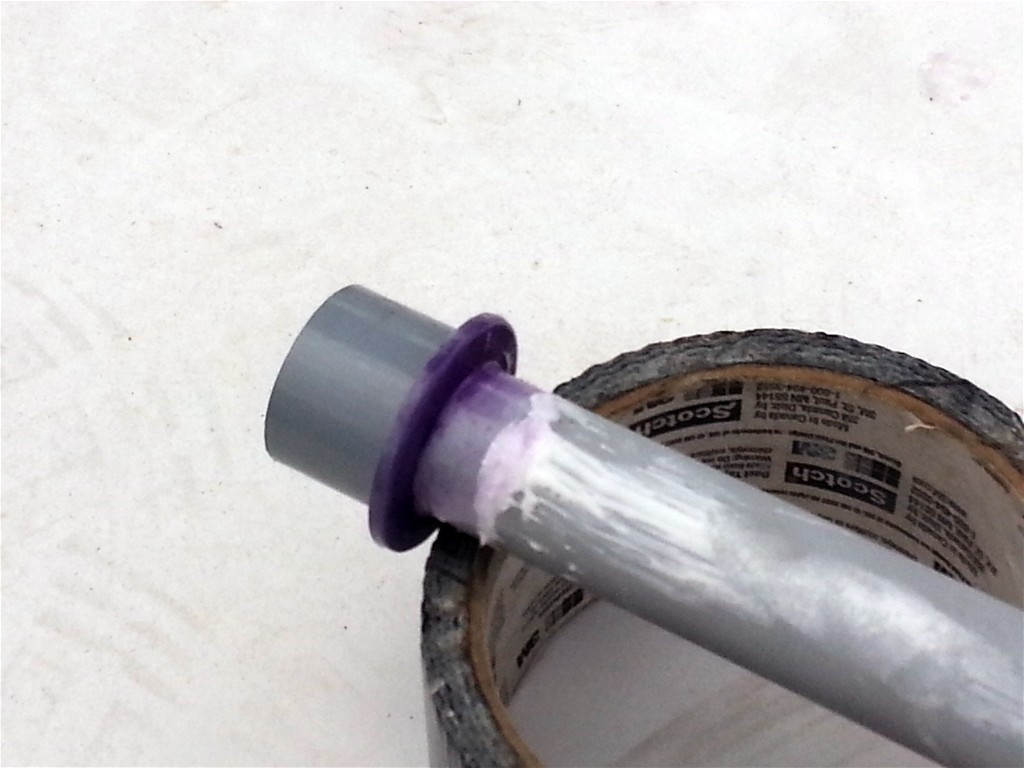 |
We are running a piece of 1/2"electrical PVC conduit. We use a 3/4"-to-1/2" reducer to add to the surface area for gluing the conduit and reducer to the electrical box. |
|
click on images to enlarge |
||
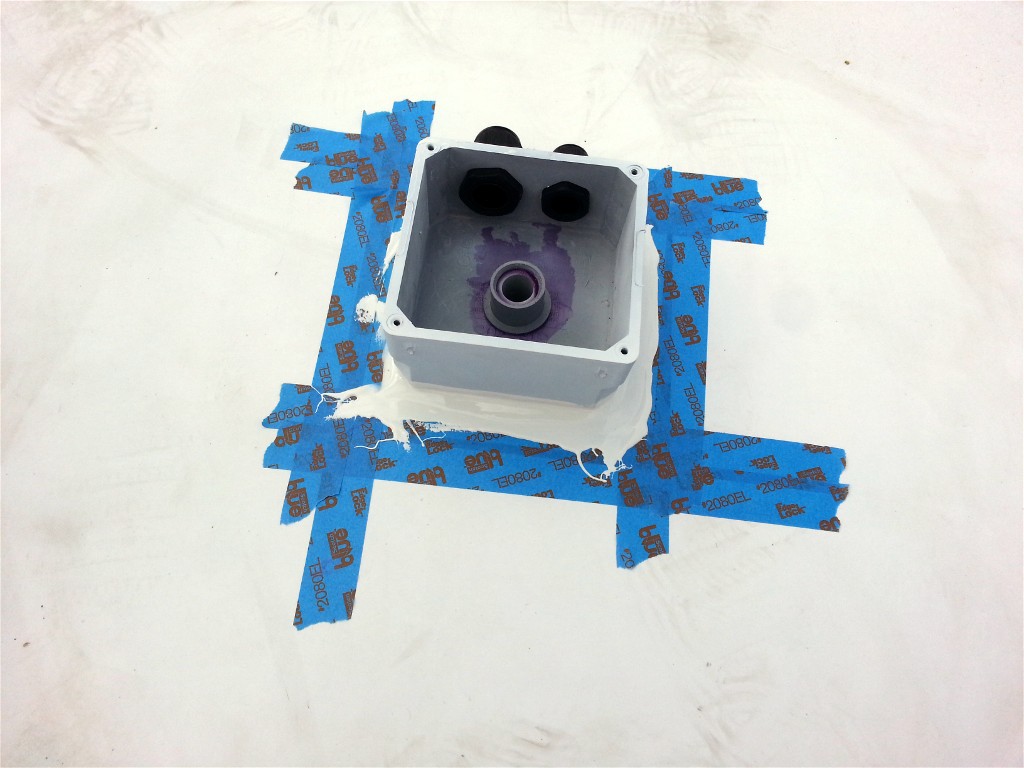 |
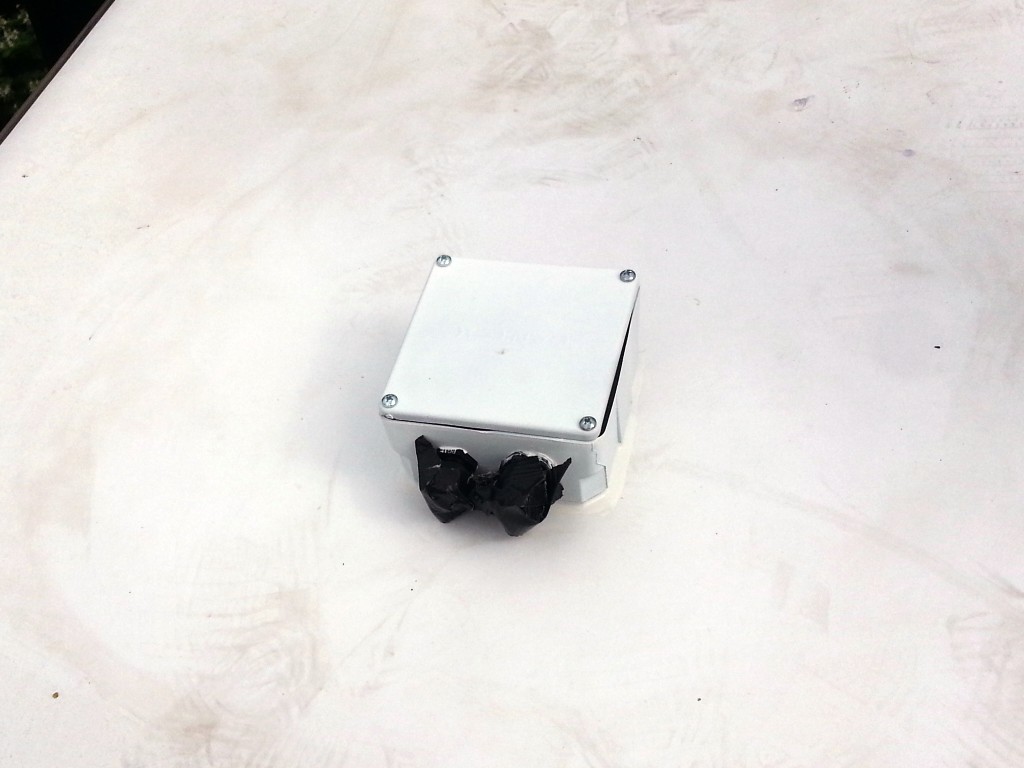
We drilled through the bottom of the PVC electrical box for the 1/2"
conduit gluing the conduit and the reducer. 3M 5200 adhesive caulk was spread under the bottom surface of the electrical box. We use masking tape to make for cleaner caulk lines. After the caulk is smoothed, the masking tape is removed. |
|
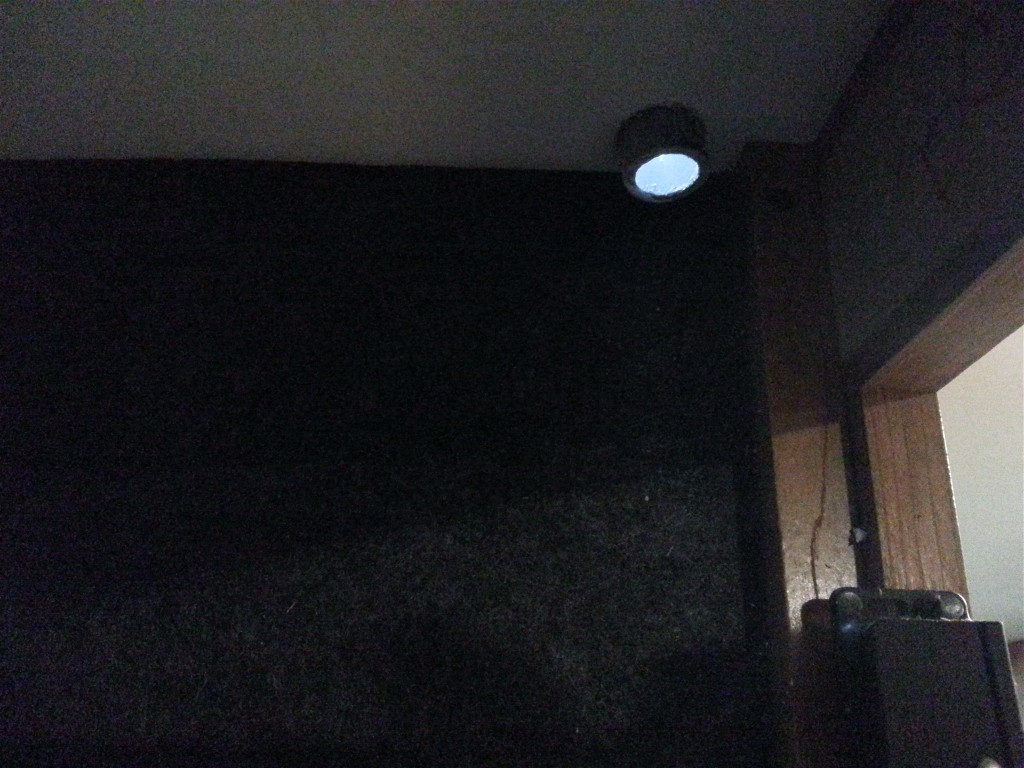 |
The hole from the inside. We had trial fitted the conduit to know what its length should be. | |
click on images to enlarge |
||
 |
The roof access will be used with the 4G Antenna and the Bullet mount. | |
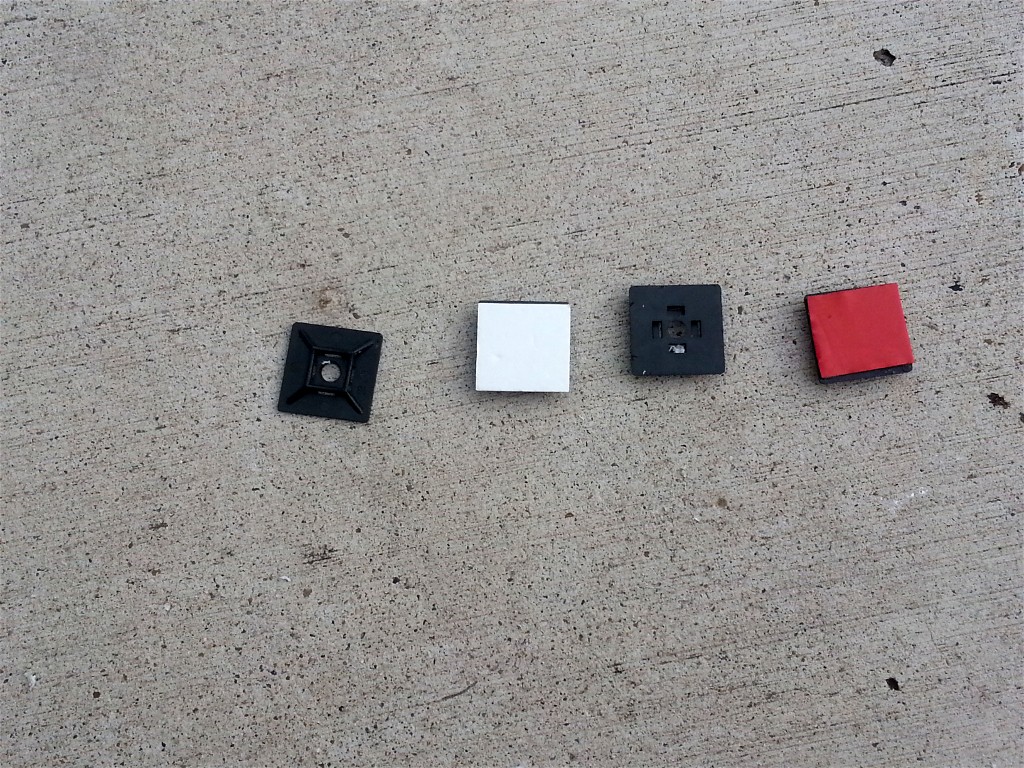 |
We use wire ties (left) to hold cable on the roof. The
adhesive back of the wire tires (left center) is not good for
exterior use, We remove the regular adhesive (right center)
using lacquer thinner. Then we apply 3M Red Label super tape. |
|
click on images to enlarge |
||
 |
Here are the 4G Antenna and the Bullet radio magnetically attached to a
steel plate caulked to the roof. The steel plate is painted to resist rust.. |
|
 |
We used the prepped wire ties to route the 4G Antenna cable and the Cat-5 cable from the Bullet radio to the roof entrance.. | |
click on images to enlarge |
||
The ever more clear hindsight said we should have used 3/4" conduit instead of 1/2" With the 1/2" conduit, we had to feed the RJ45/CAT-5 cable from the Bullet first followed by the SMA cable from the 4-G Antenna. With a 3/4" conduit we could feed either cable first. |
||
Disclaimer: The information in this site is a collection of data we derived from the vendors and from our personal experiences. This information is meant as a learning guide for you to make your own decisions Best practices and code should always be followed. The recommendations we make are from our personal experiences and we do not receive any compensation for those recommendations. |