
Please wait, I'm coming over...


Last Changed 14/13/2014 |
||
|
Tige has a fiberglass roof. There are seams where the roof meets the fiberglass front cap, the fiberglass rear cap, and the
aluminum wrap to the side walls. These seams are screwed together and in the original manufacture, the screws were covered by a generous bead
of caulk. |
||
 |
The original caulk bead over the roof seams when new. |
 |
click on pictures to enlarge |
||
The caulk on the seams started to crack. It was just surface cracking. The screws heads were still covered. We contemplated doing the normal maintenance step of running fresh caulk over the cracks. While we were shopping for new caulk, the RV dealer, we were at, recommended using Eternabond Tape to cover over the caulk seams for a more permanent repair. We were familiar with Eternabond as we used it to repair the roof of our motorhome, Training Wheels. Eternabond is a super adhesive tape with a very durable surface. It is an excellent material to cover seams. The normal application for Eternabond is to just apply it over the existing caulk. We decided to make a neater installation by first removing the existing caulk. We had the advantage of a fiberglass roof so we could use plastic scrapers to remove the old caulk. The task of removing the old caulk was a formidable one. |
||
 |
We scraped the old caulk off. Since the roof is fiberglass
and the wrap is aluminum, plastic scrapers were used. Lacquer thinner was used to clean most of the old caulk off. You can see that the screwheads stand up from the surface. |
|
click on pictures to enlarge |
||
 |
Our experience in applying the Eternabond on the front and back cap seams, where the screws are installed in a strip with raised edges. You will note that the screws for the end caps are in a molded
strip. Those edges gave a
uniform shape for the Eternabond tape to provide a nice even seam. The Eternabond evenly goes over the strip. |
 |
click on pictures to enlarge |
||
We wanted to do something similar to the roof side seams. We wanted an even shape, similar to the end cap strips for the Eternabond to be applied over. We bought some rubber molding insert material. This molding was a little heavier than the typical molding insert material but it didn't have enough body for what we wanted. We filled the inside of the molding with caulk to give it body. The molding was placed over the screwheads and mashed down to embed the screwheads into the caulk filler. This gave a even shape for the Eternabond to follow. Without the molding, the Eternabond tape, which is very tough and durable, would cause "tents" around each screw head trapping air. |
||
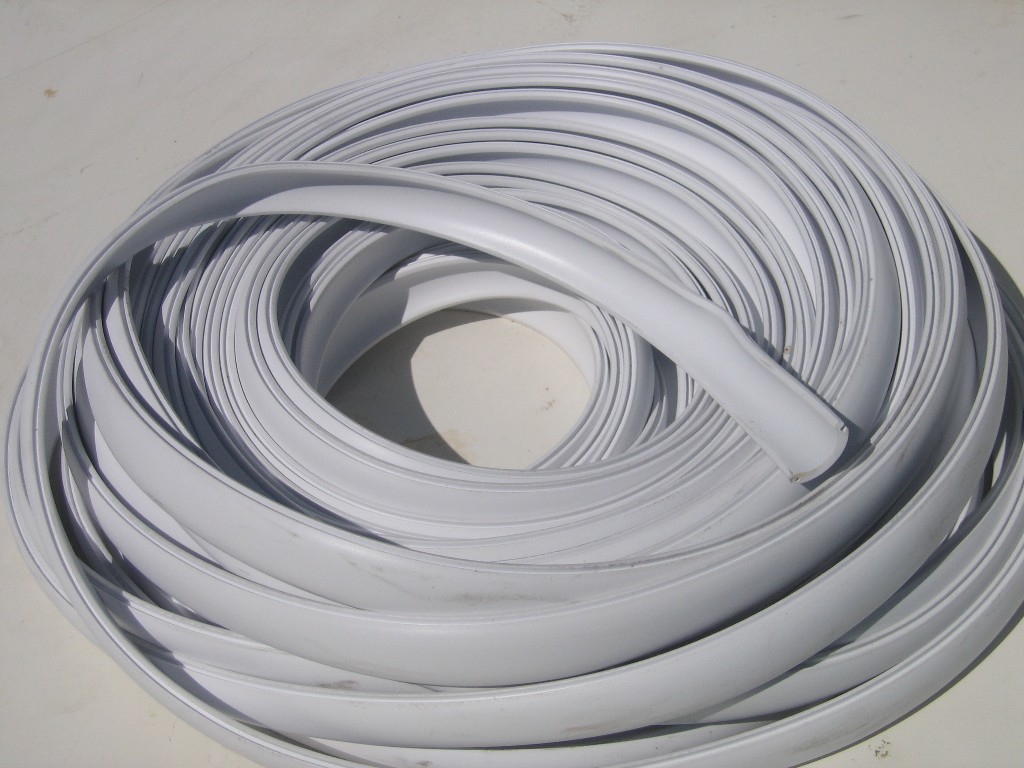 |
This is the molding we used. We prepped the molding by rolling it out and letting it sit in the sun to relax it, Then we filled the inside of the molding with caulk to give is body. |
 |
click on pictures to enlarge |
||
 |
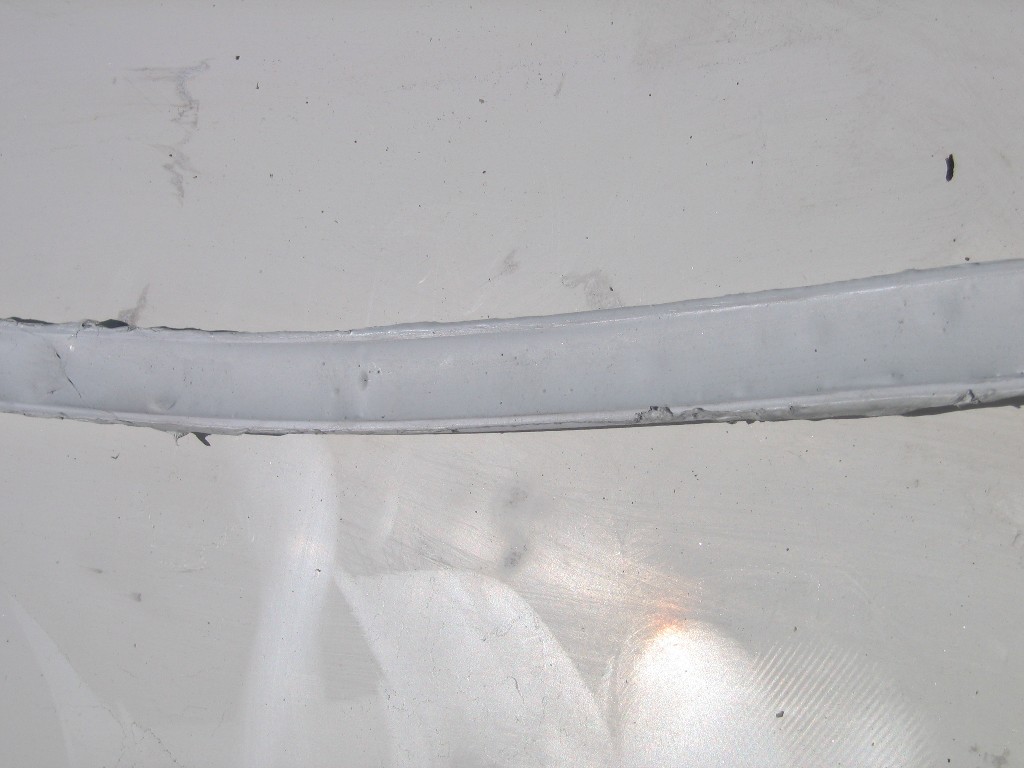
The caulk filled molding has been placed over the screw heads on the row of screws.. |
 |
 |
Close examination of the skylight shows the "tenting" effect when the Eternabond is applied over the screw heads. This is what the molding is being used to eliminate on the side seams. | |
click on pictures to enlarge |
||
We also found that while the Eternabond instructions only says to keep the tape at room temperature, it is far better to unroll the length of tape we are going to install and let it sit in the sunlight for a couple of hours. That allowed the tension in the tape from being wrapped in the roll to relax. The relaxed Eternabond is easier to smooth down around the shapes we had to apply it over. |
||
 |
Here is the Eternabond Tape rolled out, relaxing and warming in the sun. We used masking tape to keep the tape from blowing around in the wind. |
|
 |
The Eternabond applied over the molding over the screws. | |
click on pictures to enlarge |
||
 |
The Eternabond folks recommend caulking the edges of the tape
that face into the wind to prevent the edges of the Eternabond from
lifting. We used Polysulfide caulk which was recommended by the Eternabond
folks.. We decided to caulk all edges. To make the caulking neater, we put masking tape on each side of the edge, about 1/16" from the edge. We then applied the caulk and scrapped the excess off. Then we pulled the masking tape off before the caulk set. |
|
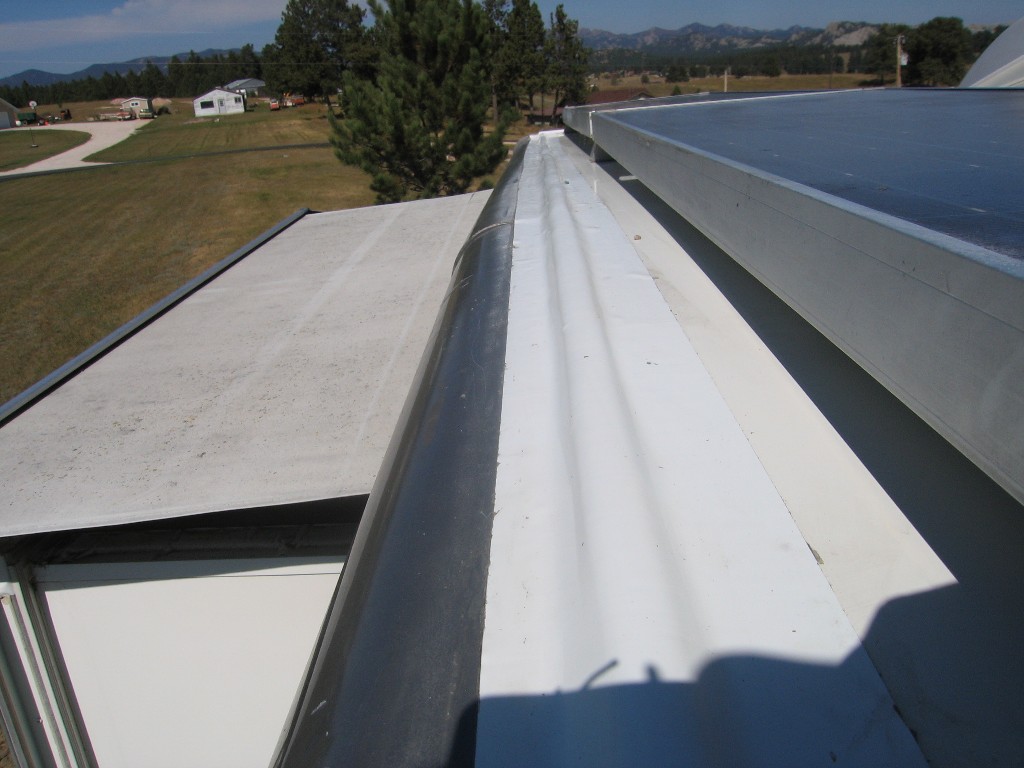 |
A very neat installation. A permanent fix to cracking caulk. |
|
click on pictures to enlargeUpdate |
||
| Other Eternabond projects have occurred since. One was a replacement of the bathroom vent fan. The other was a replacement of the shower skylight where we applied some new steps to do Eternabond better. | ||
Disclaimer: The information in this site is a collection of data we derived from the vendors and from our personal experiences. This information is meant as a learning guide for you to make your own decisions Best practices and code should always be followed. The recommendations we make are from our personal experiences and we do not receive any compensation for those recommendations. |