
Please wait, I'm coming over...


Last Changed 4/1/2014 |
||
|
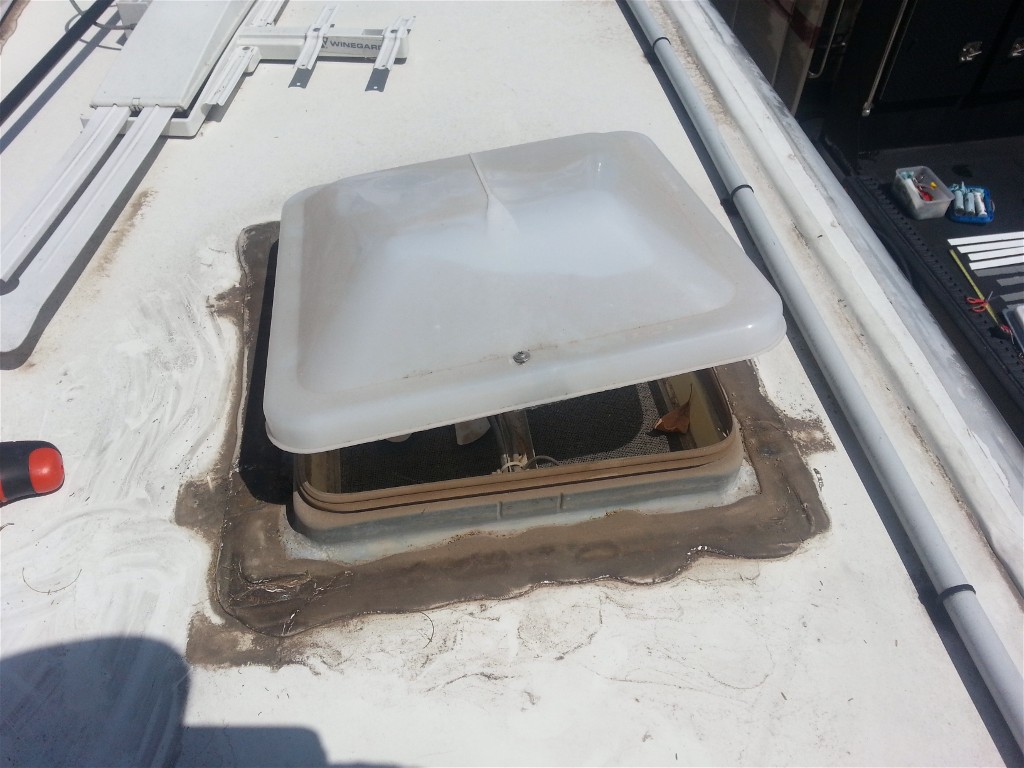
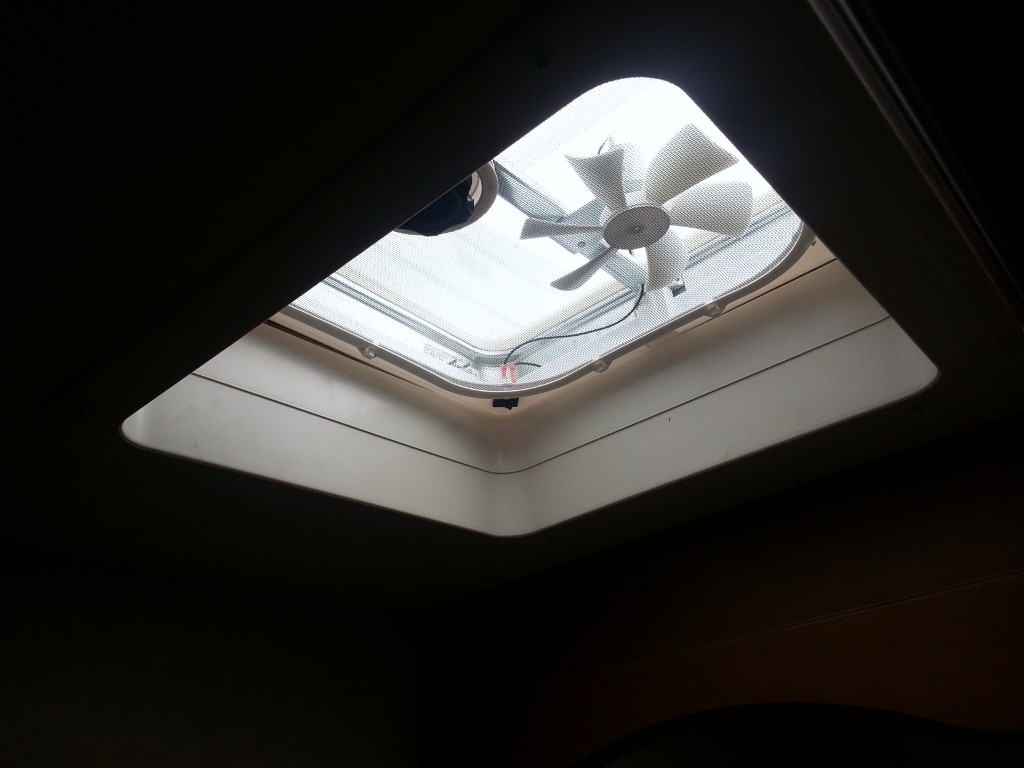
When we were inspecting our trailer after a hailstorm, we found that
the bathroom exhaust fan lid had disintegrated. Not From the
hail from just from aging in the sun. The amazing thing was
that the
lid was always covered by a TurboMaxx cover. The exhaust fan didn't have a replaceable lid so we needed to replace the fan unit. |
||
 |
First step was to remove the fascia surround. Note the crummy shape of the screen. This fan unit had no provision to remove the screen for cleaning and taking the TurboMaxx cover for access from the roof was too much effort. |
|
 |
The TurboMaxx fan cover was removes. The lid on the fan was a kludge attachment of another lid that did not fit. | |
click on pictures to enlarge |
||
 |
The screws were remove and all the old caulk and putty was removed.
The area was cleaned with lacquer thinner for a very clean surface., |
|
click on pictures to enlarge |
||
 |
Instead of using putty tape, we decided to use double-stick Eternabond tape. We used 2" tape and stuck the tape to the fan flange and then trimmed the excess. | |
|
We could have used a third hand or a helper in placing the fan assembly
onto the roof. The Eternabond tape is extremely sticky and once it
touches, it is more or less there to stay. I had tried
sticking two screws through the tape at opposite corners as
locators for placing the fan down, The screws were not rigid
enough and it took some jockeying to get the fan positioned over the
screw holes. The lesson learned that for the next similar project, some long headless screws will be screwed into the cornet holes and they will act as guides for putting the unit down. |
||
 |
The new fan assembly is taped and screwed to the roof. | |
click on pictures to enlarge |
||
 |
Next regular Eternabond tape was applied over the screws and the
edge of the flange. To insure not air gaps around the screws, a 7/16" socket was used to firmly press the Eternabond tape around the base of each screw. Then the rest of the tape was firmly rolled down with a heavy roller. |
|
click on pictures to enlarge |
||
 |
An important step for an Eternabond tape job is to seal the edges of
the tape to protect it from wind creeping under the edge of the
tape. For a cleaner job, we mast the edges of the tape and the roof. Then the caulk is applied using a scrapper to remove excess and applied to other areas. Then before the caulk sets up too much, the tape is removed. |
|
 |
The TurboMaxx fan cover is reinstalled. We use the TurboMaxx cover because e never close the exhaust fan cover and the TurboMaxx keeps any rain from coming in. | |
 |
The new fascia surround was installed. One benefit of the new fan assembly is that the screen is removable for cleaning from the inside. |
|
click on pictures to enlarge |
||
Disclaimer: The information in this site is a collection of data we derived from the vendors and from our personal experiences. This information is meant as a learning guide for you to make your own decisions Best practices and code should always be followed. The recommendations we make are from our personal experiences and we do not receive any compensation for those recommendations. |