
Please wait, I'm coming over...


Last Changed 6/3/2007 |
||
 |
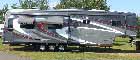
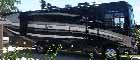
The basic conversion is done. The work was done at the Custom Conversion Facility at Central Carolina Trucks |
|
 |
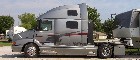
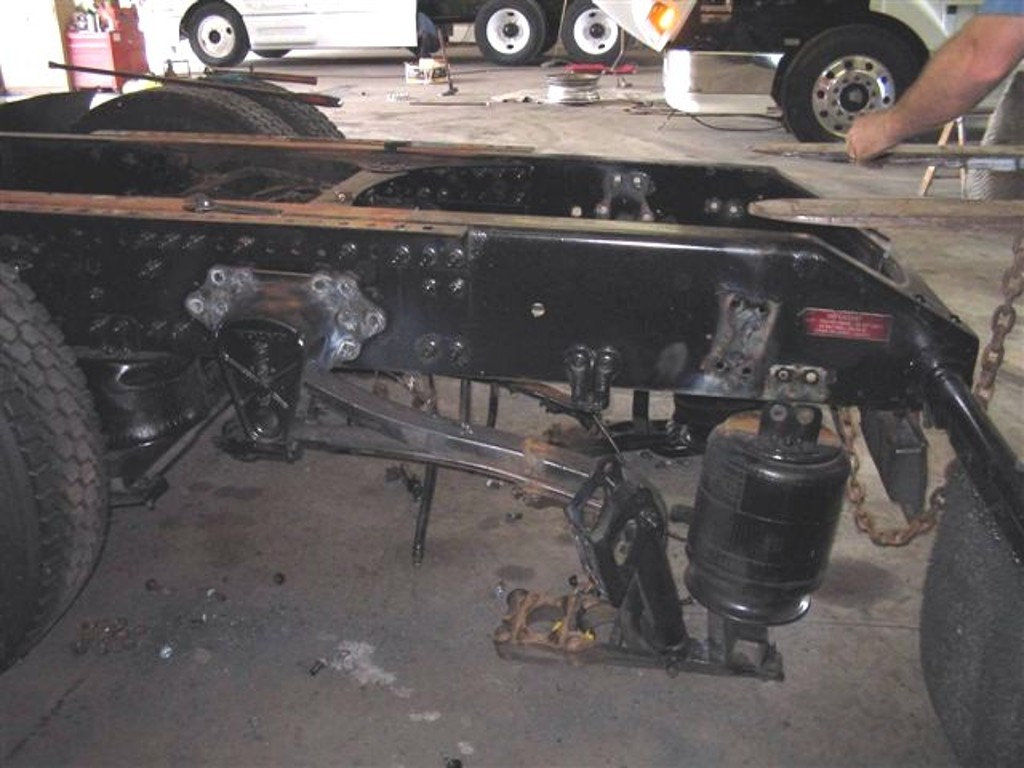
The first step was to remove the original semi hitch plate and the slider mechanism. | |
 |
||
click on images to enlarge |
||
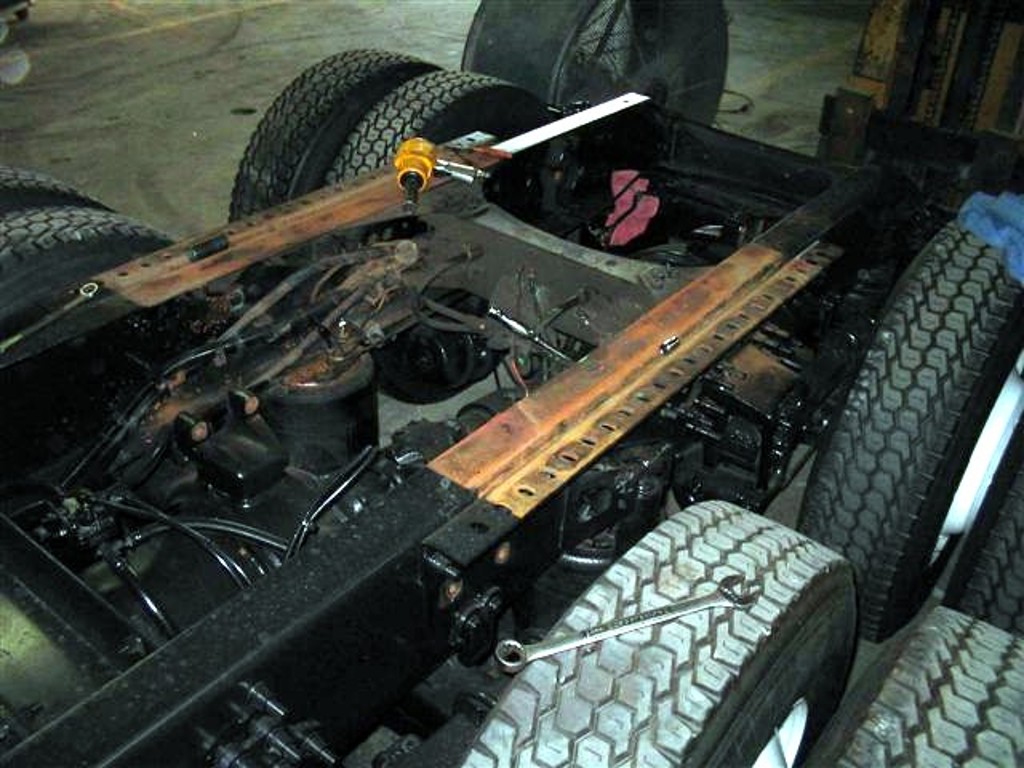
| The next step was to remove one axle and the
relocate the other |
||
 |
The original wheelbase was 229". This is measured from the center of the front axle to the center between the two rear axles. When the center axle is removed and the rear axle moved forward, the resultant wheelbase will be 203", measured from axle to axle. | |
click on images to enlarge |
||
 |
The rear axle removed and the attachment hardware being removed. | |
 |
Most of the rear axle hardware removed | |
click on images to enlarge |
||
Then the frame was shortened and the new Advanced Air Hitch installed. |
||
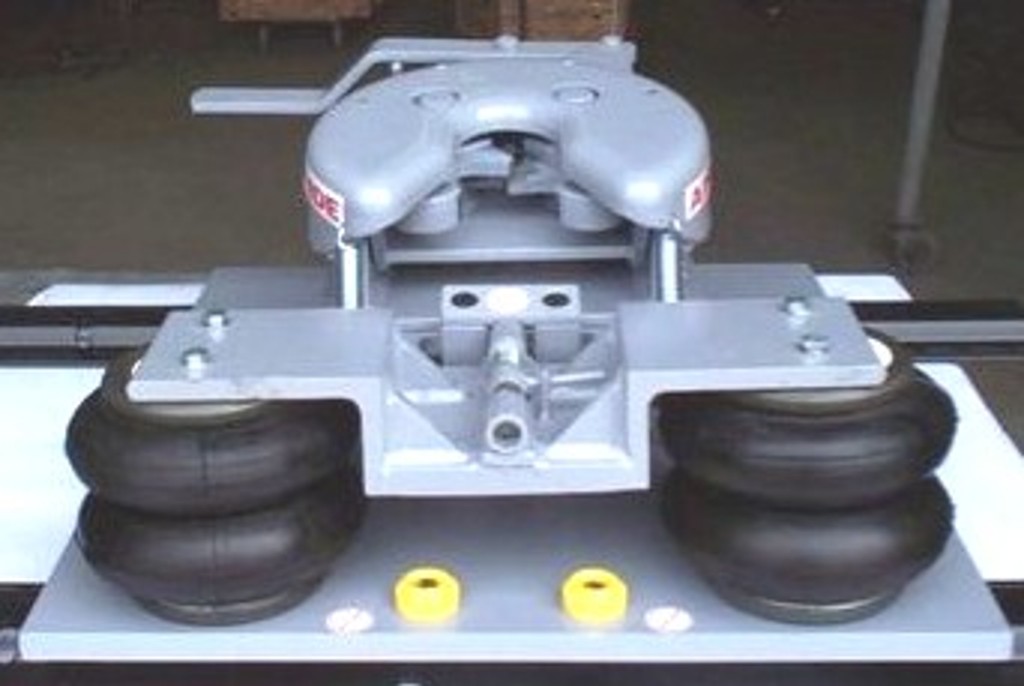 |
The new Advanced Air Hitch arrived. | |
 |
||
click on images to enlarge |
||
 |
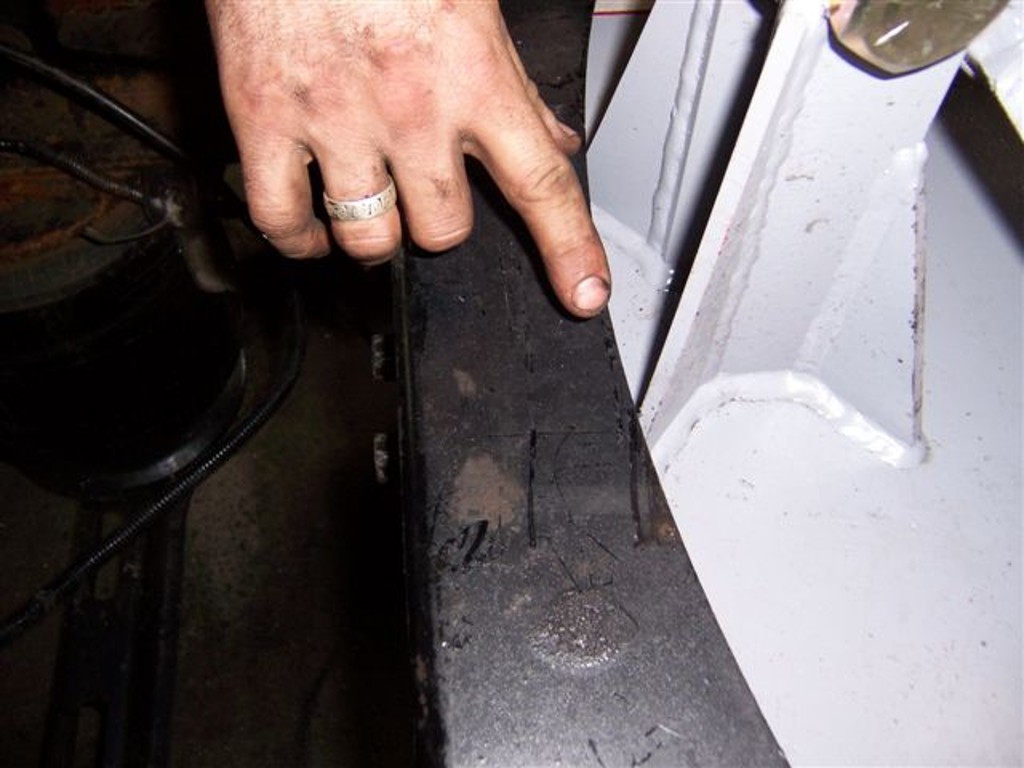
Checking hitch mounting point. | |
 |
||
click on images to enlarge |
||
 |
Some trial fits of the hitch. | |
 |
||
click on images to enlarge |
||
 |
The old hitch mounting rails. | |
 |
||
click on images to enlarge |
||
 |
The frame rails have been cut. The angle brackets were used to mount the old hitch. | |
 |
||
click on images to enlarge |
||
 |
A plate is mounted between the frame rails. The hitch will be mounted to it. | |
 |
||
click on images to enlarge |
||
 |
We made the decision to mount the hitch behind the crossmember located behind the axle. We traded some length and having the pin center behind the axle for having the extra strength of the full crossmember. | |
 |
||
click on images to enlarge |
||
 |
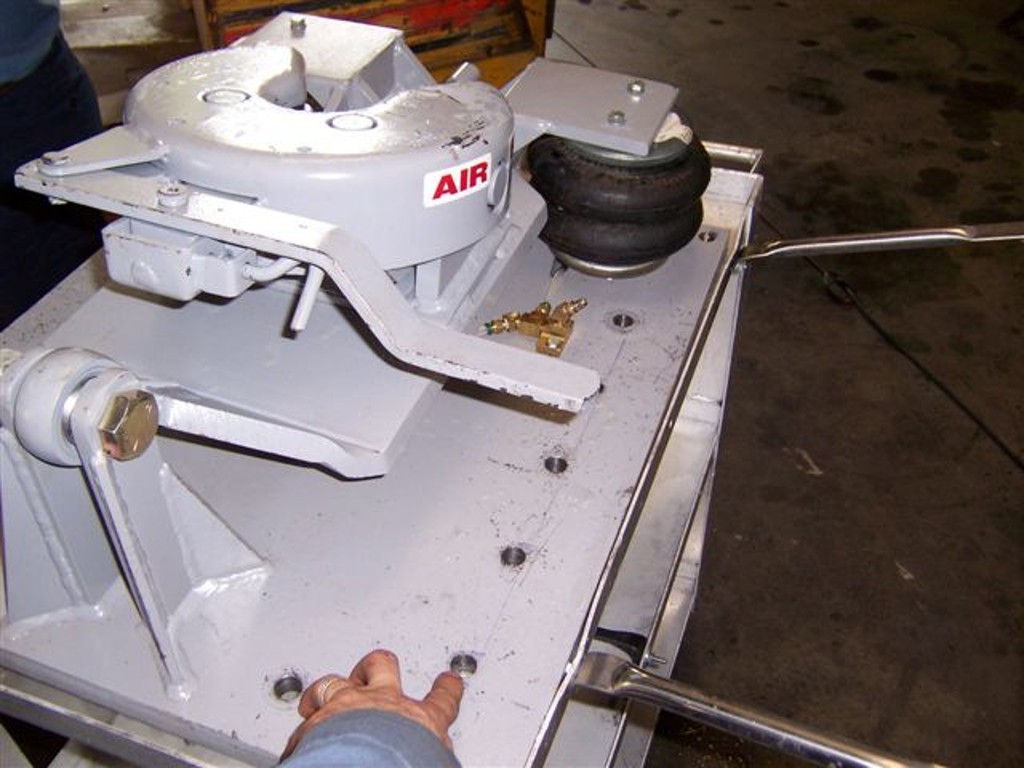
Here is the Advanced Air Hitch sitting on the mounting plate. | |
 |
||
click on images to enlarge |
||
 |
||
click on images to enlarge |
||
 |
Note how the Advanced Air Hitch was mounted right up to the retained crossmember | |
 |
||
click on images to enlarge |
||
|
|
The top of the hitch plate is 45 3/4" which should accommodate most trailers without modifications. | |
click on images to enlarge |
||
 |
The frame will be 41 1/2" after the rear wheel. Here is Danny Everhart, the man that was in charge of the conversion. He was a great guy to work with. | |
 |
||
click on images to enlarge |
||
 |
Bolt holes for hitch mounting. | |
 |
||
click on images to enlarge |
||
 |
The hitch got bolted in. | |
 |
||
click on images to enlarge |
||
 |
Really good work was done here. | |
 |
||
 |
||
click on images to enlarge |
||
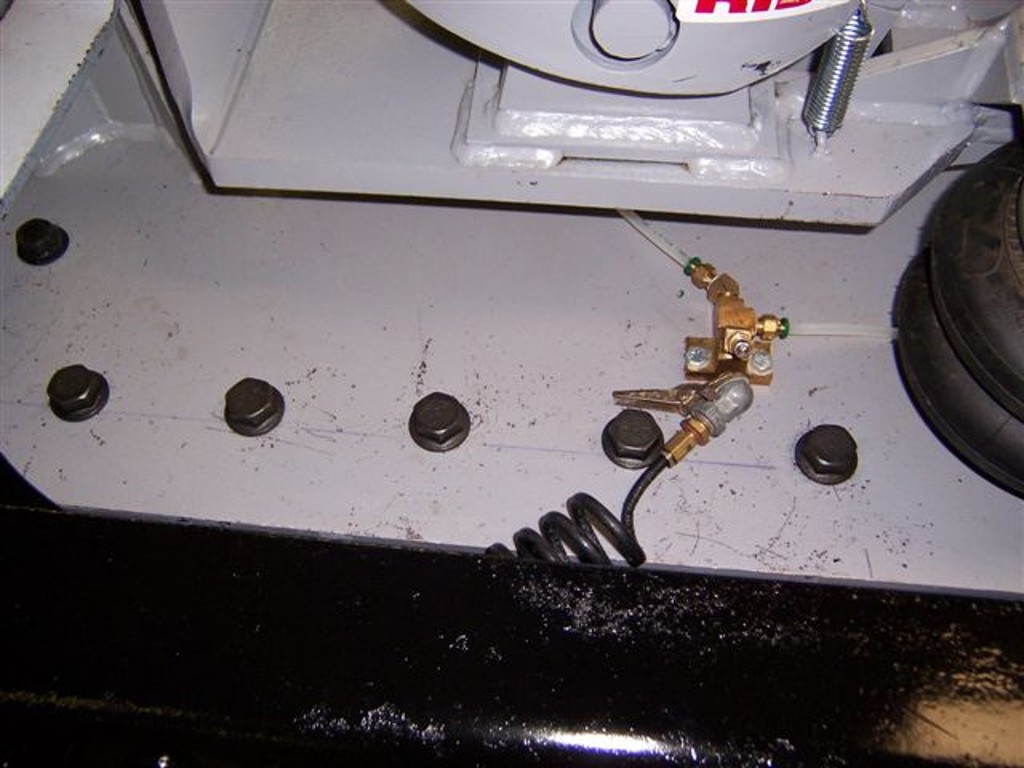
The excess air lines were capped. |
||
 |
Some fenders were put on, and the basic work was done. A note - we had the fenders mounted so that they cleared the wheels when the air suspension was dumped. When we added the bed, we kept these fenders under the bed with the same clearance. This allows us to move Red Rover from under the trailer with the suspension dumped and without scrapping the wheels on the fenders. Many forget this factor and have their tires rubbing on the beds if they dump the suspension. |
|
 |
||
click on images to enlarge |
||
Disclaimer: The information in this site is a collection of data we derived from the vendors and from our personal experiences. This information is meant as a learning guide for you to make your own decisions Best practices and code should always be followed. The recommendations we make are from our personal experiences and we do not receive any compensation for those recommendations. |