
Please wait, I'm coming over...


Last Changed 5/8/2011 |
||
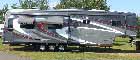
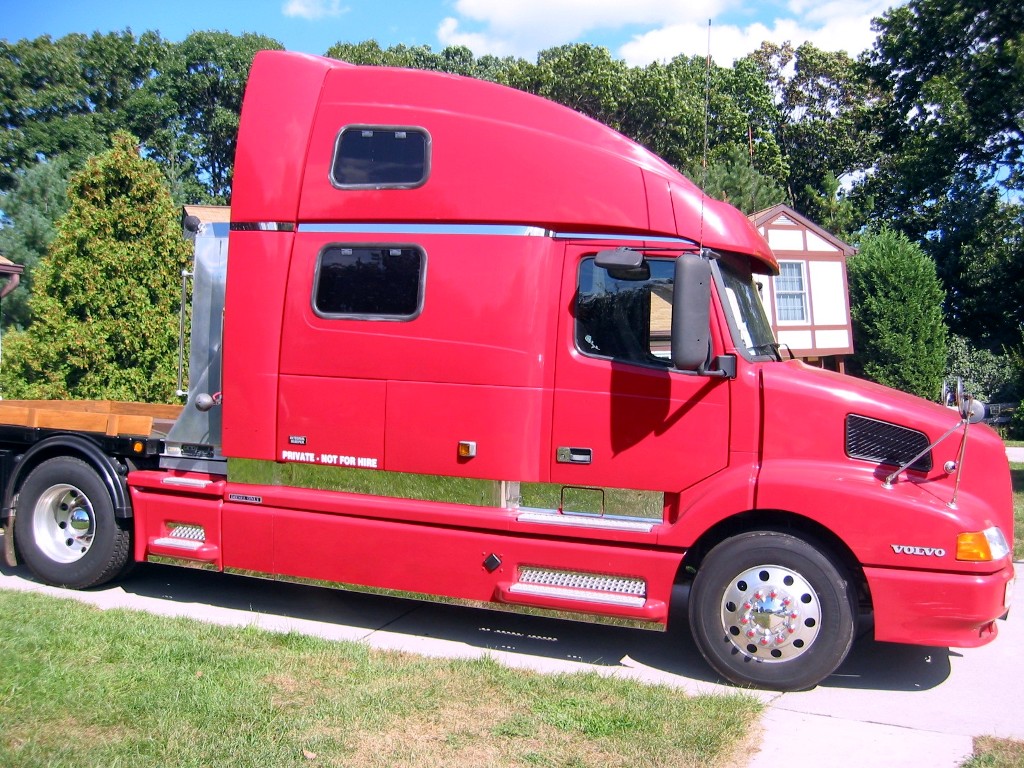
| Since Red Rover will be our only mode of transportation in the future, it is only reasonable for us to add some trim to make him a little flashy. | ||
Lug Nut Covers |
||
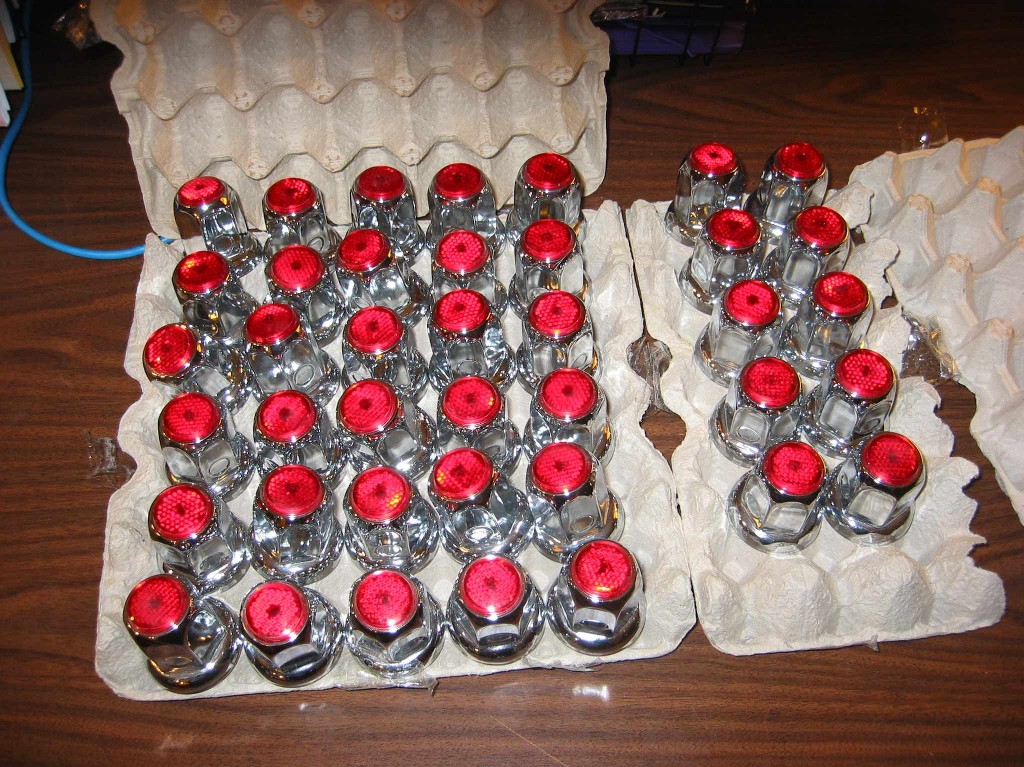 |
This is Mark's Christmas present from his daughter, Stacy and Son -in-Law, Ken. 40 red reflector lug nut covers. These will add some sparkle to Red Rover's wheels.< | |
click on images to enlarge |
||
 |
||
 |
||
click on images to enlarge |
||
Eventually we found that the metal lug nut covers would rust. We purchased plastic lug nut covers that has a blunt nose, drilled holes in the nose and glued the reflectors taken from the old lug nut covers. Same look without the rust. |
||
Recovered Workstation SeatsRed Rover is very gray inside. Almost everything is gray with some dashes of black. The designer nature of the Co-Pilot could not allow this to continue. |
||
 |
Our good friend Sibernut (Ron Knight) does upholstery and canvas
work when he is not bringing demolished vehicles back to life. The Co-Pilot chose the fabric and Ron did the work of cutting new filler and sewing the covers. |
|
 |
||
click on images to enlarge |
||
If you need some upholstery or canvas work done, you can find Sibernut in the Escapees Forum. He has made a cover for the area under a fifth-wheel trailer gooseneck to create a storage area. In the future we may be using the same fabric to trim the driver's and co-pilot's seat as well as trimming the doors. |
||
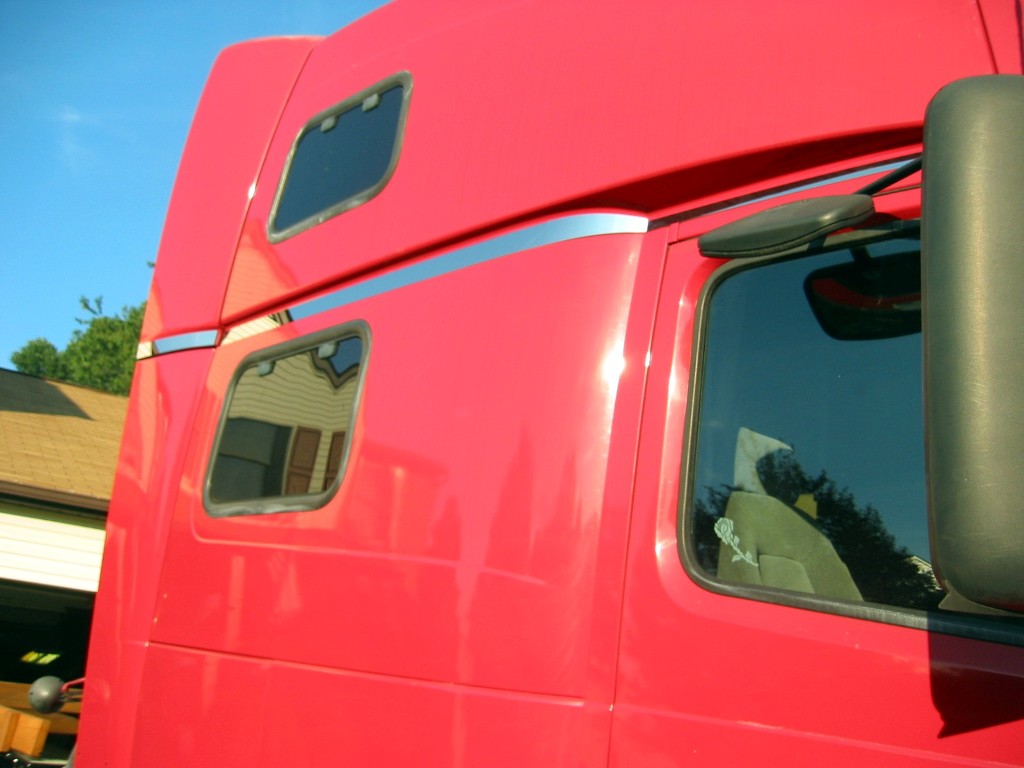
Upper Trim |
||
 |
When we saw the upper trim in the Dieters Catalog, we decided that we wanted to add that to Red Rover. We felt that the stainless steel stripe along the crease line from the top of the doors, across the sleeper and the cab fairings, would break up the great redness of Red Rover. | |
 |
||
click on images to enlarge |
||
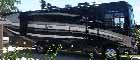
Fairing Trim |
||
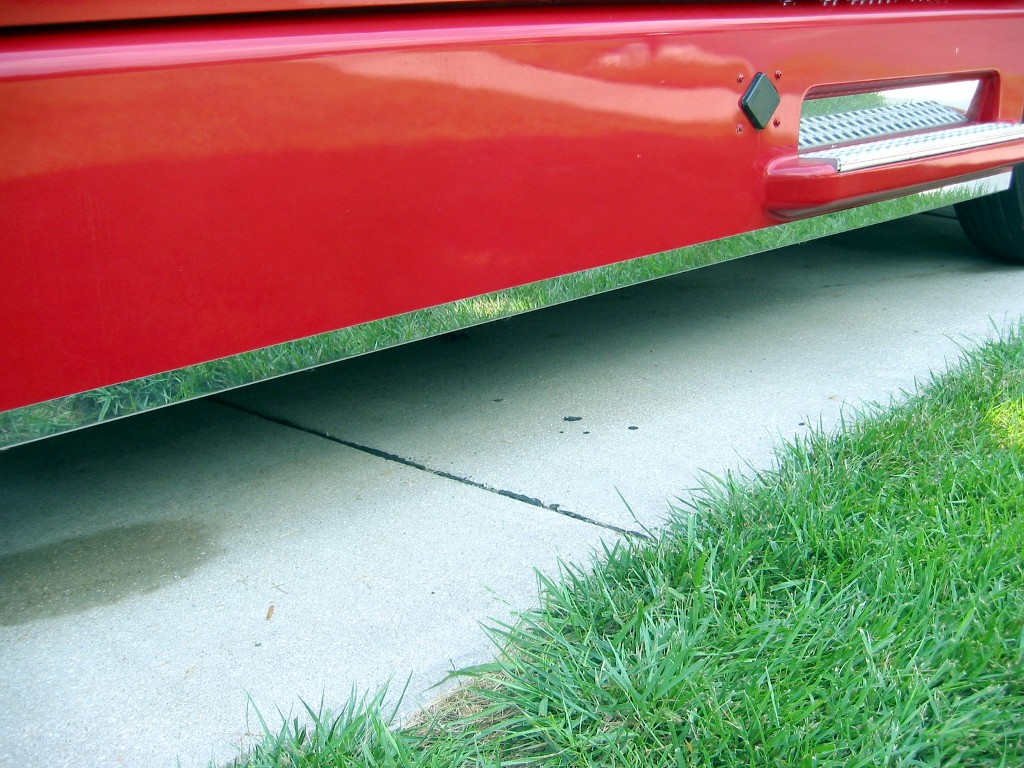 |
The decision to put stainless steel trim on the bottom edges of the fairings was done for two reasons. The first was to compensate for
a problem with the fairings. At several of the locations of the screws that hold the bottom edge of the fairings, the plastic had
broken. This was not obvious until we have to crawl under the truck to do the wiring changes. One option was to replace the fairings but at almost a thousand dollars per, not a very good one. |
|
|
For about two hundred dollars, we acquired the stainless steel trim from Dieters via Volvo Parts. The trim wraps under the fairing and
uses the same screw holes as the fairing plastic. The trim holds the fairing plastic in. So we secured the fairing plastic. The other reason? An excuse for more trim. |
||
Disclaimer: The information in this site is a collection of data we derived from the vendors and from our personal experiences. This information is meant as a learning guide for you to make your own decisions Best practices and code should always be followed. The recommendations we make are from our personal experiences and we do not receive any compensation for those recommendations. |