 |
 |
 |
Last Changed 3/26/2011
|
Red Rover had a couple of spots where the
paint was peeling, Mark thought he would ask his friend Ron Knight
(Sibernut) to help touch up the spots. Then like most small
projects, it began to grow.
Since the peeling spots were on the top and front edge of the hood,
maybe we could paint the top and front of the hood a different
color. Dale has wanted some of Tige's
gray color on Red Rover so the rig would look more integrated. Then
if we were going to paint the hood, why not the side fairings. And
so it went.
|
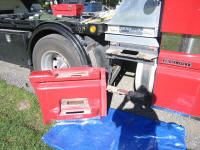 |
The first job was to remove the fairings. We started with the rear
step fairings. |
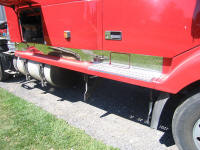 |
Red Rover looks strange without his side fairings.
Look at all that space under that truck. |
click on images to enlarge |
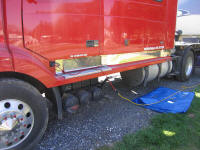 |
This side of the truck is not as empty with the batteries and air
tanks filling some of the space. |
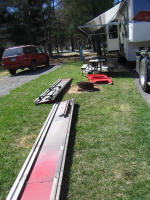 |
The fairings ready to travel to Ron's. |
click on images to enlarge |
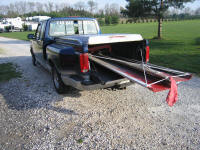 |
We borrowed Ron Knight's truck to transport the fairings.
Ron is also known as Canvas Geezer in his canvas
business. A great source for custom canvas work. |
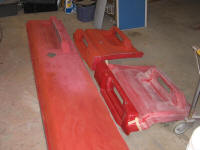 |
The first step was taking the gloss off of the fairings. |
click on images to enlarge |
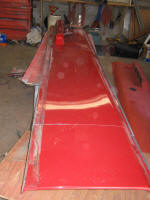 |
Sanding, more sanding, |
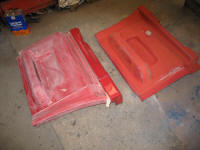 |
and more sanding. |
click on images to enlarge |
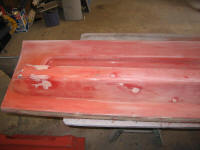 |
Since we are repainting, we might as well patch some of the nicks.
The project grows. |
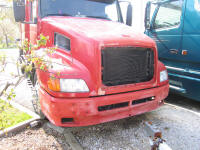 |
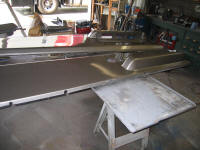
With Red Rover at Ron's, the sanding of the hood started after removing the grills, fog lights, license
plate holders, Volvo name plates, etc. |
click on images to enlarge |
 |
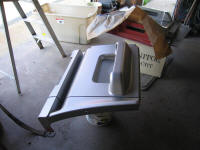
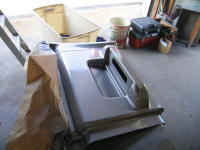
After priming and sanding, Ron shot the fairings with the new color. |
|
|
 |
|
 |
 |
Mark reinstalled the side fairings as they were completed. |
 |
click on images to enlarge |
 |
The hood is primed. |
click on images to enlarge |
 |
The color has been applied to the hood. |
 |
The side fairings are back on with the new color. |
click on images to enlarge |
 |
The hood is painted. Now Mark has to reinstall all the things he took off. |
 |
Mark in front of the new look Red Rover. |
click on images to enlarge |
 |
The addition of the gray to the hood and fairings really made a big change in Red Rover's looks. |
click on images to enlarge |
 |
We had to repair the rear apron of the bed. We needed to repaint it so we choose to make it gray. Since the area was small, we used
spray cans to do the job. |
Update |
 |
We found a Dupli-Color that is very close to the dark grey of the
trailer in spray cans. We first repainted the rear apron in
the darker grey where we had painted it silver before.
Then we decided to repaint the rear storage boxes as well.
We repainted the boxes inside and out. We used bed liner
inside and on the bottom and backside of the box as it is more
durable. |
 |
We have the right box done.
We are changing to dark grey over black as black looks dirty all the
time.
We applied several coats of clear finish on the box which will help
keep the clean look longer |
click on images to enlarge |
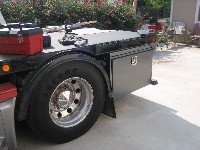 |
The left side box is finished. |
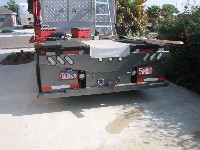 |
Looks better than the old black paint. |
click on images to enlarge |
