 |
 |
 |
Last Changed 2/11/2007
|
|
There are arguments for and against crimping and soldering lugs to the end of a wire. |
Crimping
The purpose of crimping is to deform the tubular shaft end of the lug so that the wire inserted is mechanically captured.
The transfer of electrical current from the wire to the lug depends on the surface area of the wire that is in contact with the surface
of the lug. Therefore, the ideal crimp causes a deformation of the lug that keeps a lot of wire to lug contact area. Select a lug
where the tubular shaft is as completely filled with the wire as possible. If the tubular shaft is not full, you need a smaller lug
or you need to fill the shaft. Sometimes when we are dealing with very fine wire, we strip more of the wire and then fold the wire
back upon itself, often three or more times, until the volume of the wire fills the lug shaft. |
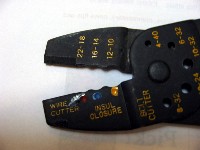 |
There are two types of crimpers. This style crimper is the one to use with insulated lugs. It deforms the lug by squeezing the wire
strands between the two sides being pushed together. This is the quickest and easiest way to put a lug on the end of the wire. |
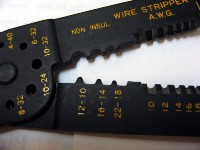 |
This is the style to use with non-insulated lugs, lugs without plastic on them. This crimper deforms the lug by jamming the
tubular wall into the wire strands forcing them in contact with the tubular wall. This style crimper should not be used with insulated
lugs because the insulator will be pierced and fall off. |
click on images to enlarge |
Since there is no insulator on the lug, shrink tubing should be slid onto the wire before it is inserted into the lug. Then, after the
security of the wire to lug attachment has been verified, the shrink tubing should be slid over the tubular part of the lug. Apply heat
to shrink the tubing onto the lug, sealing the wire to lug joint.
This style crimp causes better wire to lug contact, however. However, the extra step of the shrink tubing requires more work. |
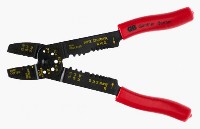 |
This tool has both styles of crimper. Many of the low cost lug/crimper sets have the non-insulated style crimper and insulated
lugs. |
click on images to enlarge |
Crimp Example
|
 |
The wire is stripped to just go through the lug. Cut the shrink tubing and slip onto the wire before sticking the lug on. |
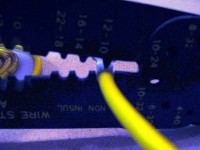 |
Since this is un-insulated lug, the toothed part of the crimper is used. |
click on images to enlarge |
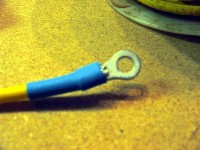 |
The crimped is finished off by sliding the shrink tubing over the lug and wire joint and applying heat |
click on images to enlarge |
Soldering
Soldering is probably the best method for attaching a lug to a wire. Soldering only works with non-insulated lugs, since the
soldering process will melt the insulation.
A solder job should start with a good mechanical crimp with a non-insulated style crimper. Solder is made up of lead and tin,
neither known as a very strong metal. Relying only on the solder for the connection of the lug to the wire is not good. This crimp
will also hold the lug in place during the soldering process. Before crimping the lug onto the wire, slide shrink tubing onto the
wire. Also, since heat is going to be applied to the wire, be sure to slide the shrink tubing up the wire a bit so that it does not
shrink during the soldering process.
The whole issue with soldering is getting the lug and the wire hot enough so that when the solder is applied, it melts and is wicked
into the strands of the wire, filling the space between the strands and the tubular part of the lug. This provides for more surface
area contact for better current transfer from the wire to the lug and also seals the end of the wire to slow corrosion creep.
One of the problems is holding the iron to the lug during the heating process. The lug tends to want to move. There is a
tendency to clamp the lug to hold it in place. But remember, the clamp will dissipate heat from the lug, making the soldering process
harder.
A trick is to make sure the soldering iron tip is tinned. In other words, the tip is silver from solder being melted on it.
If you can not get solder to tin the tip, then you should clean the tip of the iron. Anther tip is to melt a small bit of solder between
the iron tip and the tubular shaft of the lug. This will help the heat transfer from the iron to the lug. Make sure that you have
something to place the iron in/on to keep it from burning things when you put it down. We have had more luck using a high wattage
pencil iron with a large tip than a pistol iron. There is more mass in the large pencil iron tip than in the wire end of the pistol, and
that means more heat transfer.
When the lug and the wire are hot enough, the solder will melt on contact and flow into the strands of the wire. Flow enough solder
so that the tubular shaft of the lug is full.
After the lug has cooled, slide the shrink tubing over the lug and shrink the tubing. There is a tendency to slide the tubing while
the lug is still hot to use that heat to shrink the tubing. If you are successful, that is fine. But there is a high probability that
the tubing will shrink before it has covered the lug shaft, and then you are stuck. |
Soldering Example |
 |
The wire is stripped to just go through the lug. Cut the shrink
tubing and slip onto the wire before sticking the lug on. |
 |
Since this has to be an un-insulated lug to be soldered, the toothed part of the crimper is used. |
click on images to enlarge |
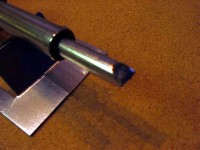 |
The soldering iron is clean and tinned (solder melted onto the tip). |
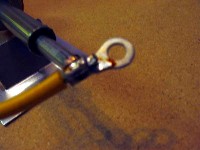 |
Solder is flowed into the wire strands. |
click on images to enlarge |
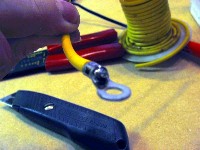 |
When done, the strands and the lug end should be full of solder. |
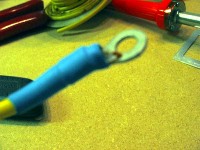 |
The solder job is finished off by sliding the shrink tubing over the
lug and wire joint and applying heat. |
click on images to enlarge |

