
Please wait, I'm coming over...


Last Changed 7/25/2016 |
||
|
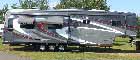
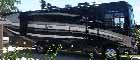
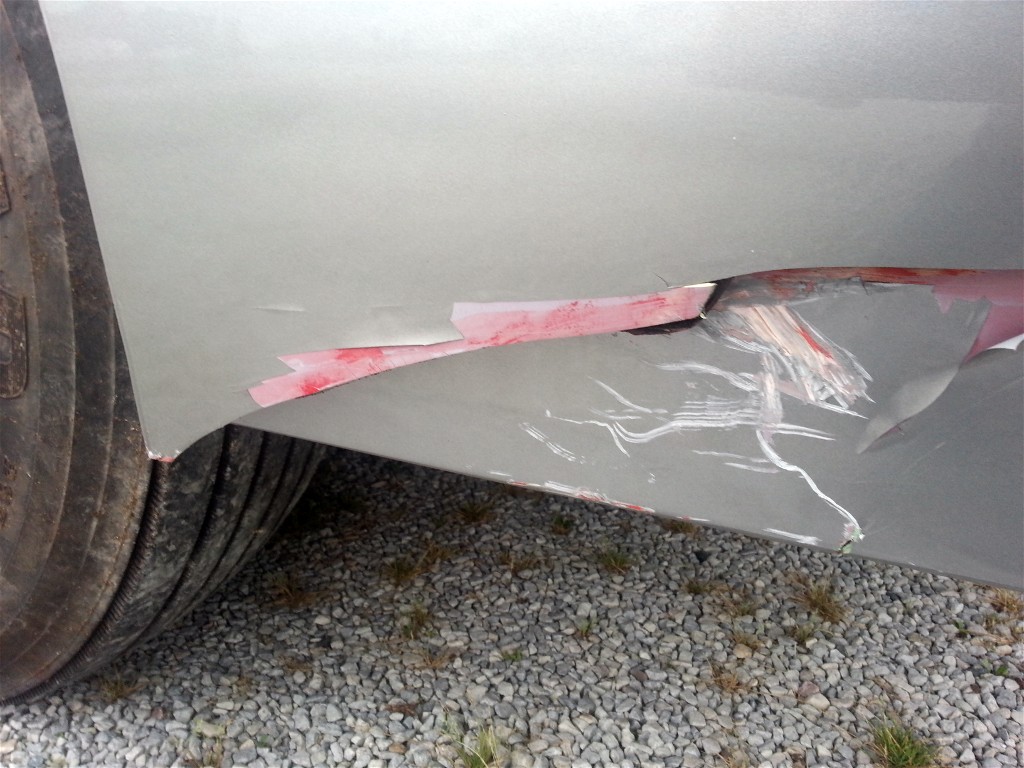
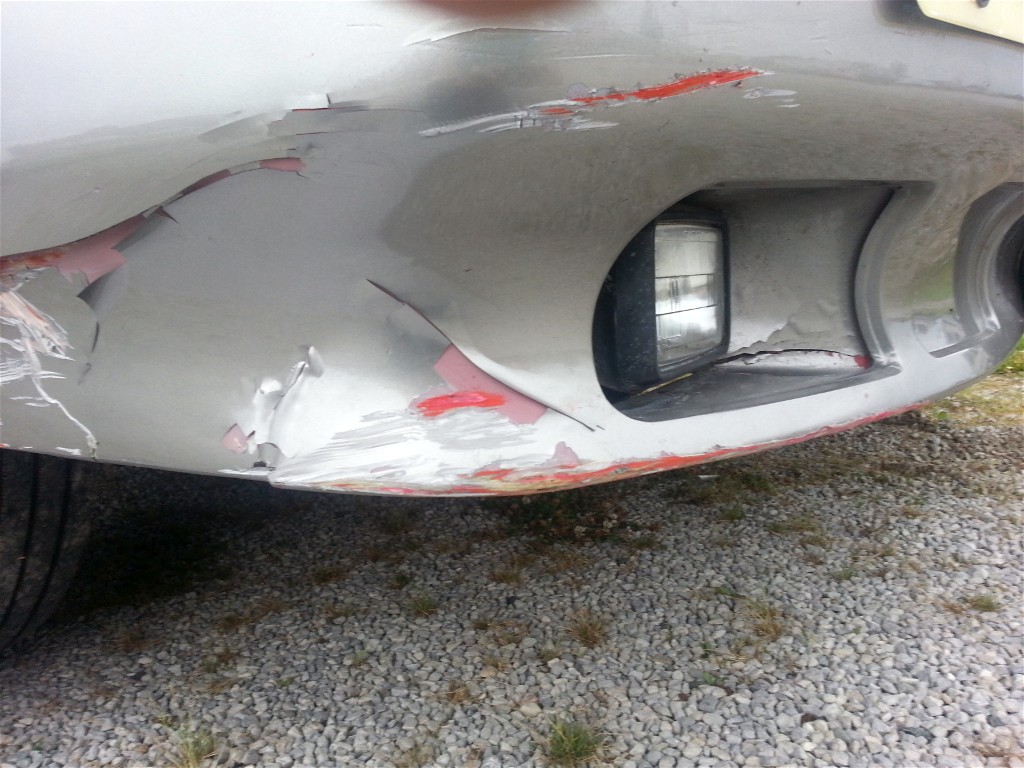
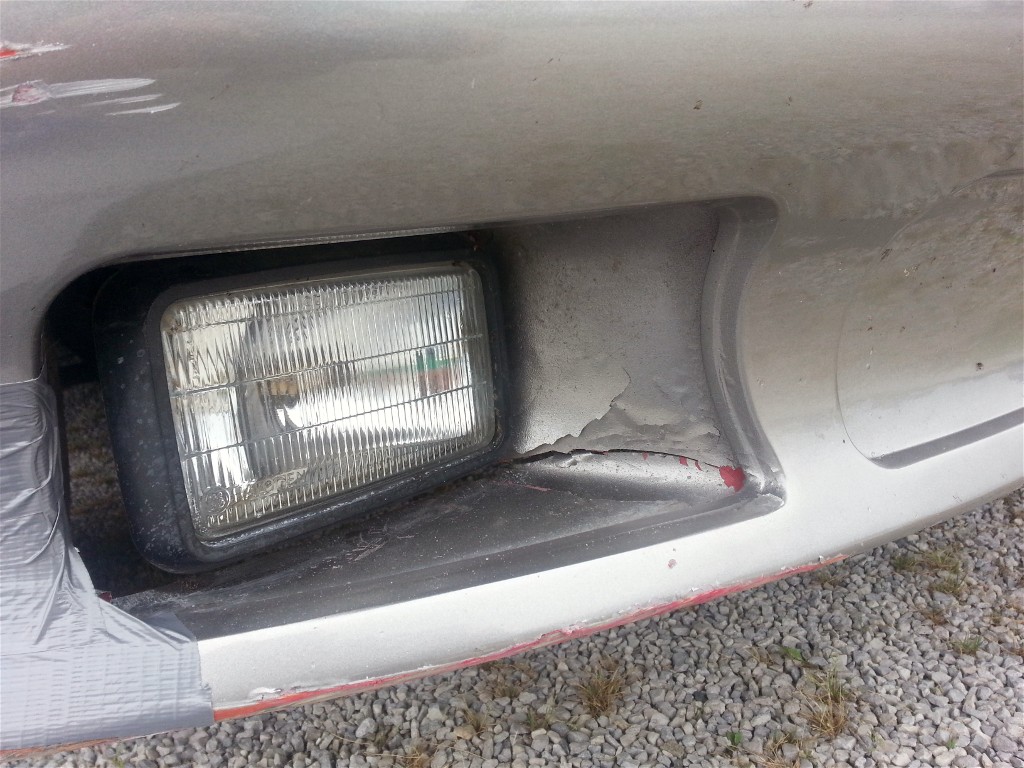
Trying to move a 3' x 2' x 2' rock with Red Rover's fiberglass
bumper did not turn out well. It was not an intentional act
but a result of trying to place Tige into a campsite off a narrow
road with cars parked on the edge. The rock was just out of
range of the mirrors and the focus was in missing the cars. Besides the visual damage in the photos, there was significant cracks on the back side of the bumper. |
||
 |
 |
 |
click on images to enlarge |
click on images to enlarge |
click on images to enlarge |
The fiberglass bumper was too damaged for repair so a replacement was acquired. In the process of shopping for the replacement bumper, we became interested in replacing with a chromed steel bumper. The cost of the chrome steel bumper was a little higher than the fiberglass bumper but it would not require painting which made the total cost less. We acquired the replacement bumper from TRP Truck Replacement Parts in Omaha, NE |
||
 |
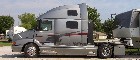
I am not sure how I got the mirrors pass
the door jambs, but I did with my cousin directing. The hood just clears the door way. |
|
 |
First step was to remove the wire loams tied to various places on
the old bumper. Then I removed the four nuts retaining the bumper on each side. These are 18mm nuts, not common in most socket sets. |
 |
click on images to enlarge |
click on images to enlarge |
|
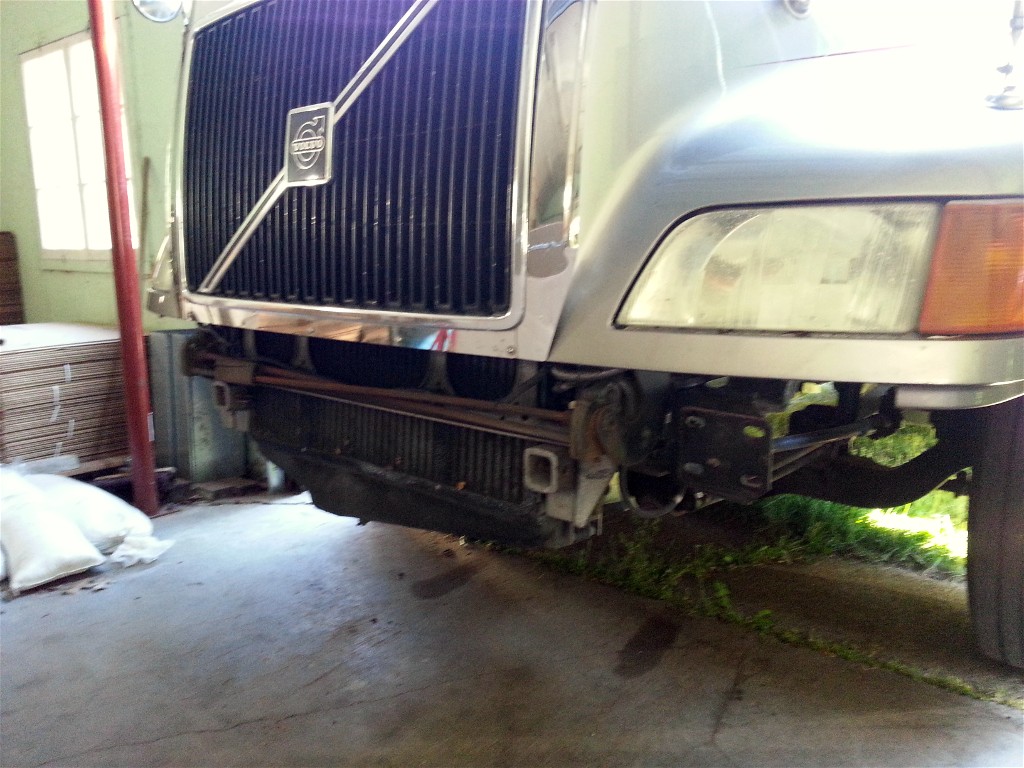 |
The old bumper is removed. It only weighed about 50lbs. | |
 |
Next I removed the L-bracket that the old bumper attached to. The
bolts have 18mm heads and 22mm nuts. The bracket removed. |
 |
click on images to enlarge |
click on images to enlarge |
|
 |
The new bumper was about 110 lbs. There was the black bracket
installed. The bracket would bolt to the same holes where the L-bracket had been removed. |
|
Unfortunately the step of getting the new bumper in place was not captured in photos. There was a lot going on. A pallet jack was used with one pallet on the jack and a second pallet stacked on the first. Two 10' 2"x6" boards were laid across the upper pallet and the new bumper was placed on the boards. Using the pallet jack, the bumper was placed less than an inch from the desired location. Manpower in the form of two cousins and myself nudged the bumper into place and the bolts were inserted and nuts screwed on. Then I took over adding washers and lock washers to each bolt, one at a time. The next challenge was adjusting the bumper to align with the hood. A hydraulic chassis jack was used to nudge and hold the bumper ends in place while the nuts where tightened. This process took many adjustment before the bumper was aligned. |
||
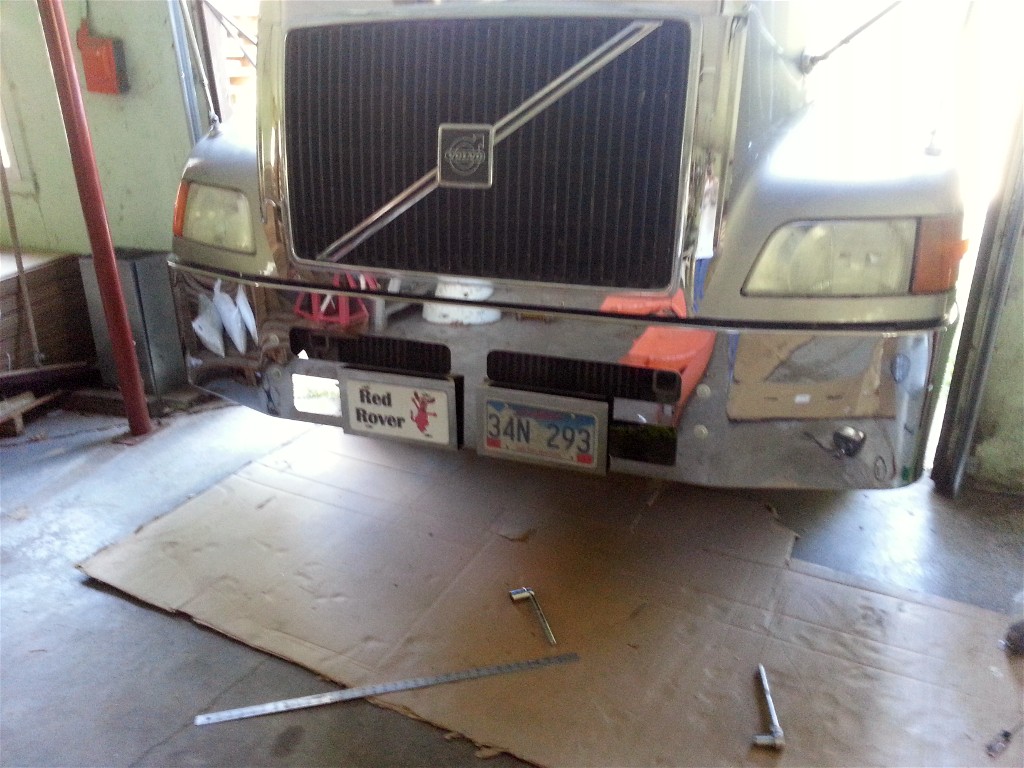 |
Once the bumper was in place, stainless steel license plate brackets were bolted to the new bumper. | |
click on images to enlarge |
||
 |
The fog lights fit into a deep well and were mounted from the top. To fit the new bumper, a bracket from 1/2" steel bar was made and numerous washers were used to adjust the height of the fog light in the opening in the new bumper. |
|
 |
The bumper project is finished. |
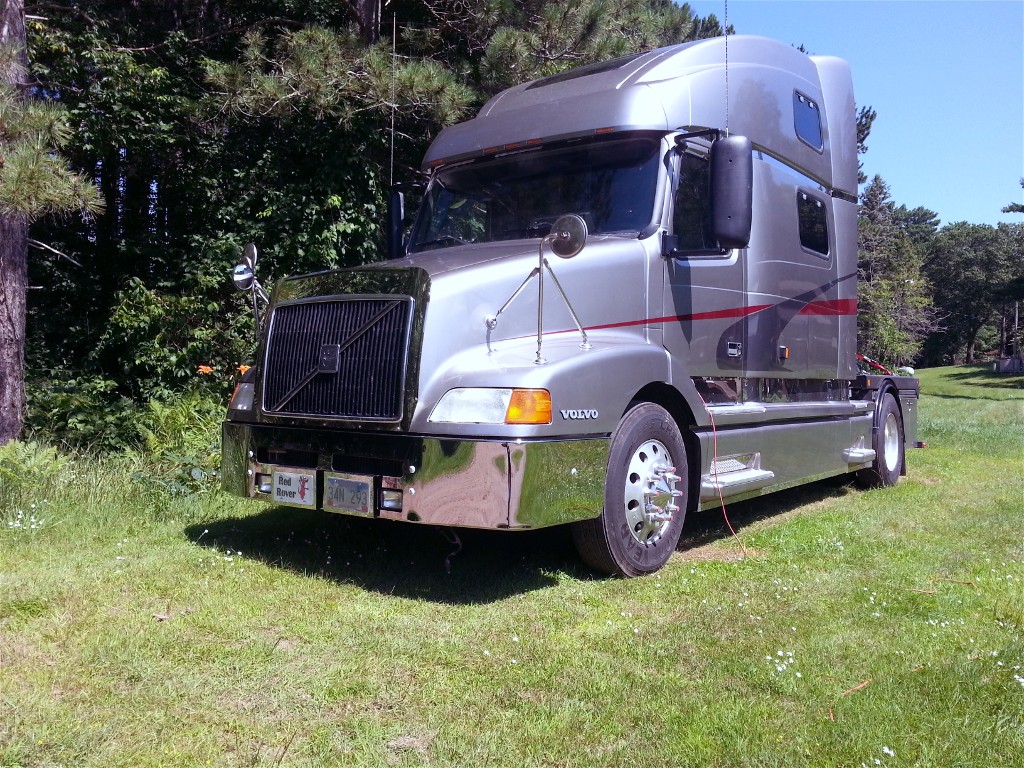 |
click on images to enlarge |
||
Disclaimer: The information in this site is a collection of data we derived from the vendors and from our personal experiences. This information is meant as a learning guide for you to make your own decisions Best practices and code should always be followed. The recommendations we make are from our personal experiences and we do not receive any compensation for those recommendations. |