
Please wait, I'm coming over...


Last Changed 1/14/2016 |
||
|
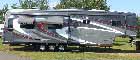
One of the things we had to change in getting the Bounder motorhome,
was our main computer. We did need to change the computer and
attached equipment but we needed different packaging. |
||
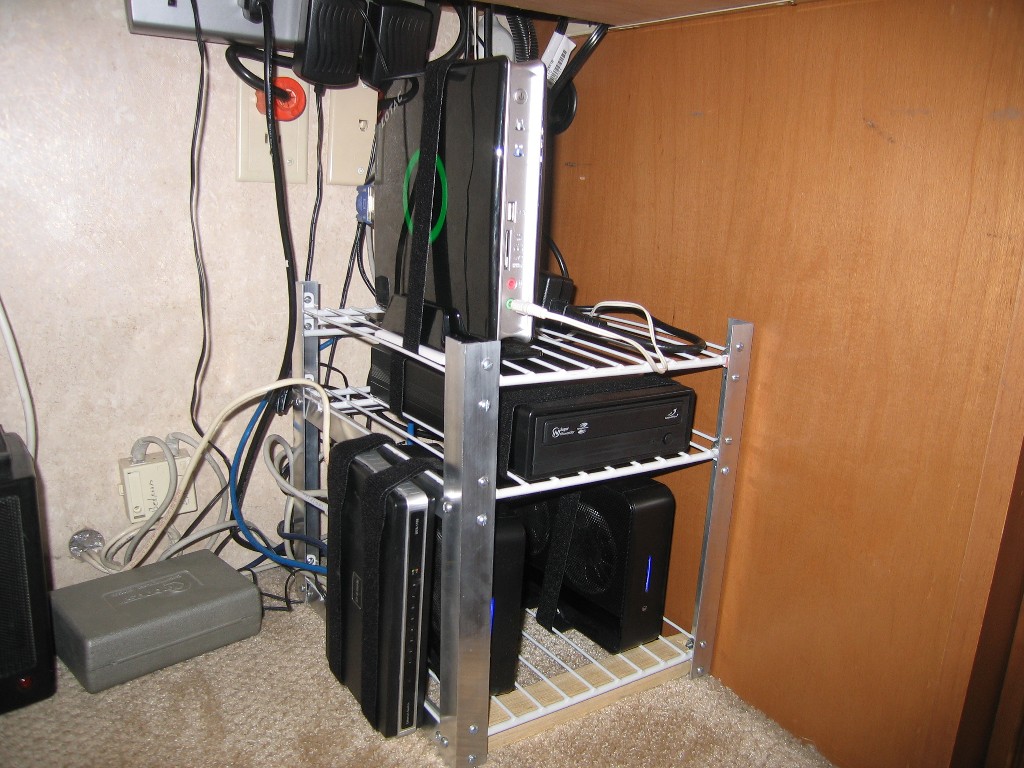 |
This was the packaging we used for our main computer in
Tige. The shelve unit did a good job but we couldn't find a place in the Bounder for it. |
|
 |
This is the pantry cabinet in the Bounder. We figured we could use the bottom of this cabinet for main computer. | |
click on images to enlarge |
||
 |
We order a custom 11"x24"x5" drawer box to fit the bottom of the pantry
cabinet. We are only going to use the drawer as a box.
It will not be installed into the cabinet. We use a piece of 20" deep ClosetMaid wire shelve. The rest of the wire shelve will be use in a different project. Notches were cut into the sides of the box for the cross rods of the wire shelving. |
|
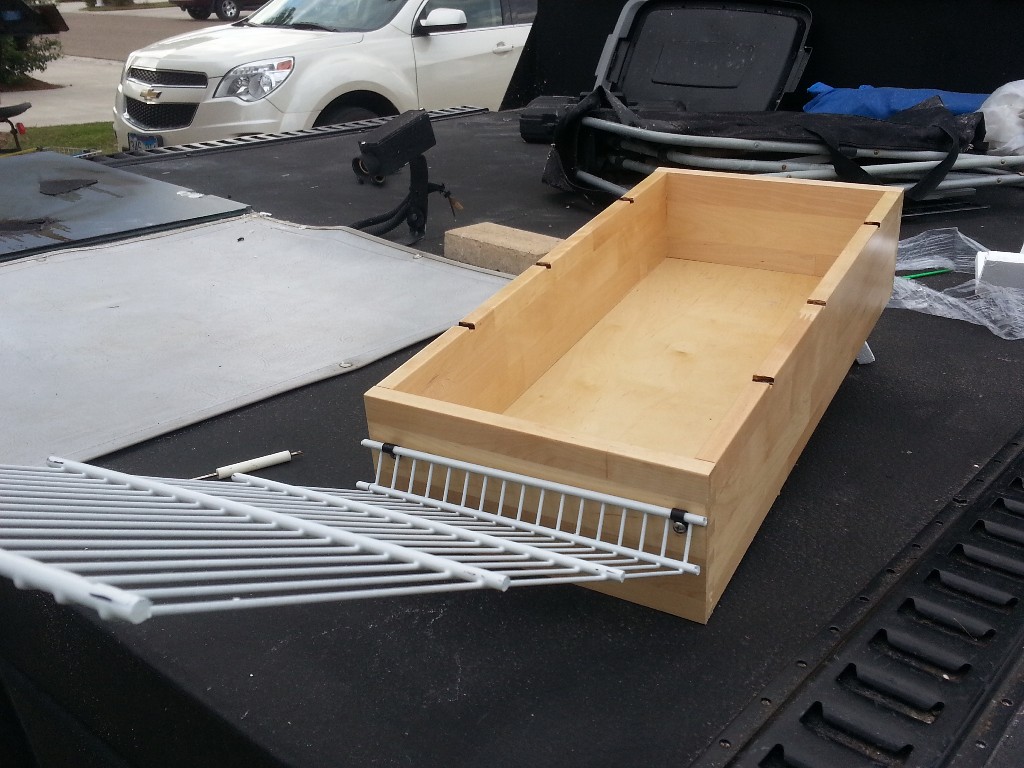 |
Cable clips allow the wire shelve to be tilted for access underneath, | |
click on images to enlarge |
||
 |
A large surge protection power strip will be Velcoed to the bottom.
This power strip has spacing for the several power bricks used by the peripherals of the main computer. This will allow a single power connection for the drawer. |
|
 |
All the AC connections for the main computer are on the power strip with the exception of the monitor and remote USB hub. | |
click on images to enlarge |
||
 |
In the previous wire shelve installation, the disk drives and PC were
mount in line with the wires of the shelve. This made a
natural loop around for the Velcro ties. Since the disk drives are not across the shelve wires, we had to make some clamps to loop the Velcro ties around. |
|
 |
The PC, disk drives, and DVD drives are attached. This is positioned for being placed in the bottom of the pantry of the Bounder. | |
click on images to enlarge |
||
 |
The box is positioned where the old wire shelve unit was located. We see a small change is needed as the DVD drive is pointed in the wrong direction for this location. |
|
click on images to enlarge |
||
Disclaimer: The information in this site is a collection of data we derived from the vendors and from our personal experiences. This information is meant as a learning guide for you to make your own decisions Best practices and code should always be followed. The recommendations we make are from our personal experiences and we do not receive any compensation for those recommendations. |