
Please wait, I'm coming over...


Last Changed 4/30/2010 |
||
|
Red Rover started to sound very loud, especially when the Jake Brake cut in going downhill. Under most
circumstances this would be a repair to be done by a mechanic with all the tools necessary. However, Red Rover's muffler has the headache rack in the way from having easy access. We felt that when a regular mechanic encountered this impediment, the hour meter would spin. So we decided to tackle the replacement ourselves. |
||
click on pictures to enlarge |
||
 |
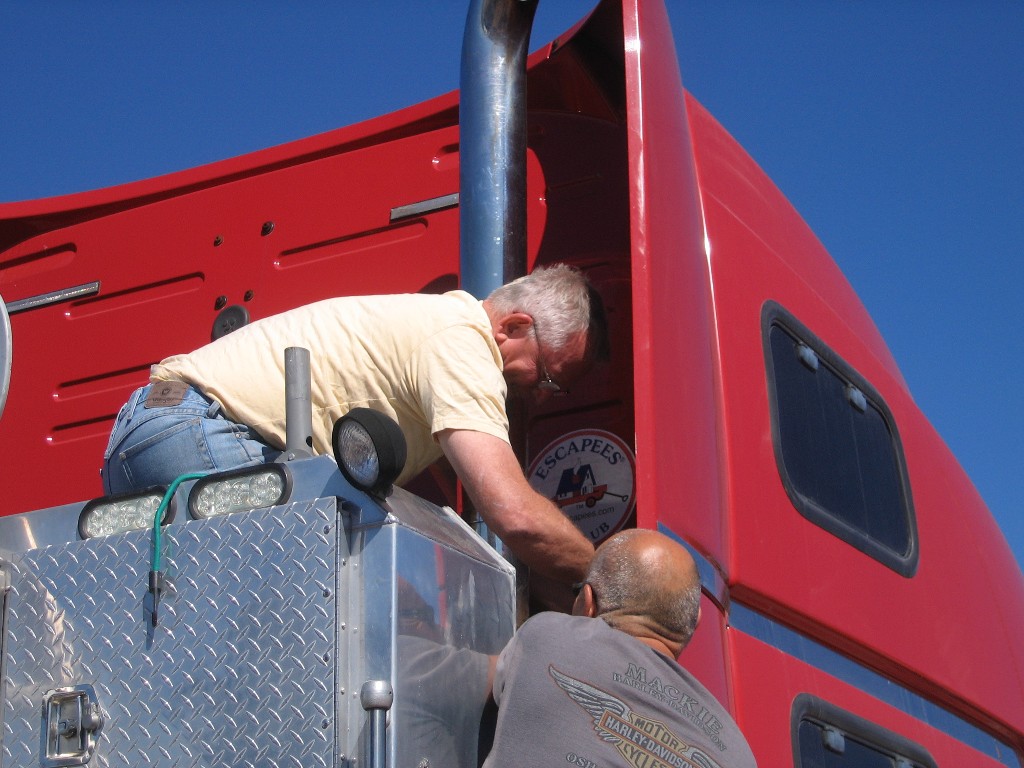
Like most replacement projects, removing the old muffler was a lot harder than putting the new one in. This is a two man job trying to free the lower clamp holding the muffler to the support bracket. That is Mike McFall handling the outside job. |
|
 |
The other man in this operation was Mark in between the cab and the headache rack. You can just barely make him out. |
|
click on pictures to enlarge |
||
 |
This is a better picture of the space Mark had to get into. He uses the small step ladder (Green Step) to get down. He then puts
the small step ladder on top o the headache rack to get some
maneuvering room. The muffler mounts to the black bracket on the right. |
|
 |
We cannot really understand why the exhaust was so noisy. Those holes were not that big. | |
click on pictures to enlarge |
||
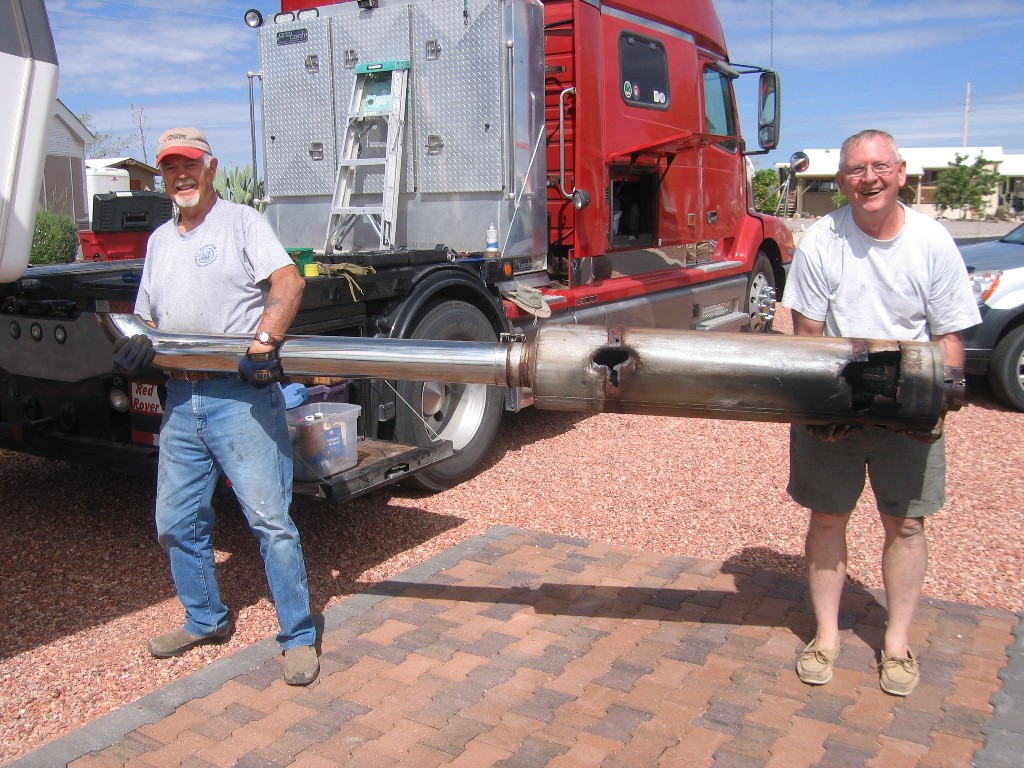 |
The upper exhaust stack was left on the muffler so we had something to grab. Make stood atop the headache rack and Mike loosened from below. The removal victors with their prize. |
|
 |
The clamps that went around the pipes came off fairly easy. The bolts just sheared off. We had planned on new clamps anyways. |
|
click on pictures to enlarge |
||
 |
This is one of the clamps that holds the muffler to the support bracket. We really didn't want these clamp bolts to shear off
and they didn't. The clamp bolts did something a lot worse. The bolts are supposed to be locked to the clamp at the head end by a spacer with splines that engaged splines on the clamp bolt. But the spacers no long had splines and the bolts turned. It was a real challenge to get a grip on the bolt head to get the nut off. We mangled these brackets enough that we ordered new ones. |
|
 |
With the muffler out, Mark went back in the space between the cab and headache rack to cleanup the soot from the muffler holes. | |
click on pictures to enlarge |
||
 |
Here is a better shot of Mark in the hole, cleaning up the soot. | |
 |
The hot exhaust gas from the holes in the muffler had melted the wiring to a work light that ran behind the muffler. Mark run new wire and wire loom for the entire worklight harness. The hardest part was getting down to the deck to make the splice into the harness that runs under the bed. The support rods for the muffler bracket made kneeling difficult. |
|
click on pictures to enlarge |
click on pictures to enlarge |
|
 |
The new muffler mounting clamps arrived from GATR Volvo in Minnesota. The clamps went in a lot easier than coming out, partly from Mark getting better at getting in the hole an back out. |
 |
 |
The new muffler came from IOWA80, a well known truck supply
operation. It is a DynaFlex muffler. The muffler is a full flow type where there are no baffles across the exhaust path, just noise reduction baffles along side of the path. |
|
click on pictures to enlarge |
||
 |
The installation became a four person operation, Mark on top of the headache rack, Gregg Gheyssens on the fairing, Mike McFall supervising, and Rollie Thurston handling the camera. | |
 |
The muffler went in a lot easier than the old one came out. New hardware made a lot of difference. |
 |
click on pictures to enlarge |
click on pictures to enlarge |
|
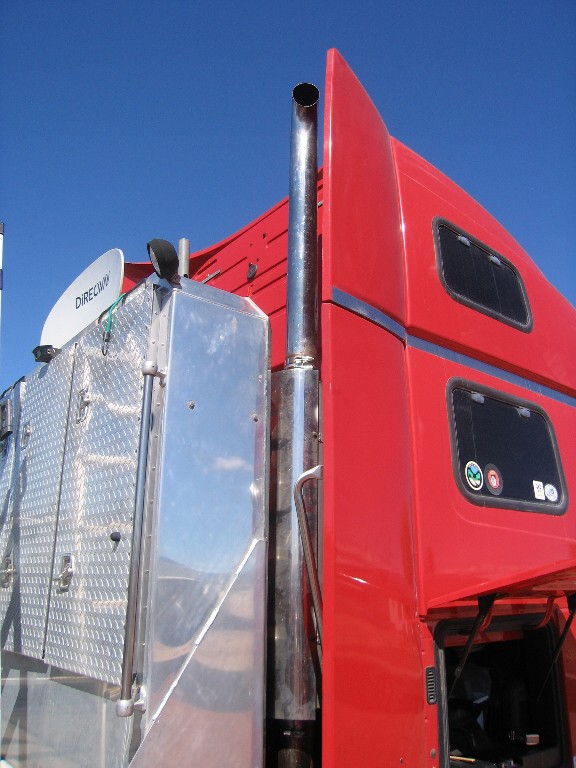 |
The muffler is installed. Since this more of a full flow muffler, Red Rover sounds a little richer in tome but a whole lot quieter than when we arrived.. | |
 |
The install team, Greg Gheyssens, Rollie Thurston, Mark and Mike McFall. | |
click on pictures to enlarge |
||
Disclaimer: The information in this site is a collection of data we derived from the vendors and from our personal experiences. This information is meant as a learning guide for you to make your own decisions Best practices and code should always be followed. The recommendations we make are from our personal experiences and we do not receive any compensation for those recommendations. |