Please wait, I'm coming over...


Last Changed 2/10/2017 |
||||||
|
We wanted to be able to use the navigation computer by both of us. We looked at a few options for doing this. We originally thought of
using a laptop with a mount.. |
||||||
Jotto Desk |
||||||
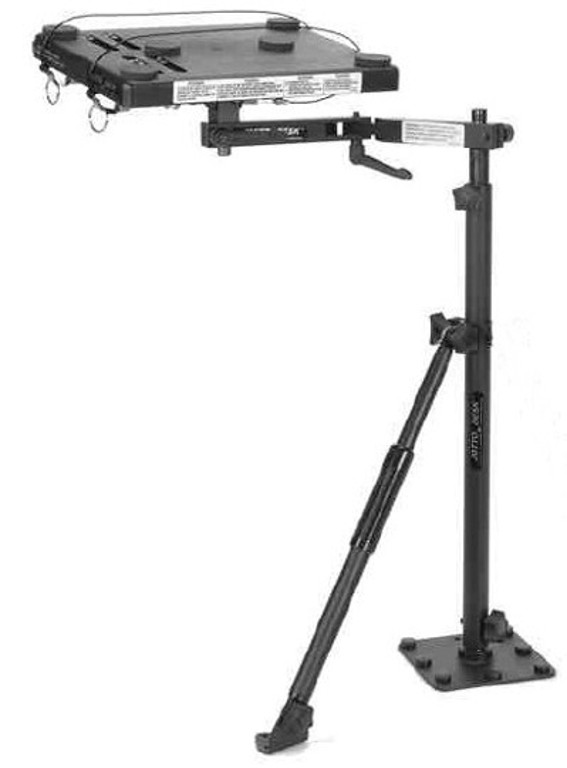 |
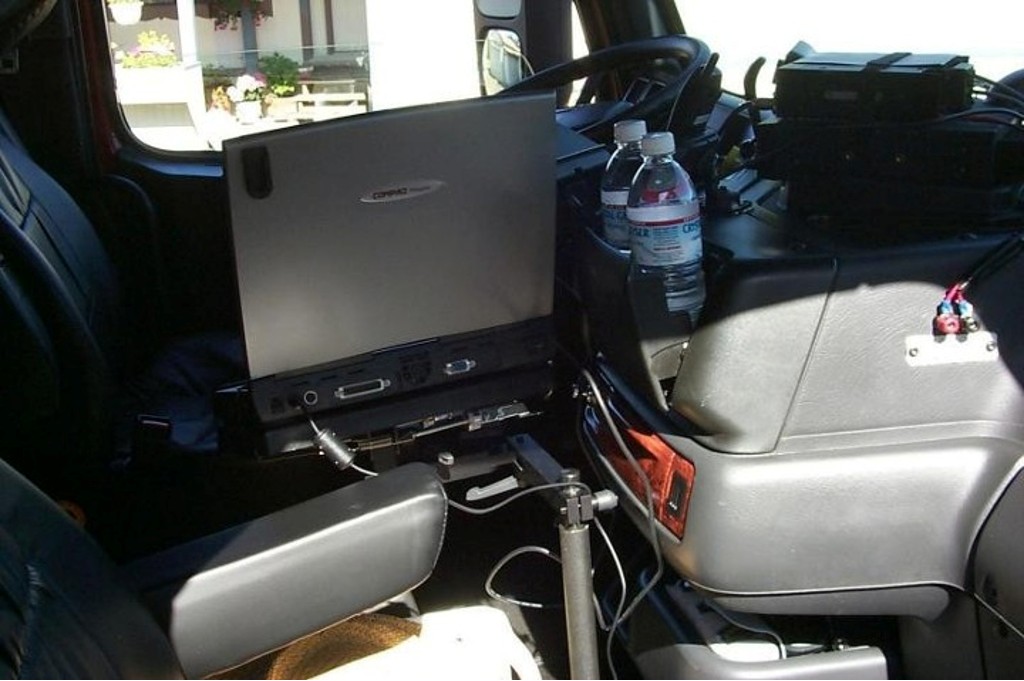
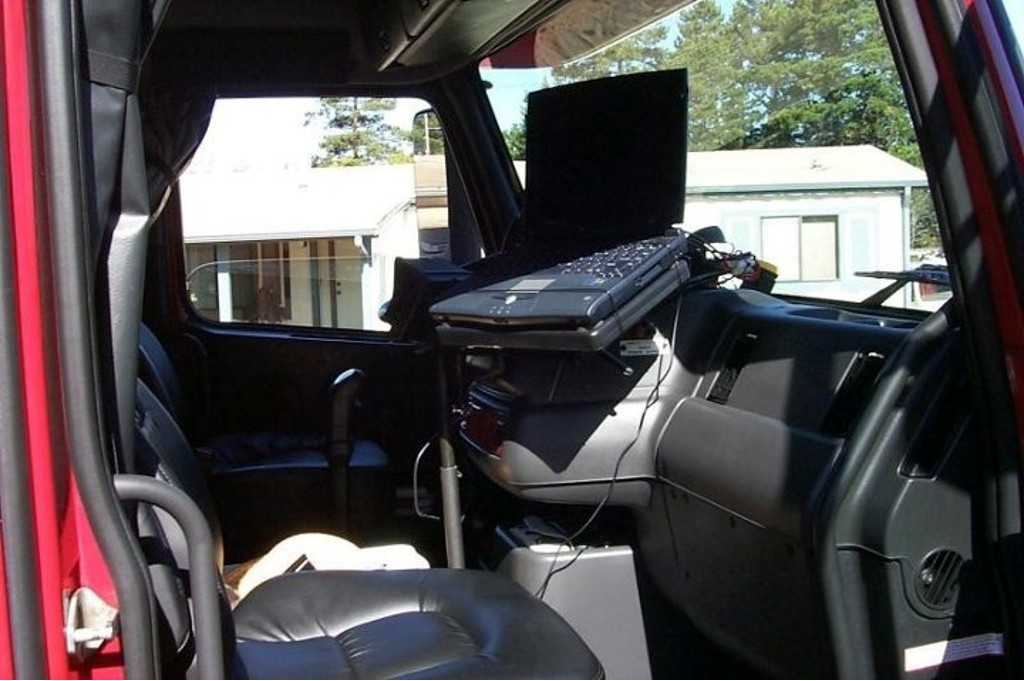
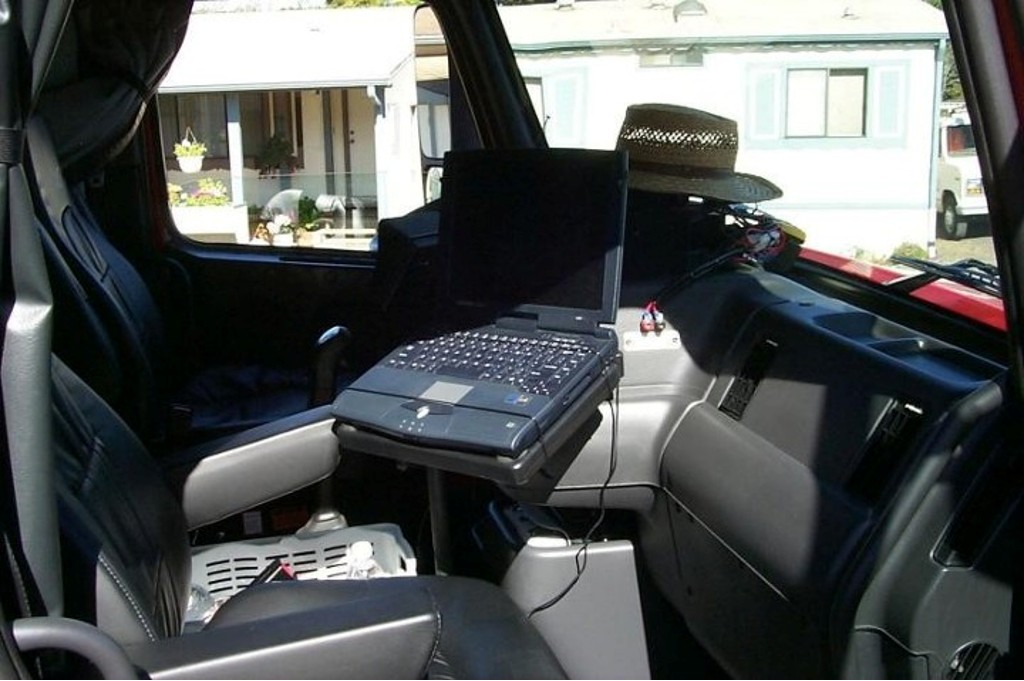
The Jotto Desk could have been one of the options. The Jotto Desk has vertical and horizontal adjustments that can be locked to hold a laptop in place. | |||||
click on image to enlarge |
||||||
We captured these pictures below from Dave, the OldPhoneMan because he installed one in his truck. This would have done the job but the co-pilot did not like the Jotto stand making her access to the rear of the cab difficult. |
||||||
|
||||||
Fixed Mount |
||||||
 |
During this time we became aware of a new form factor for PCs, called the mini-ITX. The case for a mini-ITX can be as small as 7"x2"x10", about the size of a closed laptop. A mini-ITX PC could fit where we removed the VORAD computer mount above the drink holder on the floor. We see that using a permanently mounted mini-ITX PC would eliminate the need for some kind of docking station for the laptop that otherwise would be used. | |||||
click on image to enlarge |
||||||
We considered mounting the LCD on a moveable mount would be a s easy way to share the usage of the navigation computer. It was not. So we decided to use two monitors. |
||||||
 |
While researching the mini-ITX PC options, we also became aware of small form factor LCD monitors with touch screen capabilities. With a VGA splitter, we can attach two monitors in two ways. One would be to attach one monitor to the VGA output and the other to the video output. The second method would be to split the VGA output to both monitors. | |||||
click on image to enlarge |
||||||
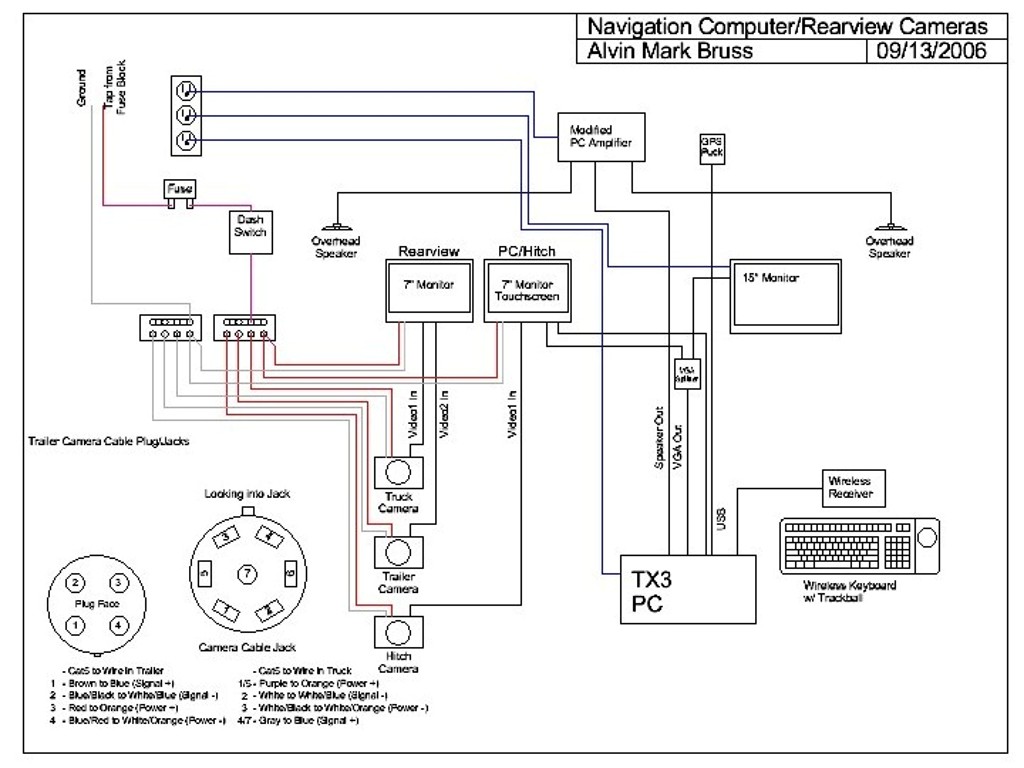 |
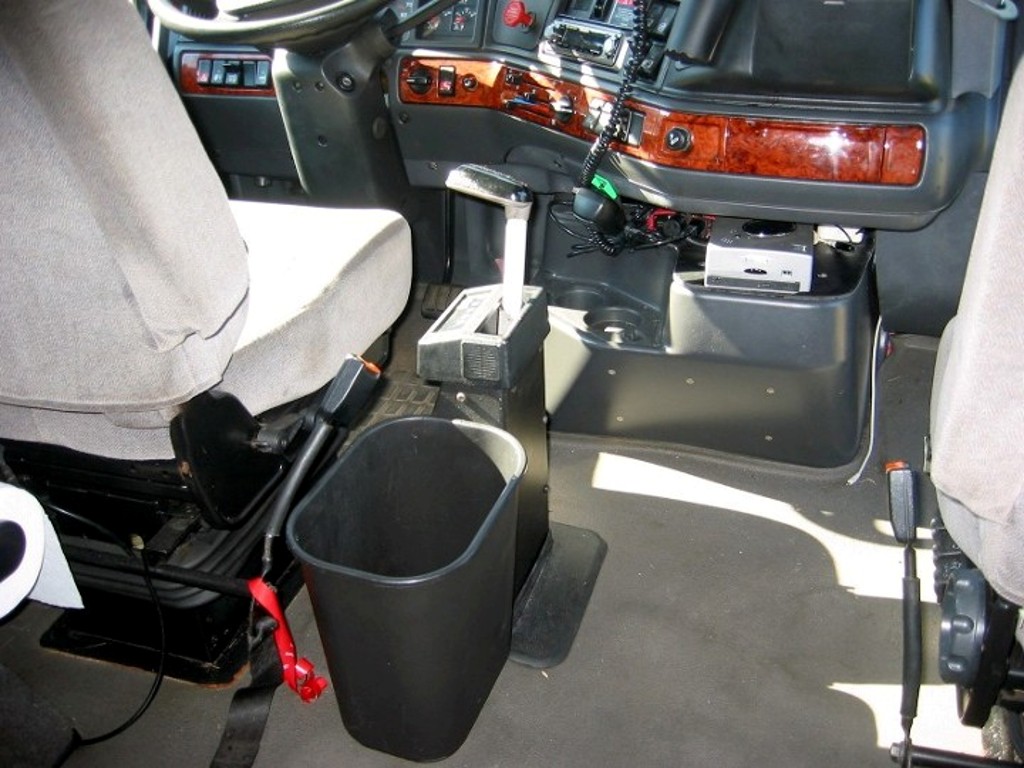
So the decision is to use a mini-ITX PC with two LCD monitors. A small LCD monitor with touch screen capability could have been mounted for the driver. This monitor will probably be mounted just to the right of the engine brake switches. In the leftmost picture above from the OldPhoneMan, where Dave has his rear view monitor is near the same location. We finally chose to mount the driver's monitor at the base of the windshield. The co-pilot's LCD monitor will be larger and mounted on the dash in front of the passenger seat. | |||||
click on image to enlarge |
||||||
The Computer Mount |
||||||
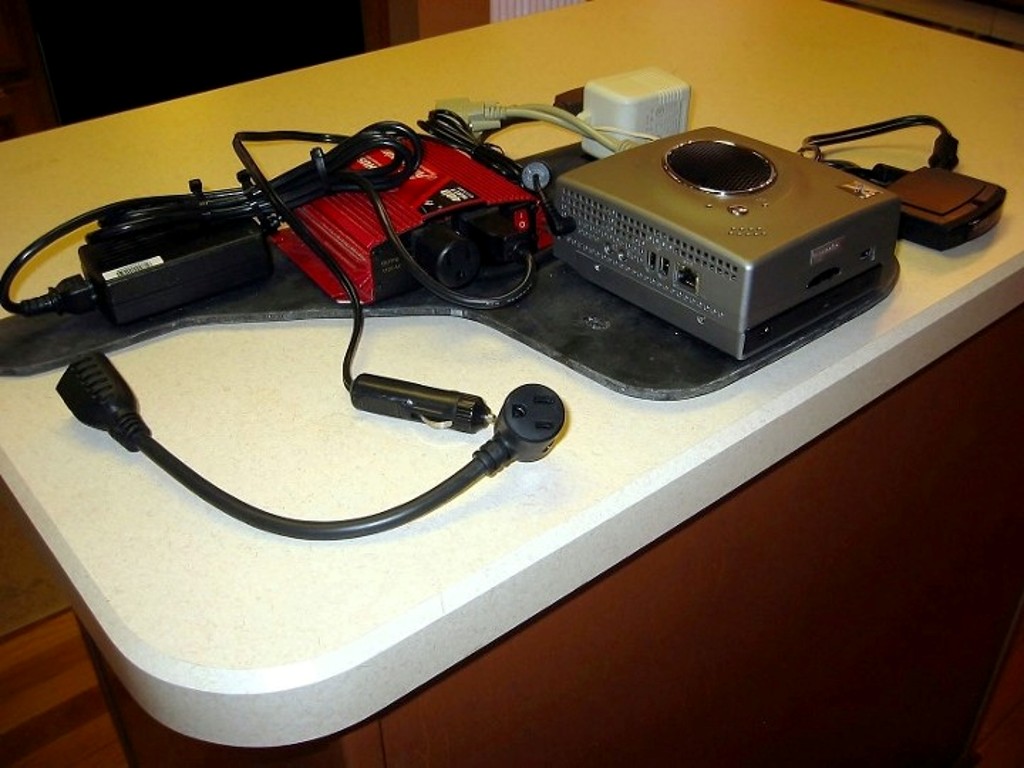 |
We cut a sheet of LEXAN in the shape of the engine cover to mount the computer, the inverter for the computer, and the power bricks. We chose to have a separate inverter for the computer. The LEXAN plate is attached into the nutplates that held the old VORAD computer. We used VELCRO to hold the devices to the plate. | |||||
 |
||||||
click on image to enlarge |
||||||
 |
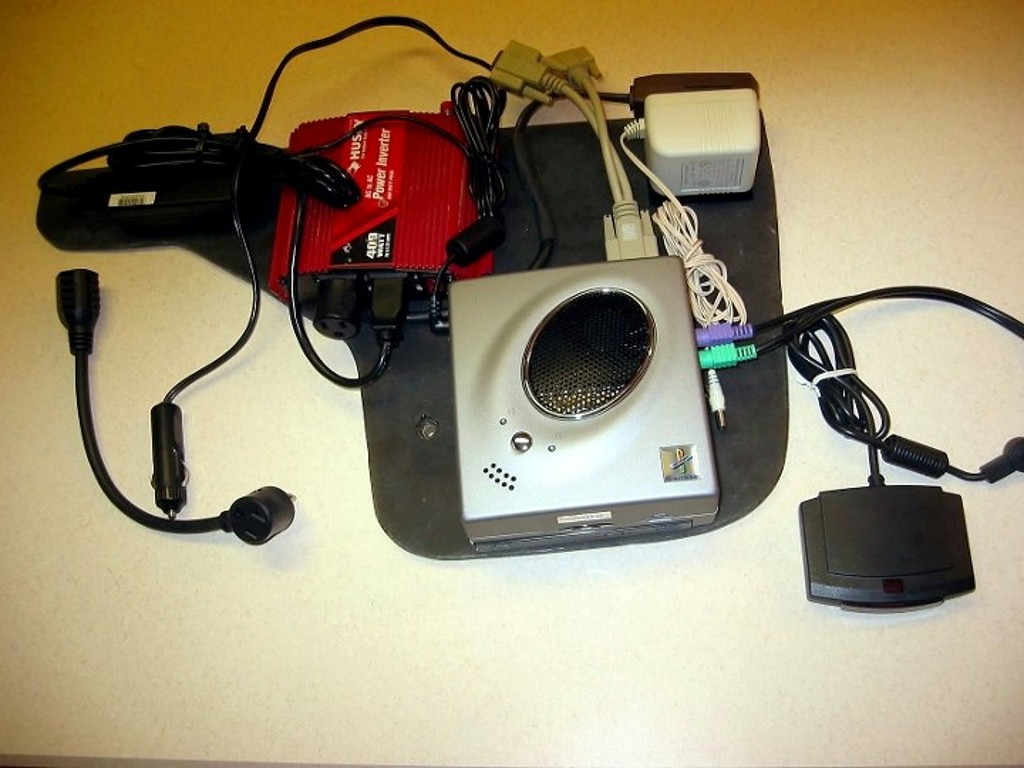
The little inverter only had to outlets and we had three devices to power, TX3 computer, monitor, and speaker amplifier. So we used a PC adapter cable that has an outlet in the plug. We spliced that to a extension cord end so that we could have a lower profile outlet for the speaker amplifier power brick. | |||||
 |
||||||
click on image to enlarge |
||||||
Computer Mounted |
||||||
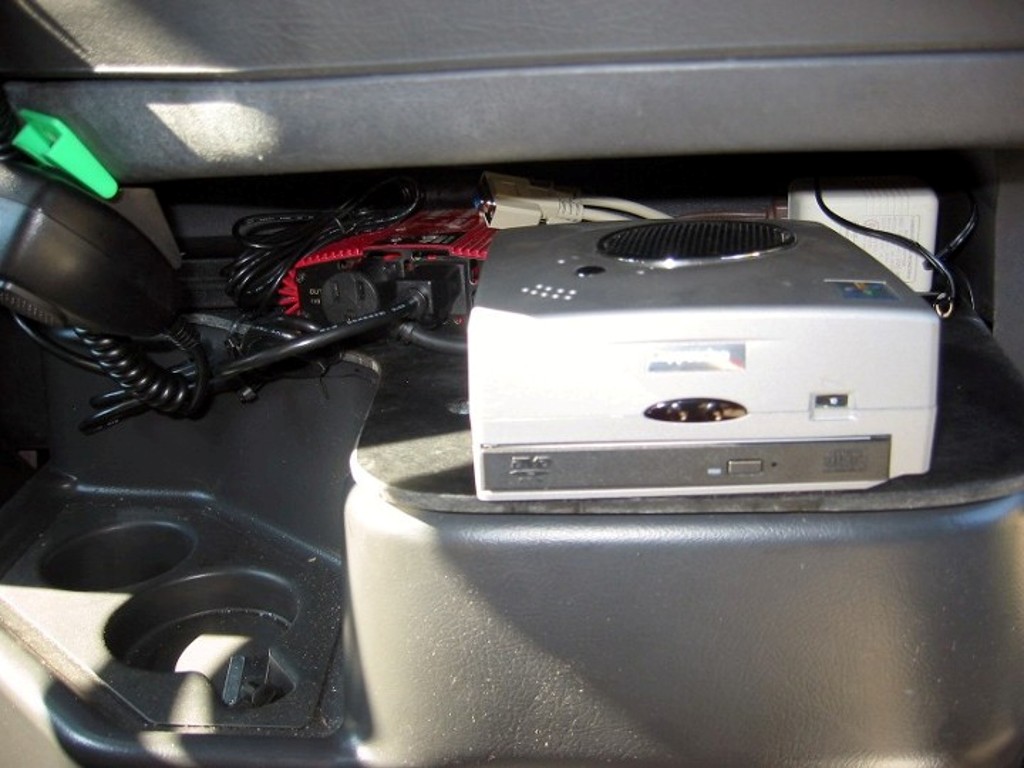 |
The TX3 fit easily on the drink housing cover over the engine. | |||||
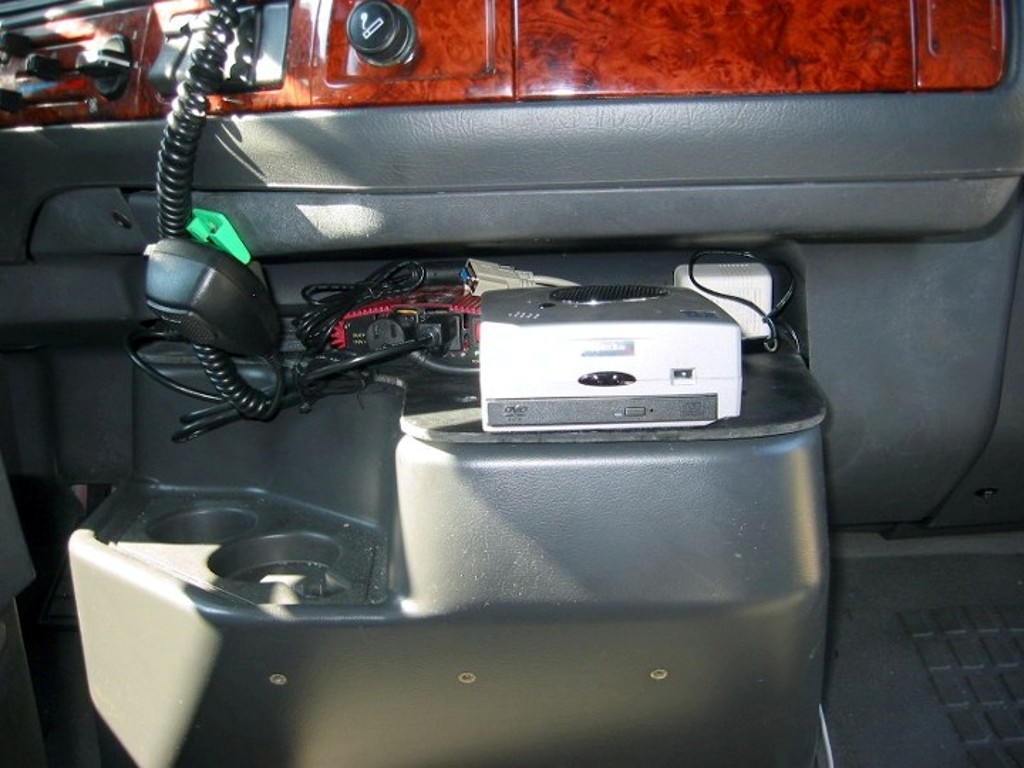 |
The TX3 is positioned on the engine cover. We created a mounting plate from 1/4" Lexan that is attached where the VORAD computer was. The components of the TX3 system (the CPU, the computer power brick, and the power brick for the speaker amplifier) are VELCRO attached to the plate for ease of service. | |||||
click on image to enlarge |
||||||
 |
This make the computer easy to access yet out of the way. | |||||
click on image to enlarge |
||||||
Dell FX160 Mounted |
||||||
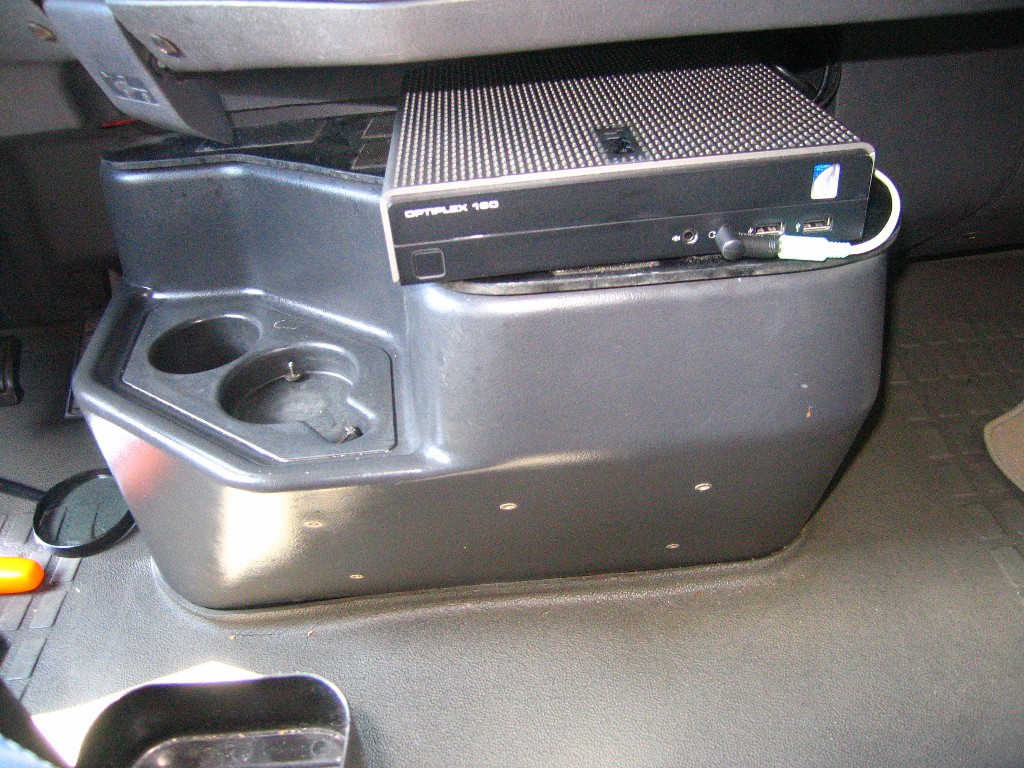 |
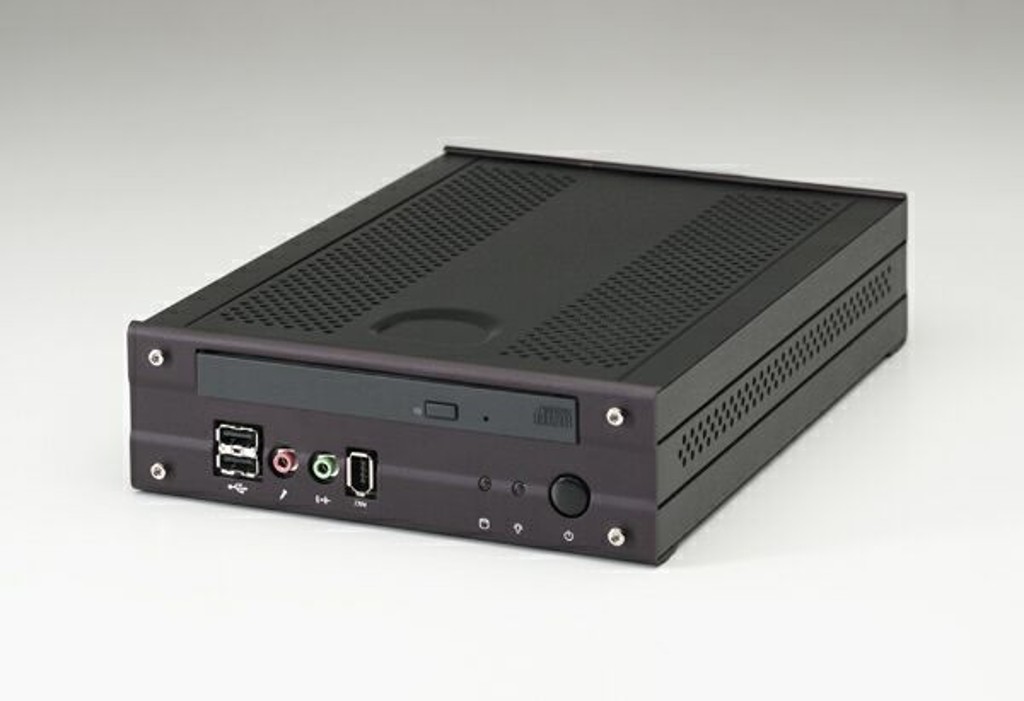
After 5 years, we replaced the TX3 with a Dell FX160. The TX3 was 5.5"w x 6"l x 2.5"h. The replacement Dell FX160 is 8.75"w x 9"l x 2"h. The Dell FX160 fits well in the same space that the TX3 occupied. The Dell FX160 doesn't have a built-in DVD Player so we will be using an External DVD player that plugs into the front USB ports. |
|||||
click on image to enlarge |
||||||
Disclaimer: The information in this site is a collection of data we derived from the vendors and from our personal experiences. This information is meant as a learning guide for you to make your own decisions Best practices and code should always be followed. The recommendations we make are from our personal experiences and we do not receive any compensation for those recommendations. |