
Please wait, I'm coming over...


Last Changed 7/31/2011 |
|||
|
Multiple MonitorsWe use three monitors for our Navigation Computer System. One large 10" monitor for the CoPilot is connected to the computer and displays mainly the navigation software.There are two small 7" monitors for the Driver. The right monitor is for the rearview cameras, one on the truck Headache Rack and the other on the back of the trailer. When the trailer is attached to the truck, the trailer camera is viewed. When the trailer is off the truck, then the Headache Rack camera is viewed. The other Driver monitor is used to also view the navigation software or the Hitch camera. The Hitch camera is used to couple and disconnect the truck from the trailer. When traveling, the navigation software is viewed in the left monitor. |
||
Monitor Specifications |
|||
BrightnessMonitor viewing can be a challenge at times. The Volvo cab has large windows and therefore a lot of sunlight enters the cab. For a perspective, one of the monitor specifications is the brightness of the display measured in candelas per square meter, or more typically, nits. A typical LCD monitor is 250-300 nits. Sunlight is generally considered 10,000 nits or more. To be "sunlight readable," a monitor would have to have a nit level or 1000 or more. There are monitors with such ratings but are very expensive ($2000+).The general backlight of a LCD monitor comes from a CFL (Compact Fluorescent Lamp). Recently, white LEDS are starting to become the backlight source. The LEDS provide for more light for the same or less power. With CFL backlight, the general nit rating for a LCD monitor is 250-300 nits. The LED backlight monitors are starting to have nit ratings of 400 or more. Another enemy of LCDs in the cab is reflected light. Sunlight bounces off of the LCD screen surface and washes out some of the LCD display. There are some modified LCD monitors with a special film applied to the rear of the LCD called a transflective layer. The transflective layer bounces incoming sunlight back through the LCD add to the backlight, making the monitor brighter. The cost for a modified 7" LCD monitor is $500-$700 while a regular monitor is about $200. Another issue is touchscreens. Almost all the available 7" LCD monitors come with touchscreen. If you need the touchscreen function that is a good thing. The film layer that is the touchscreen, causes about 15% loss of the LCD brightness. If touchscreen functionality is not needed, try to find monitors that don't have the touchscreen function. LCD brightness will decay over time, especially those with CFL backlight. Your laptop computer will suffer the same fate |
|||
ContrastContrast is the ratio between the brightest white and the blackest black. It stands to reason that a higher contrast ratio will generally mean the white brightness will be higher with a higher contrast ratio which is desirable in combating sunlight washout. |
|||
Monitor SourcesMost of the 7"-8" LCD monitor market are from Lilliput and XENARC for reasonable quality monitors. There has been a rash of very low cost small LCD monitors on eBay lately, all from China, and all with very low brightness and contrast specifications.One source of both Lilliput and XENARC monitors as well a transflective modified monitor is mp3Car.com that also has an excellent Forum on hardware for mobile computing.. Another source is Mobile Computing Solutions. We used MCS for our replacement monitor. We found their prices comparable to eBay prices and the Lilliput monitor had higher specifications than the ones on eBay. This is either an indication of the eBay vendors not being well informed on their products or the eBay vendors have inventories of older products. |
|||
Copilot's MonitorThe Copilot's monitor is a standard PC monitor. These monitors have brightness specifications of 200-250 nits. We would prefer a brighter monitor but the cost factor ($2000+) is well above our budget. |
|||
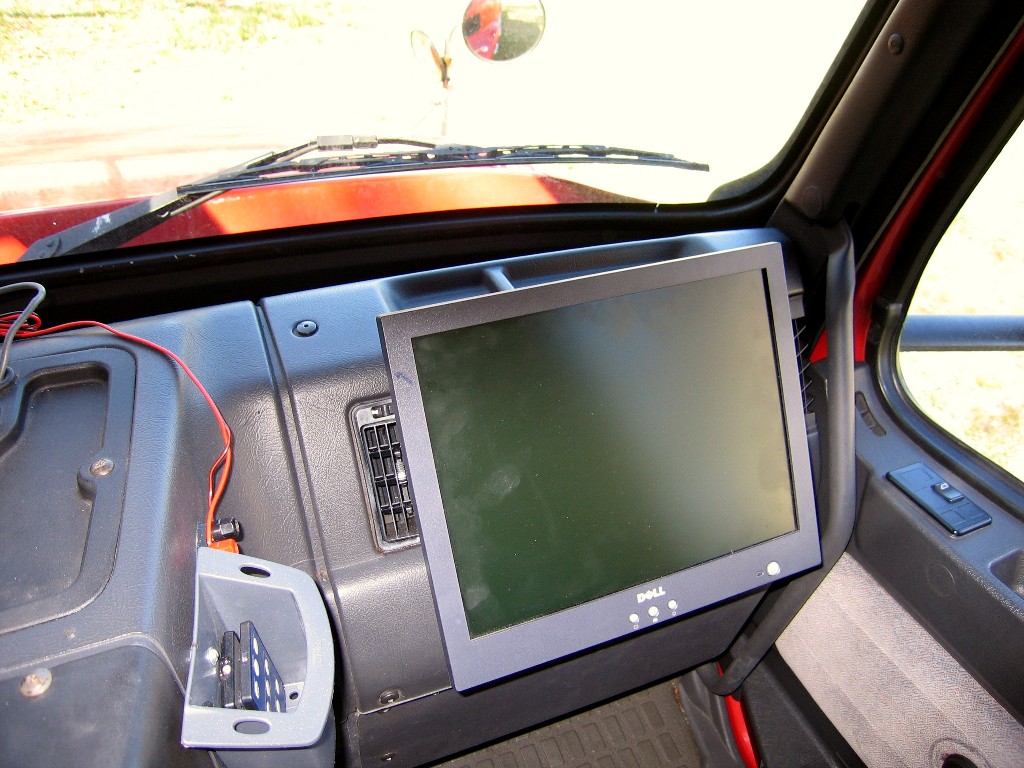 |
This was the Copilot's original 15" LCD monitor. A sun shield was needed and was added later. | ||
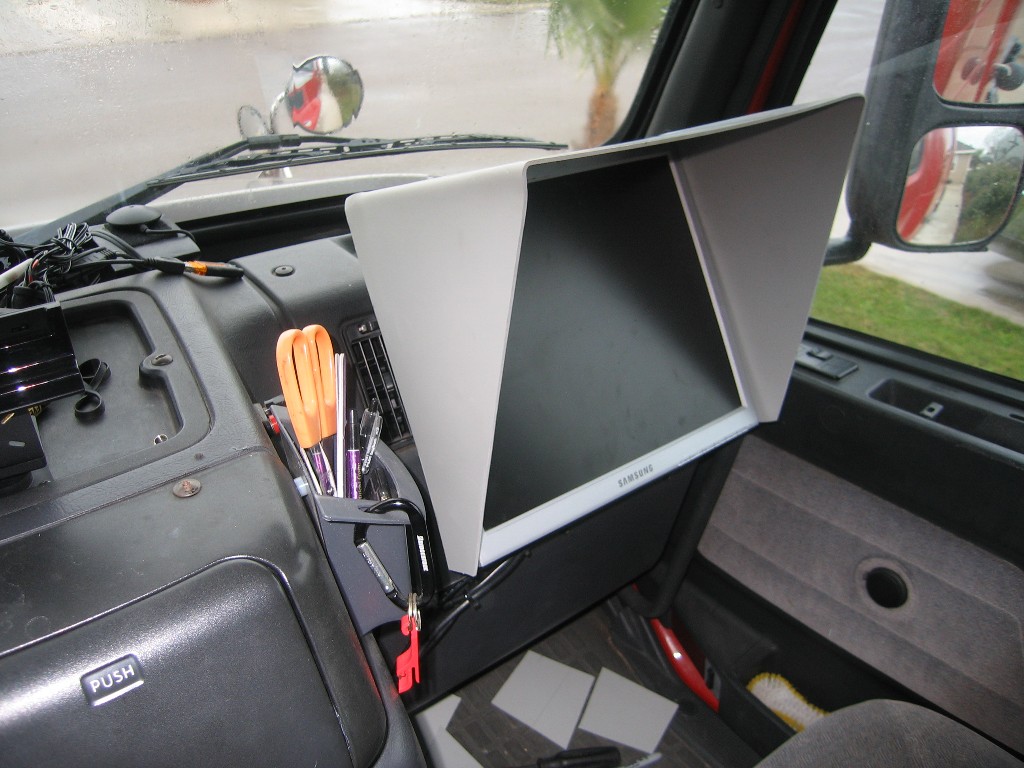 |
We got a new monitor for the trailer desktop computer so we moved the 17" monitor to the Copilot's position. The sunshade is made
from PVC sheet and formed with a heat gun. We could only find light gray instead of the black PVC sheet we had used before for the sunshade. Actually the light gray matches other parts of the Volvo interior so it will stay light gray. |
||
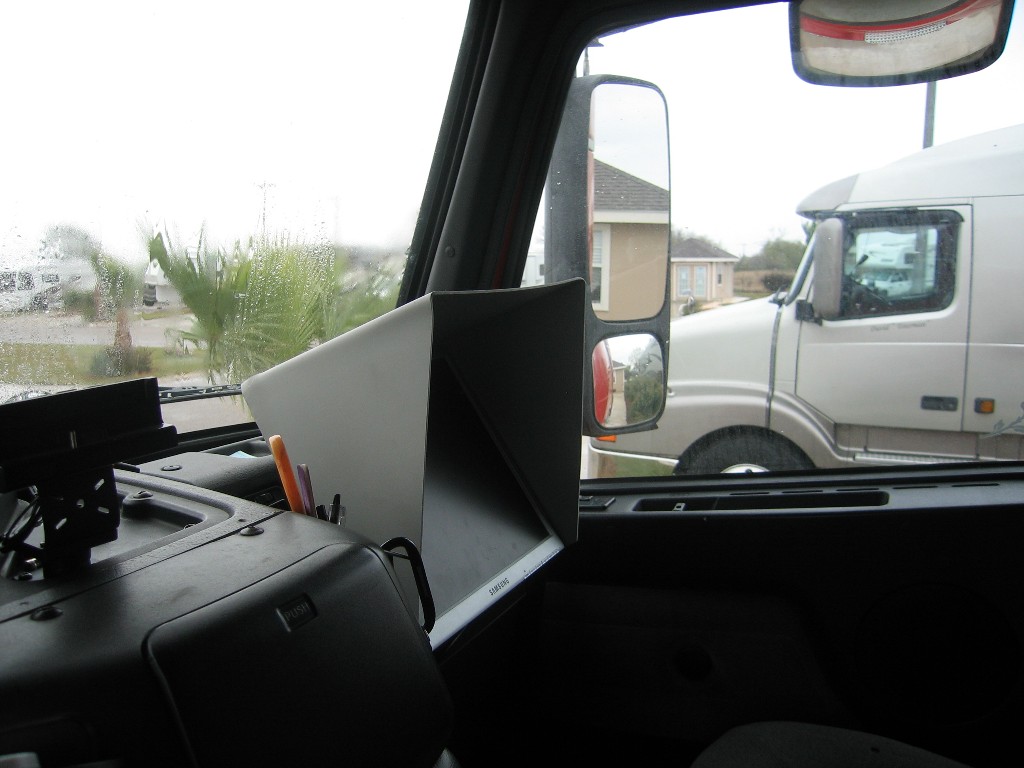 |
We had planned a telescoping sunshade that would move out of the way for entry into the cab and then extend out to provide for more shade. The mockup we made out of cardboard showed that the extra cover would interfere with the right mirrors. You can see that the sunscreen just clears the mirrors. So we skipped making that Eventually this monitor was replaced (see below). |
||
Driver's Monitors |
|||
 |
This is what was installed as the two 7" monitors for the Driver, a Lilliput. These monitors came with a VGA connection, two Video connections and a touch screen interface. The brightness ratings for these 7" monitors was 250 nits. In the beginning the brightness was okay but it did dim over time. | ||
 |
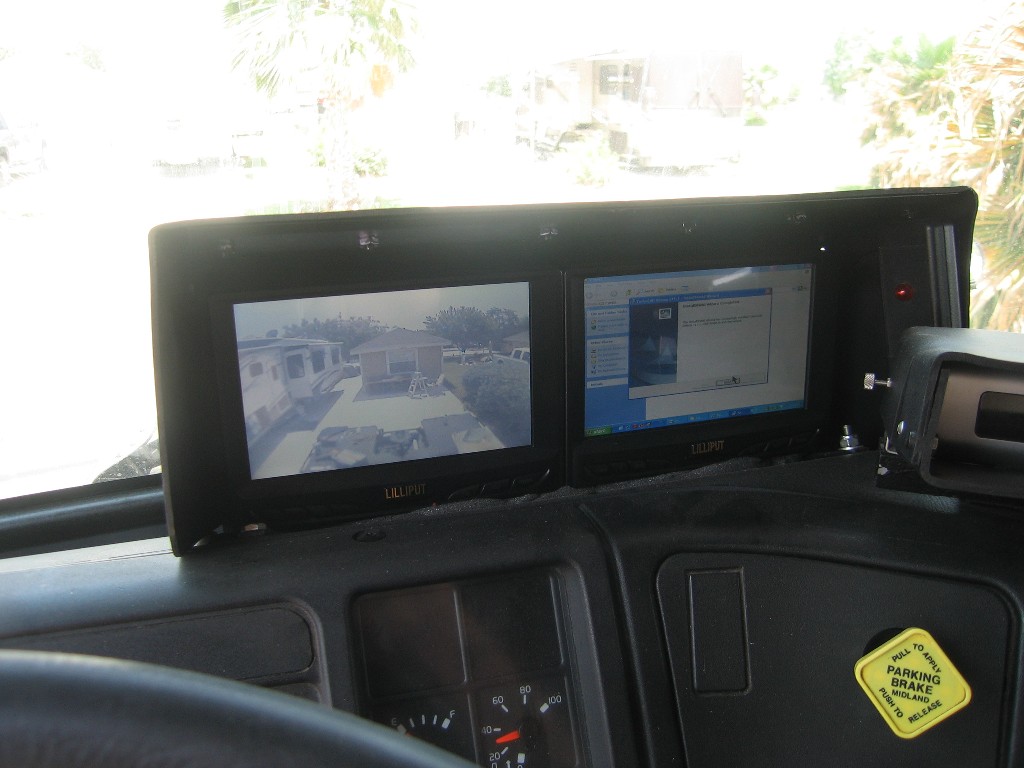
Here is the Pilot's monitor (left) mounted with the
rearview monitor (right). They are mounted under a new sun shield complements from
my friend Ron Knight (Sibernut on the web). The left monitor is used for the GPS Navigation Computer and the hitch camera. The right monitor is used for the back of the truck and the back of the trailer cameras. For details of the assembly, see below. |
||
click on image to enlarge |
|||
Dual VGA Monitors |
|||
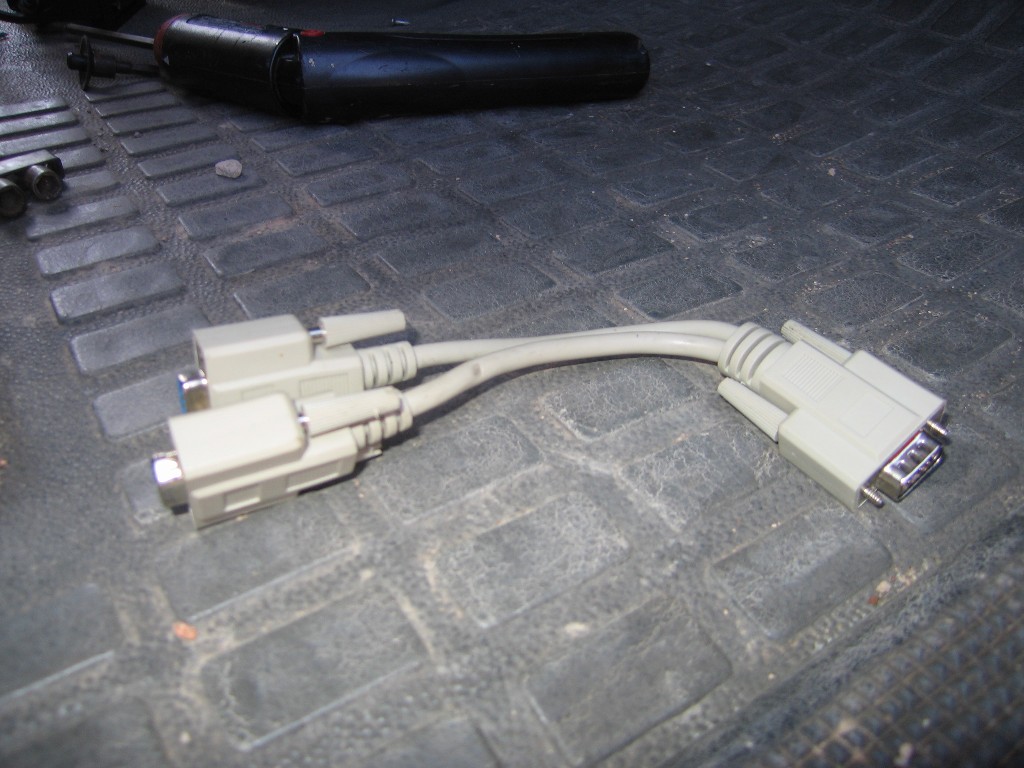 |
The way we have two VGA monitors (the Copilot's and one of the Driver's monitors) connected to the one VGA port of the TX3 computer is with this simple VGA splitter cable. | ||
click on image to enlarge |
|||
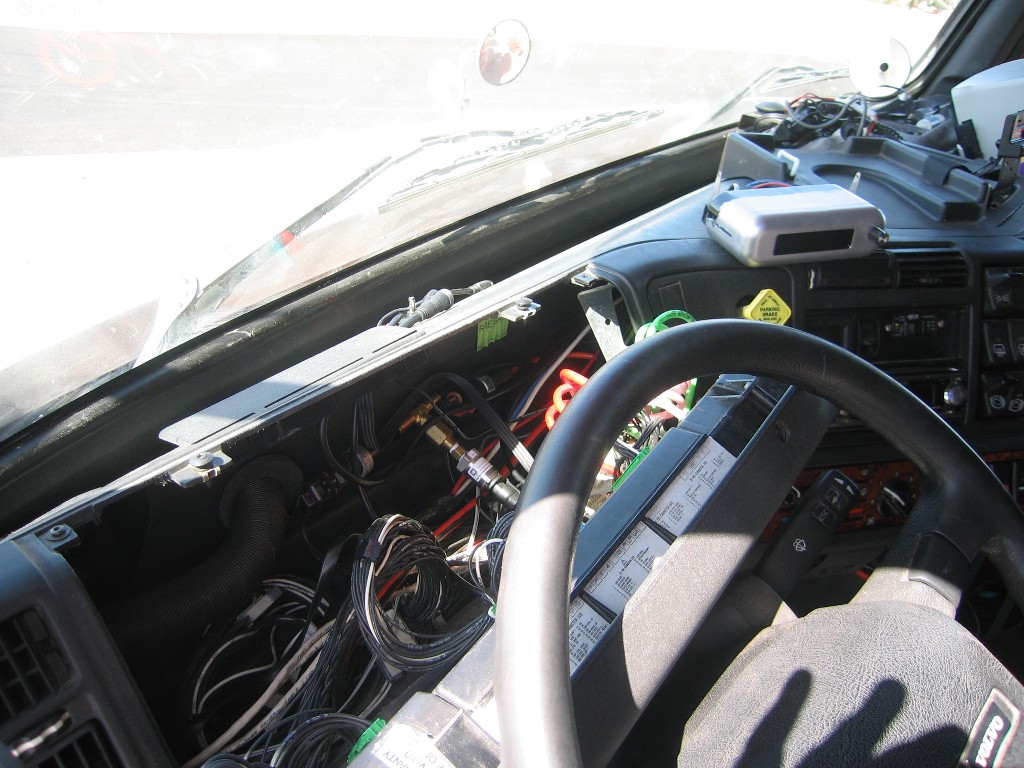
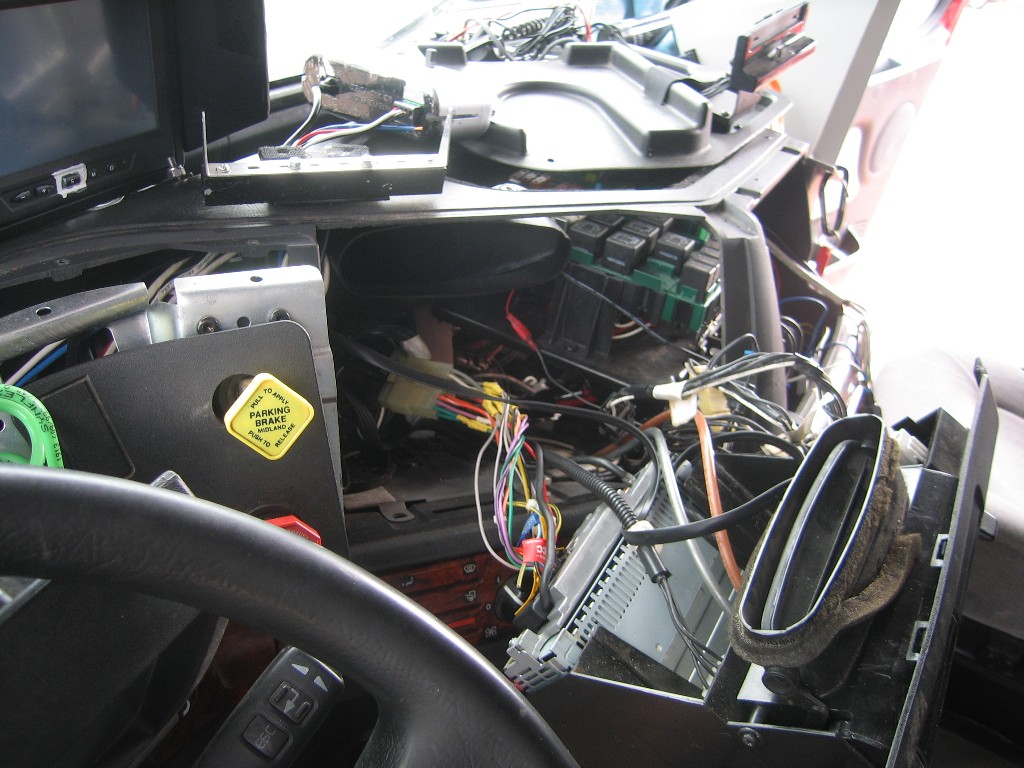
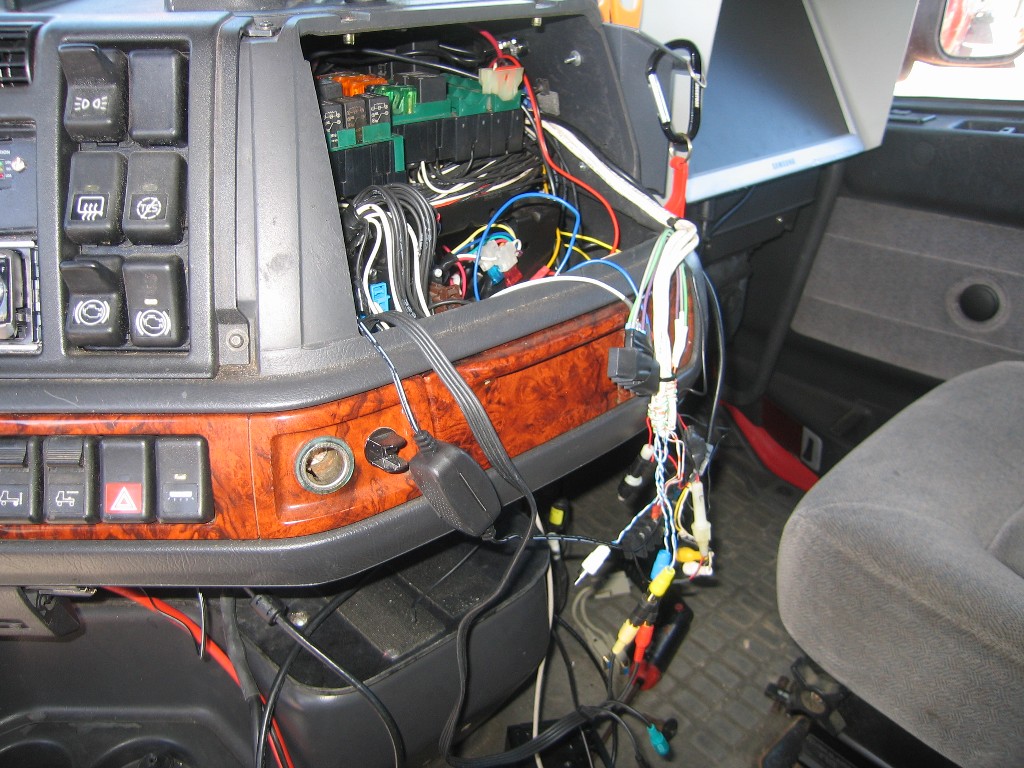
7" Monitor Replacement 4/19/2010One of the Driver's 7" monitor smoked itself. Following the normal rules of science, the replacement monitor was different in size, mounting methods, and cables. Our current source for monitors is Mobile Computing Solutions.It took a lot of disassembly to change the monitor. The bottom of the dash, the instrument cluster, the radio panel and the access to the fuse panels had to be removed. |
|||
 |
 |
 |
|
 |
The new monitor had a nit rating of 400 and the difference compared
to the old monitor was significant. Everything got back together and no left-over parts. |
 |
|
click on image to enlarge |
|||
Second 7" Monitor Replacement 4/7/2011When the right 7" monitor got so dim that we barely could see Sparky in the rear view camera, we decided to replace the monitor. The new monitor is exactly like the one we replaced last year. Since the new monitor's height was less than the one being replaced, we decided to modify the mounting system. |
|||
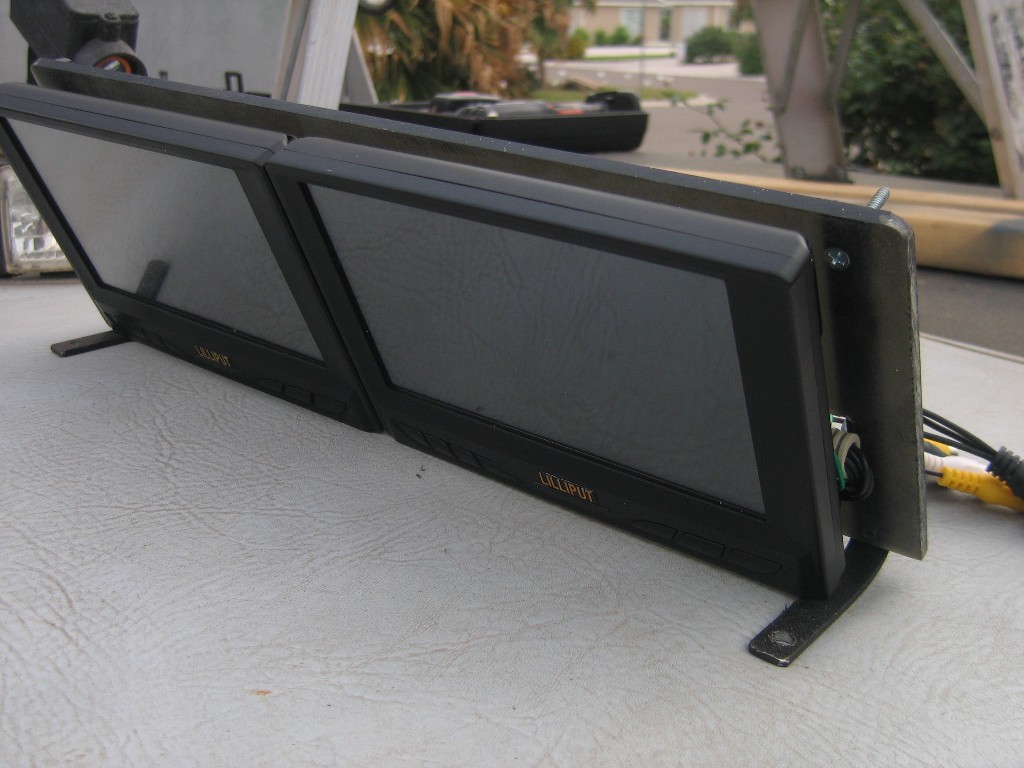
 |
The core of the mounting system is a piece of 1/4" Lexan
plastic. The legs are made from 1/2"x1/8" aluminum bar stock. Each monitor is held in place by two flat head bolts that fit into the normal base mounting slot. Holes were cut for the input cables. |
||
 |
Here the two monitor are mounted to the base plate. |
 |
|
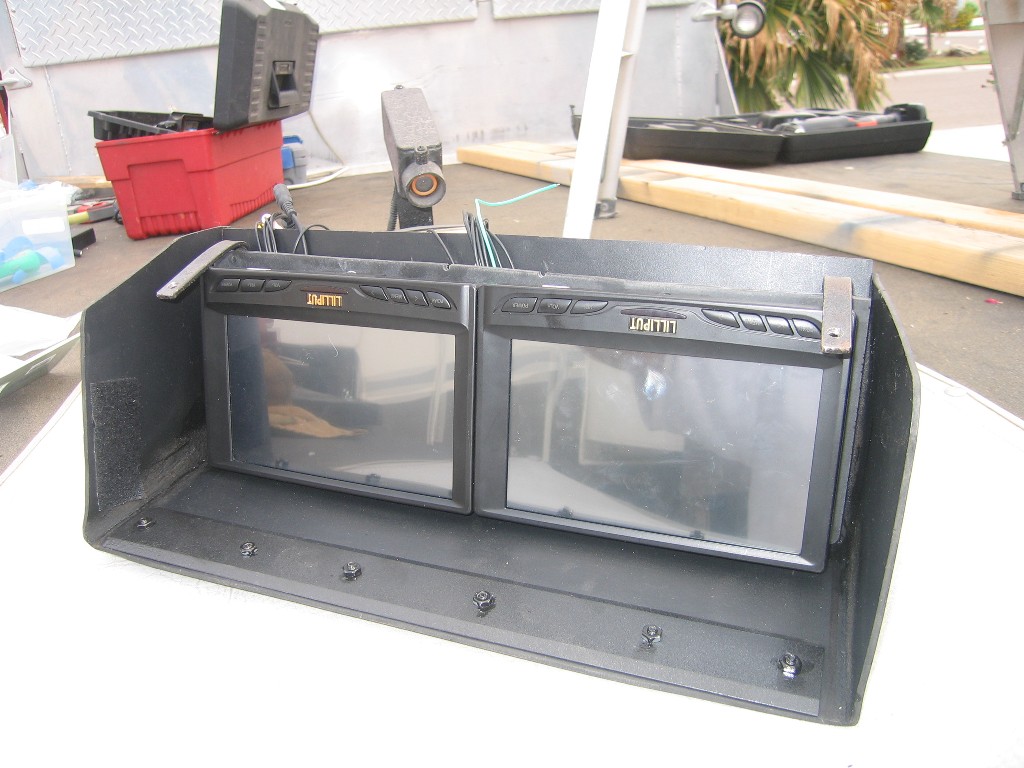 |
Shown upside down, the sunshield is mounted. The sunshield
was formed from 1/8" PVC sheet stock. We found the PVC sheet drooped a bit in the heat of summer. We bolted a piece of aluminum floor threshold to support the PVC sheet. |
||
 |
The new monitor assembly is about 1-1/4" lower than the original
assembly. We made decision to swap the functions of the monitors. The right monitor is now for the mapping program and the left monitor is for the rearview camera. The reason for this swap is that we found a major source of reflection on the left monitor is from the arm and hand skin of the driver. The reflection is less of a problem with the rearview camera. |
||
Change Copilot's Monitor 4/13/2011 |
|||
|
We started with a 15" monitor for the CoPilot, then we replaced the 15"
with a 17" monitor.
Mark thought the larger monitor would be a benefit to Dale. It wasn't.
Mark has been watching the market for smaller LCD monitors with a brightness
rating higher
then the typical PC monitor has. Finally Mark found a 10.4" and a 12.1" LCD monitor with a
higher brightness rating. The 12.1" have a brightness rating of 300 nits and the 10.4" monitor had a rating of 350 nits. Dale chose the 10.4" monitor. |
|||
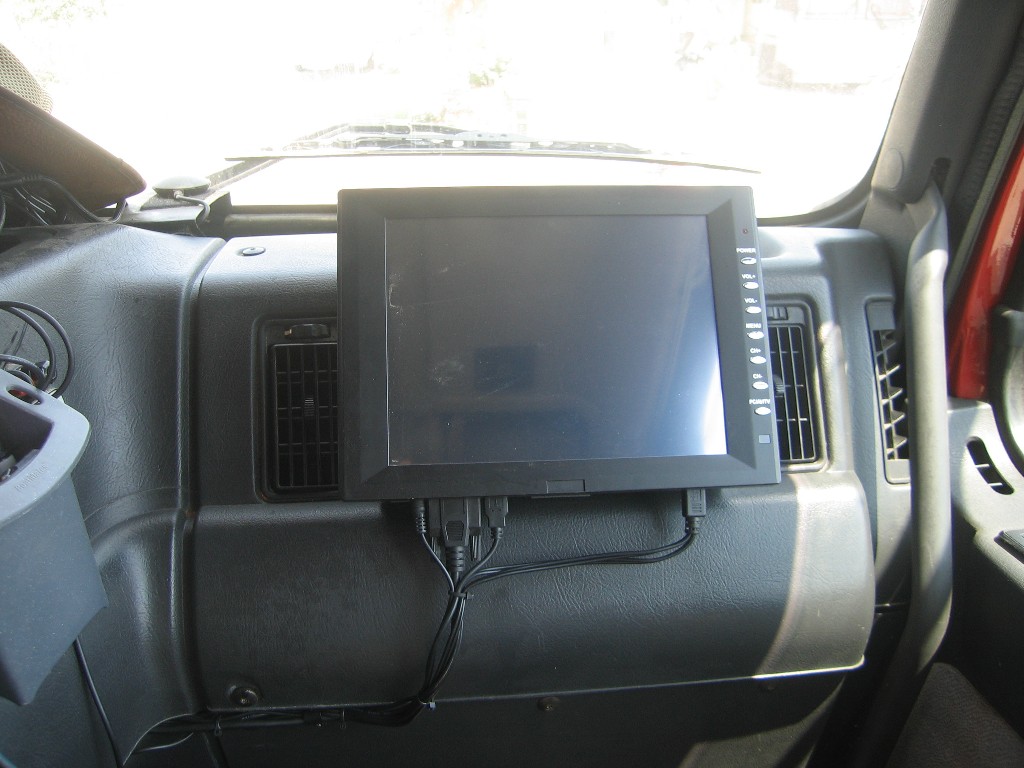 |
One of the things liked about the new monitor is that the air vents
are no longer covered by the monitor. So far it looks like the new monitor will work as good without a sunshield as with. Time will tell. This monitor is a touch screen monitor and most of the functions for the CoPilot software are easily entered using the touch screen, another advantage to Dale. |
||
click on image to enlarge |
|||
One things we encountered with the new Copilot's monitor is that the simple low cost VGA cable splitter we were using caused a reduction in the display brightness and clarity. So we are replacing the simple VGA cable splitter with a power VGA splitter. The TX3 computer only has USB 1.0 ports. If the TX3 had USB 2.0 ports, we could have used a USB to VGA adapter to drive the second monitor. |
|||
Powered VGA Splitter |
|||
 |
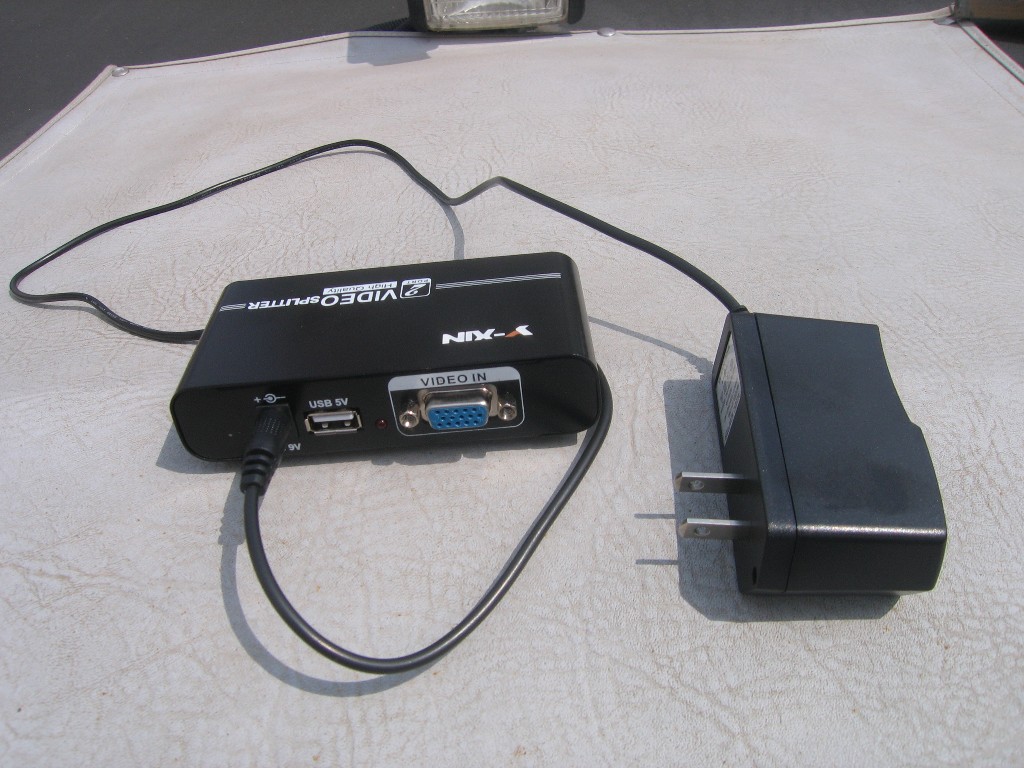
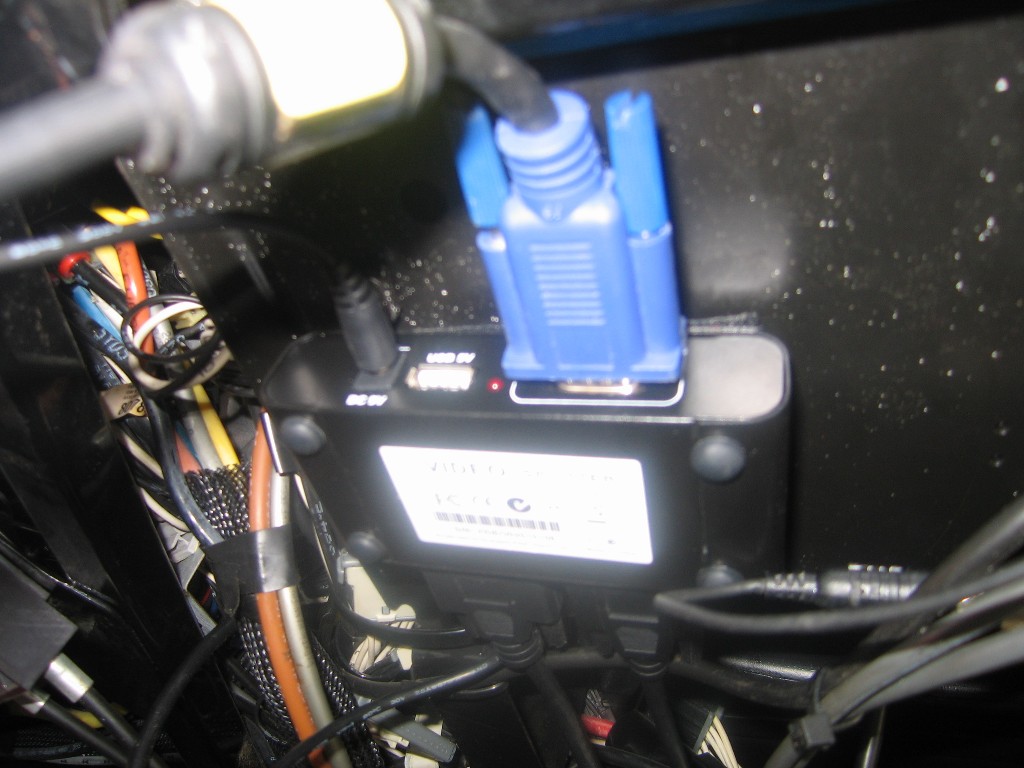
This is the powered VGA splitter we bought. |
 |
|
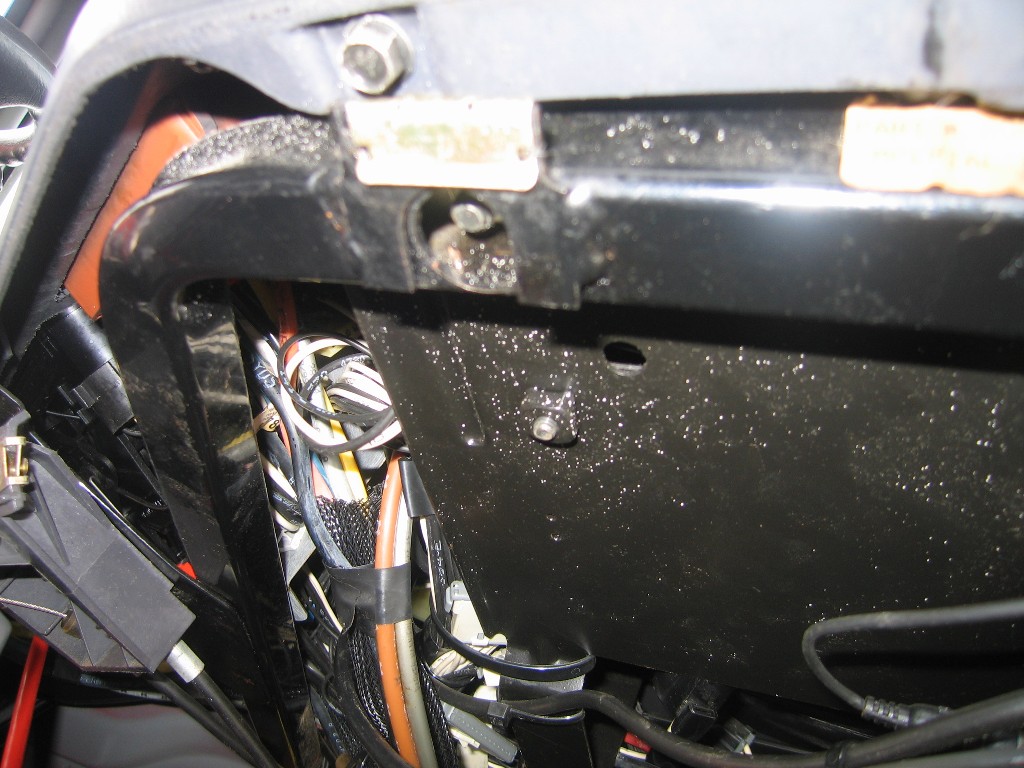 |
The is the area under the fuse block in the center of the dash. The item on the right is the Antenna Multiplexor unit. This connects to the mirror mounted antennas and provides signals to the CB Radio, the AM/FM Radio, and to a cell phone, |
 |
|
 |
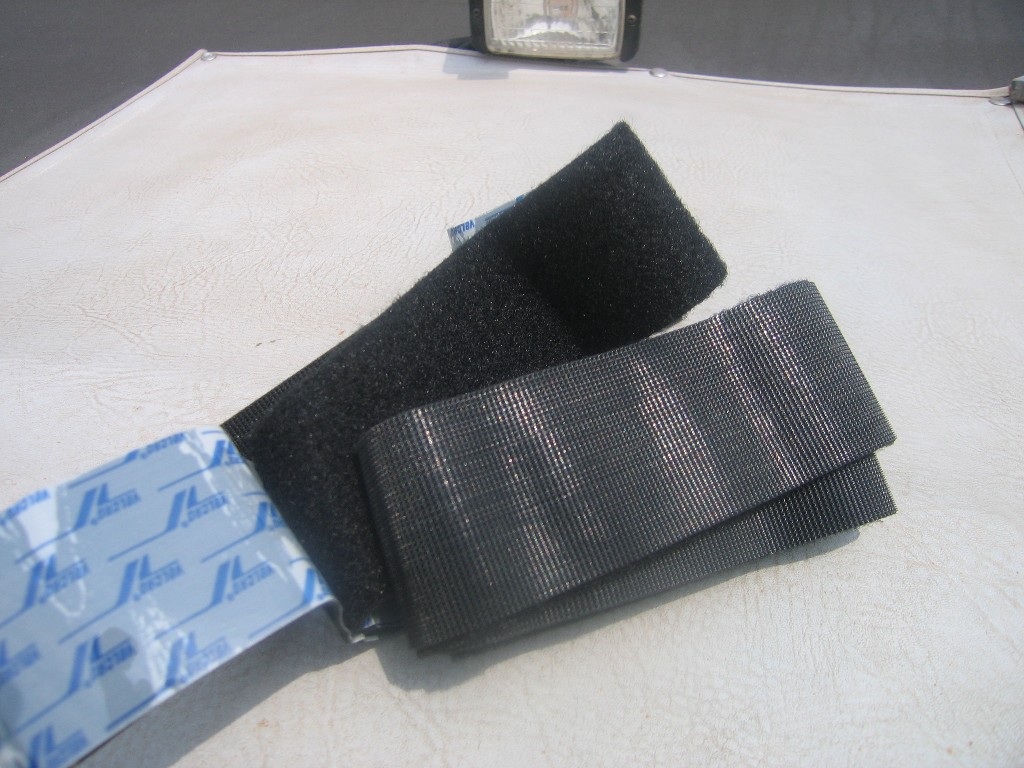
We used heavy duty Velcro tape to mount the VGA splitter. We
found this tape to have a very strong hold and yet allows the
attached item to be easily removed. This is the VGA splitter mounted. |
 |
|
click on image to enlarge |
|||
USB VGA Adapter |
|||
 |
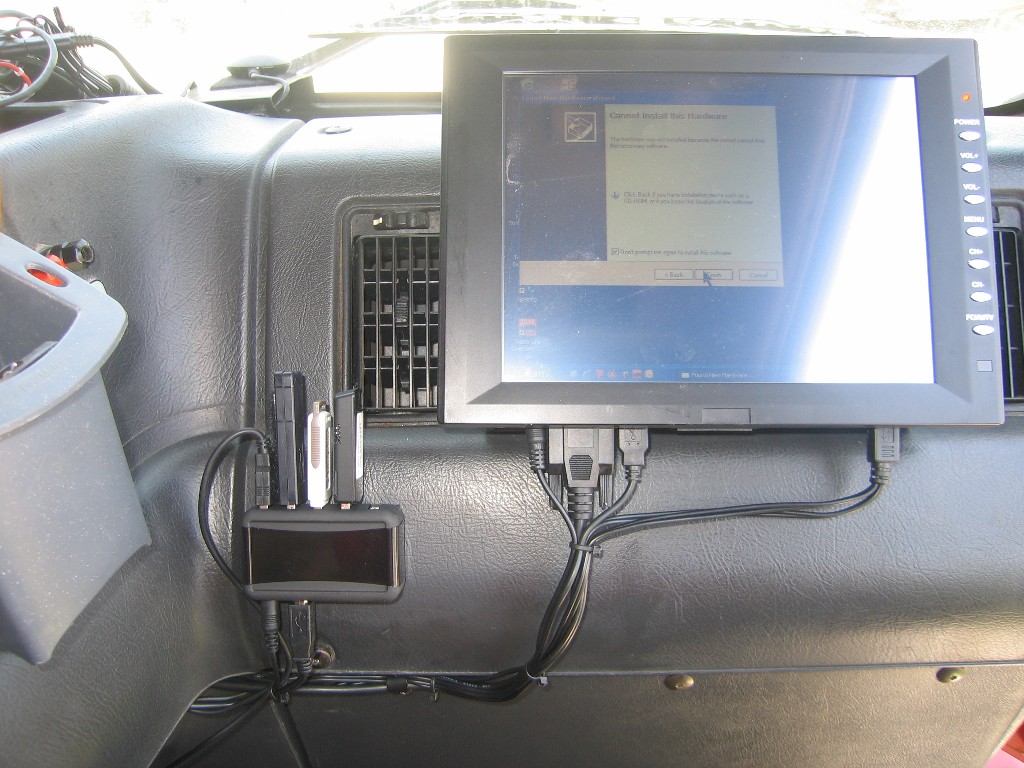
We had problems with the Powered VGA Splitter. At startup, the
computer wouldn't pick up either monitor. It would take a few
Restarts of the computer to get the monitors. We were limited
by the original TX3 computer as it only had USB1 ports. The replacement Dell FX160 computer has USB2 ports so we acquired a USB VGA Adapter to drive the second monitor. This proved to be a far more reliable setup. |
||
Powered USB Hub |
|||
|
We ran out of USB ports trying to add the touchscreen USB cable.
Some of the devices we use with USB cables are powered by the USB
port. The wireless keyboard/trackball, the GPS puck, the Wi-Fi
adapter, and USB disks use port power. The two touchscreens don't.
So we decided to add a powered USB Hub instead of a
simple non-power USB Hub.. |
|||
 |
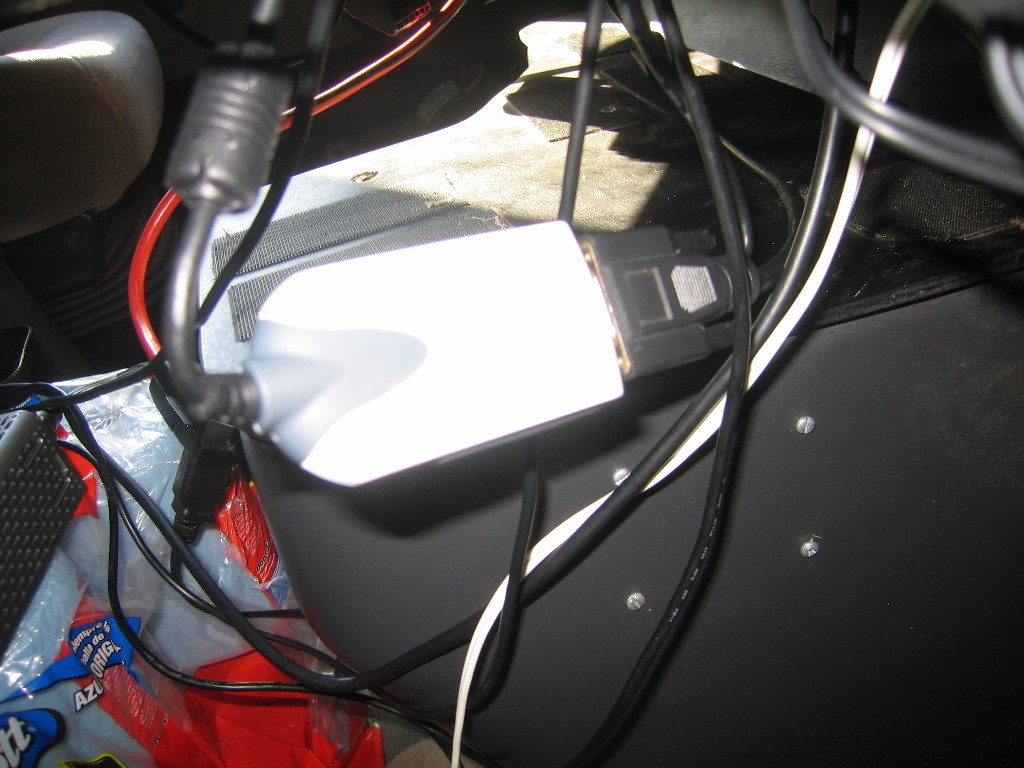
We used heavy duty Velcro tape to hold the USB hub to the dash.
Still out of the way of the AC vents to keep the Copilot happy. |
 |
|
click on image to enlarge |
|||
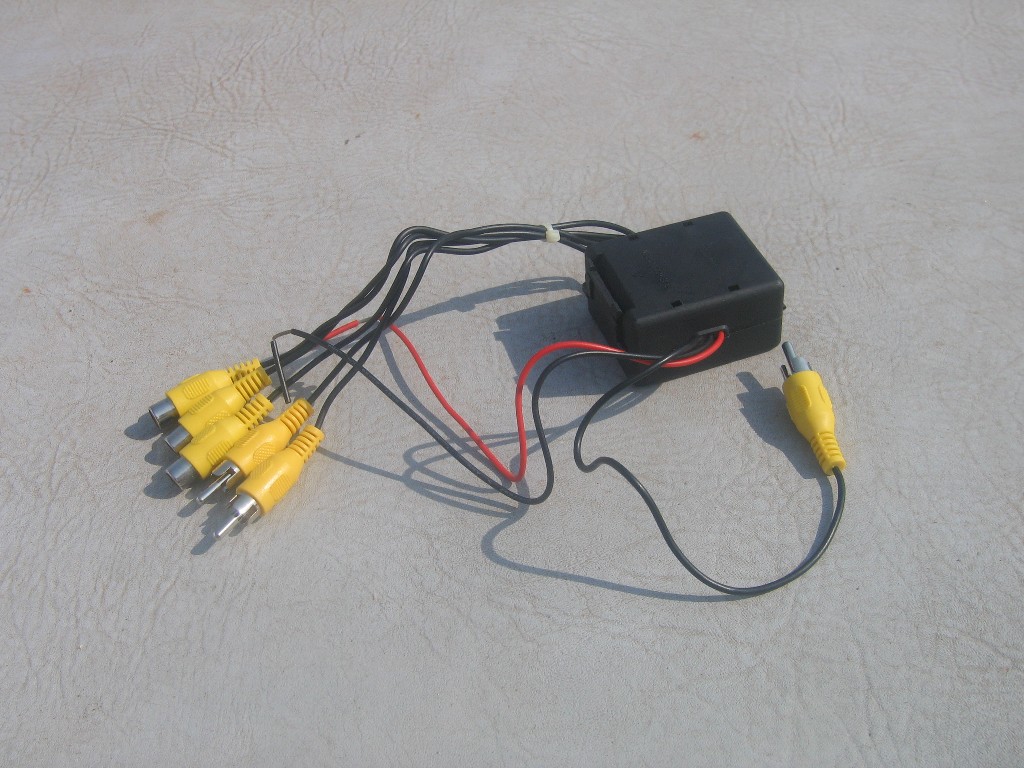 |
Since the new Copilot's monitor also had a video input as well as
the VGA for the computer, we decided to split the trailer rear
camera so that the Copilot can check the status of Sparky as we
travel. We new just connecting the camera video to two monitor would greatly affect the picture. So we acquired this low cost video amplifier/splitter which takes a video signal and puts it out on 6 outputs. It worked fine. |
||
click on image to enlarge |
|||
Current Computer Schematic 7/31/2011 |
|||
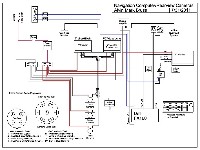 |
This is the current schematic for the Navigation Computer system in Red Rover. | ||
click on image to enlarge |
|||
Disclaimer: The information in this site is a collection of data we derived from the vendors and from our personal experiences. This information is meant as a learning guide for you to make your own decisions Best practices and code should always be followed. The recommendations we make are from our personal experiences and we do not receive any compensation for those recommendations. |